

Your New-Home Final Walkthrough
By David K
6 min read
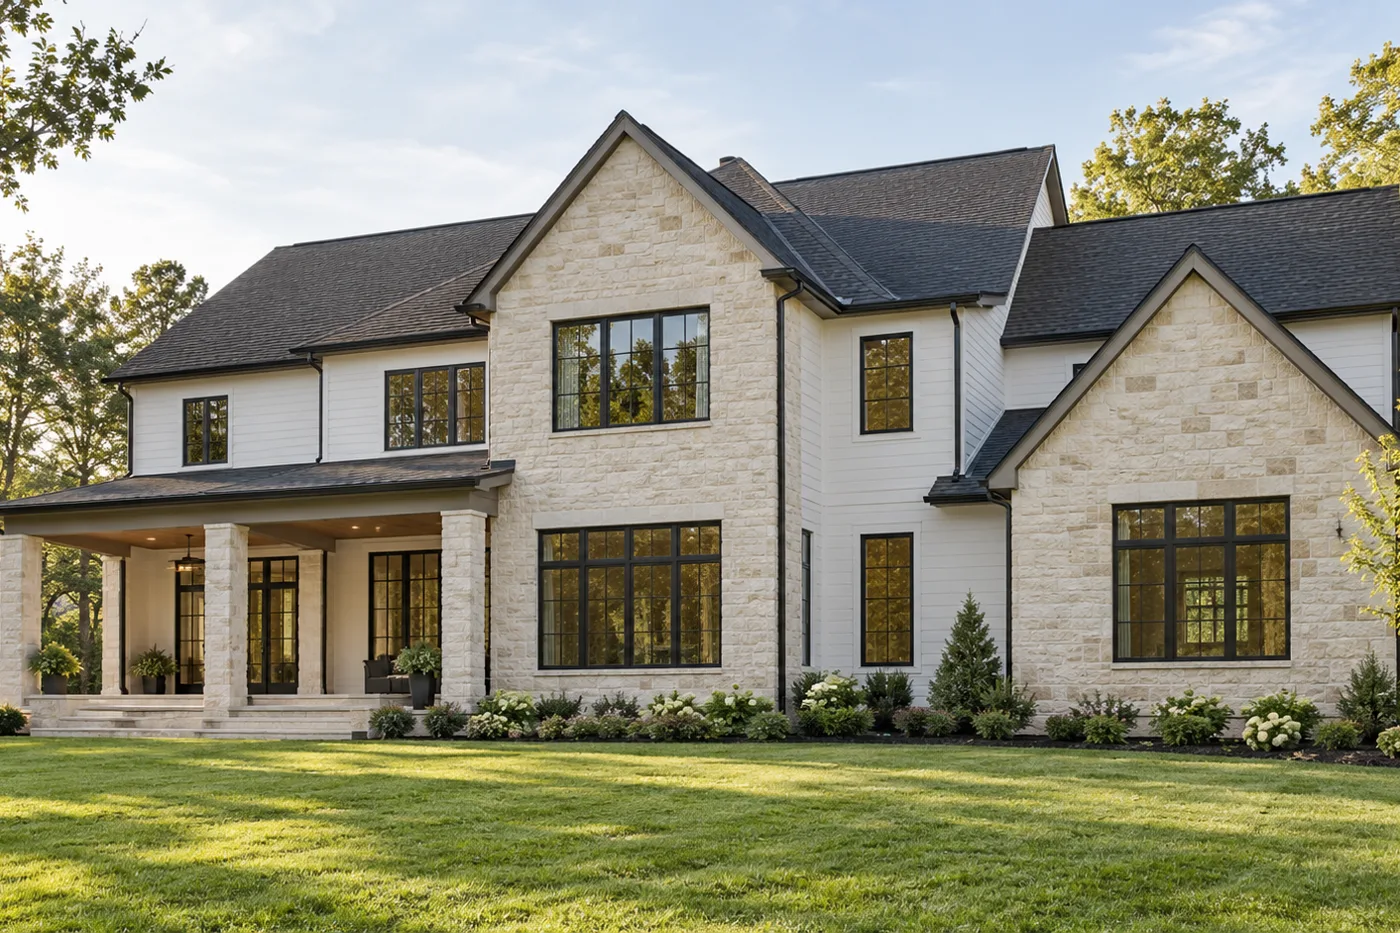
Use the final walkthrough to compare the finished home with the agreed documents, record visible issues before move-in, and learn how the installed systems operate. Work through one room at a time with the builder, describing each concern by exact location and observable condition. Agree on the next action and follow-up for unresolved items. The walkthrough is not a substitute for required inspections, occupancy approval, an independent inspection, or the terms of the construction agreement.
Planning a new home? Explore Max Built's custom-home process, then view the craftsmanship in our project portfolio.
Bring the current decisions, not every old email
Use the current selections, approved changes, and relevant plans as your comparison set. An early rendering or discarded finish sample can create a false disagreement. Ask the builder which documents reflect the completed scope and note any areas that are not yet ready for review.
Allow enough uninterrupted time to walk the home while finishes are visible and accessible. Moving boxes, protective coverings, and ongoing work can hide the conditions you want to record. Agree on who will maintain the shared list and how photographs will be tied to individual items. The National Association of Home Builders recommends a checklist and an agreed timetable for corrections; it also emphasizes learning how the home works.
For a Charlotte-area custom home, confirm the status of required approvals separately with the project team and applicable jurisdiction. A finish walkthrough does not establish permission to occupy the home, and this planning guide does not interpret acceptance or payment obligations.
Use the same observation pattern in every room
Begin at the doorway and work around the room in a consistent direction. Look at accessible wall and ceiling finishes, trim joints, floors, thresholds, counters, and fixtures. Record visible damage or a questioned detail before furniture or movers change the scene. Describe what you see rather than deciding the cause or prescribing a repair.
Compare installed finishes and fixtures with the final selection record. Open normal user-operated doors and drawers with the builder, checking for binding, contact with adjacent surfaces, or missing hardware. Do not force a sticking component. Where a concern involves structure, waterproofing, electrical work, or another concealed system, ask the qualified person to investigate; a homeowner visual check cannot certify those systems.
In kitchens, pay attention to cabinet and appliance clearances, countertop edges, accessible finishes, and the operation the installer is prepared to demonstrate. In bathrooms, ask about the intended operation and care of fittings and ventilation. Do not conduct improvised flood tests, remove covers, or dismantle equipment during the walkthrough.

Check doors and accessible exterior details
Review doors, windows, and locks with the builder using ordinary operating controls. Note sticking, missing components, visible damage, or a question about the intended adjustment. Check that you understand how each selected unit operates rather than assuming every window opens the same way.
Look at accessible thresholds, flooring transitions, trim, and seals without taking assemblies apart. A photograph can document a concern, but it cannot prove that concealed flashing or waterproofing is correct. Ask for an explanation or a qualified review when the observed condition needs more than a finish adjustment.
Outside, stay on safe ground. Observe accessible siding and trim, terraces, paths, and the apparent routes for surface water. Record incomplete work and questions about drainage for the builder to address. Do not climb onto roofs, enter unsafe areas, or attempt your own load or water tests. Weather-dependent or unfinished work should have a documented follow-up rather than being silently treated as complete.
Separate system demonstrations from the finish review
A long cosmetic list can crowd out the most useful part of the meeting: learning normal operation. Ask the qualified installer or builder to demonstrate the installed controls, routine user maintenance, and where to find the relevant manuals. Record whom to contact when a system behaves unexpectedly.
Have the responsible professional identify the relevant shutoffs and explain the appropriate emergency procedure. Do not open energized panels, operate unfamiliar gas components, or bypass safety devices to complete a checklist. An orientation is about safe use, not teaching the homeowner to commission or repair equipment.
Confirm how maintenance requirements and actual warranty procedures will be provided. Do not assume a universal coverage period or that every concern belongs with the same manufacturer or trade. Keep the operational questions separate from the correction list so neither gets lost.
Write entries another person can locate and verify
A useful punch-list entry identifies the room, exact surface or component, observable condition, photo reference, responsible follow-up, and status. Avoid entries such as 'finish kitchen' or 'window wrong.' They leave too much room for two people to believe they are discussing different work.
For example, a hypothetical entry could read: 'Kitchen, drawer immediately left of sink: front contacts adjacent handle when opened; photo K-03; builder to inspect and confirm correction.' That records a reproducible observation without pretending to diagnose the hardware or dictate the repair. Use examples only as a writing model, not as evidence of a problem in your own home.
Distinguish a requested change from a discrepancy with the agreed scope. Changing a selected finish after installation is a different discussion from correcting a damaged finish. If the parties disagree, record both the observation and the next review step instead of treating silence as acceptance.
- Location and component
- Observed condition and relevant photo
- Agreed action or decision still needed
- Person coordinating the response
- Target follow-up and access arrangements
- Date checked and final status
Verify corrections and keep unanswered items visible
Agree how corrected items will be reviewed. Some can be checked during a return visit; others may need a demonstration, documentation, or assessment by the appropriate professional. Mark an item complete only after the agreed verification, and retain the original description so the record remains understandable.
Ask the project team or your own qualified adviser about any contractual questions involving acceptance, settlement, payment, or unresolved work. A generic checklist cannot tell you to sign a release or withhold payment. Read what a document actually states before treating it as a simple attendance form.
The practical outcome is a shared understanding of the home's condition, normal operation, and the remaining follow-up—not merely a collection of blue tape. Discuss walkthrough expectations with Max Built while planning your Charlotte custom home so there is time for observation, explanation, and a clear completion record.
Sources and editorial notes
NAHB: Before You Move In—The New Home Walk-Through
Prepared with AI assistance and editorially reviewed by Sage. Architectural images are illustrative, not documented Max Built projects. This organizational guide does not replace project-specific professional advice.
Final walkthrough questions
Is the final walkthrough the same as a home inspection?
No. A builder walkthrough, independent inspection, and jurisdictional inspection have different purposes and scopes. Confirm which reviews apply to your project rather than assuming one replaces the others.
What should I photograph?
Photograph accessible questioned conditions with enough surrounding context to locate them. Link each image to a specific list entry, and avoid recording sensitive security settings or personal information.
Should I list cosmetic issues before moving in?
Yes. Record observed surface damage or questioned finishes while they are visible and before moving activity changes the condition. Review the observations with the builder.
What if an item cannot be completed during the walkthrough?
Record its status, the agreed next step, responsibility, and follow-up arrangement. Discuss any effect on occupancy, acceptance, or payment under the actual project documents with the appropriate advisers.
Build the right plan before construction begins
Tell us about your property, priorities, and the way you want to live. We'll help organize the next decisions around a clear, buildable path.