

Planning Hot Water for a Custom Home
By David K
8 min read

Start with the fixtures and routines, not the water-heater brochure. On the floor plans, mark the kitchen, baths, laundry, scullery, and outdoor hot-water uses; then measure the practical route from each fixture to its hot-water source. Keep frequently used fixtures close to an appropriate source when the architecture allows, size piping from the home's actual demand, and compare a compact core, manifold, multiple sources, or demand-controlled recirculation by stored water volume and operating logic. Reserve the equipment's real air, drain, power or fuel, noise, replacement, and service needs before framing. The plumber and design team should document the final routes and controls, inspect concealed work, and commission the completed system. Local code, product instructions, and project-specific professional design govern the final details.
Planning a new home? Explore Max Built's custom-home process, then view the craftsmanship in our project portfolio.
Define what good hot-water delivery means before selecting equipment
A high-efficiency water heater does not automatically create an efficient delivery system. Water can still cool in a long pipe, and a remote fixture can still send that standing water down the drain while the homeowner waits. EPA's current WaterSense guidance treats generation, distribution, and use as connected parts of one system. That is the useful starting point for a new custom home.
Write a short performance brief while the floor plan is flexible. Identify the fixtures used every day, the simultaneous-use patterns the household expects, and the locations where a long wait would be especially disruptive. Include the kitchen, primary bath, guest rooms, laundry, scullery, wet bar, and covered outdoor spaces only when they are actually part of the program.
Then give the design team a measurable task: map the route and estimated stored volume between the hot-water source or recirculation loop and every important fixture. EPA recommends using 0.5 gallons of stored water as a design benchmark when possible, but it is guidance rather than a universal code requirement. A qualified plumbing professional should determine pipe sizes and the compliant final design for the actual home.
- Which fixtures are used several times each day?
- Which showers, sinks, or appliances may operate together?
- Where would waiting for hot water be most noticeable?
- Which planned fixture locations create the longest concealed routes?
Draw hot-water routes while rooms can still move
Room relationships determine much of the system before a pipe is selected. Grouping kitchens, bathrooms, and laundry areas into a practical plumbing zone can shorten routes, reduce stored water, and simplify the hidden work. The goal is not to force every wet room into one corner. It is to understand what an architectural move adds to the distribution system before the plan is approved.
Review both floor plans and building sections. A primary bath may look close to the mechanical room in plan but require a circuitous route around beams, stairs, a vaulted ceiling, or an exterior wall. An island sink may need a carefully coordinated path through the floor. A guest wing or outdoor room can create a separate remote cluster that deserves its own comparison rather than an improvised branch after framing.
Mark the proposed water-heater location, pipe chases, manifold or loop, valves, insulation, penetrations, and service access on the coordinated drawings. Compare those routes with structure, ducts, electrical work, cabinetry, waterproofing, and the building envelope. Max Built can help keep those design and construction decisions aligned with the broader custom-home plan before concealed spaces become crowded.
Compare distribution layouts by route, volume, and control
There is no single distribution layout that wins for every custom home. A compact core can work well when wet rooms and the water heater are close. A carefully designed trunk-and-branch system may suit a smaller service area. A manifold can provide direct fixture runs, while a large or divided floor plan may lead the team to compare more than one water-heating source or a recirculation loop.
Do not compare those options by label alone. Trace the pipe length and inside diameter to each fixture, estimate the stored water volume, and review the expected pressure and simultaneous demand. A larger pipe is not automatically better; excess diameter stores more water, while undersizing can compromise flow and code compliance. Pipe sizing belongs to the qualified designer or plumber using the home's actual fixture schedule and governing requirements.
If recirculation is considered, define when the pump runs. EPA and ENERGY STAR guidance favor demand-initiated operation over continuous circulation because an always-hot loop can increase distribution losses. Show the loop, return, controls, insulation, balancing, and the fixtures it serves. A recirculation line without an operating sequence leaves an important performance decision unfinished.
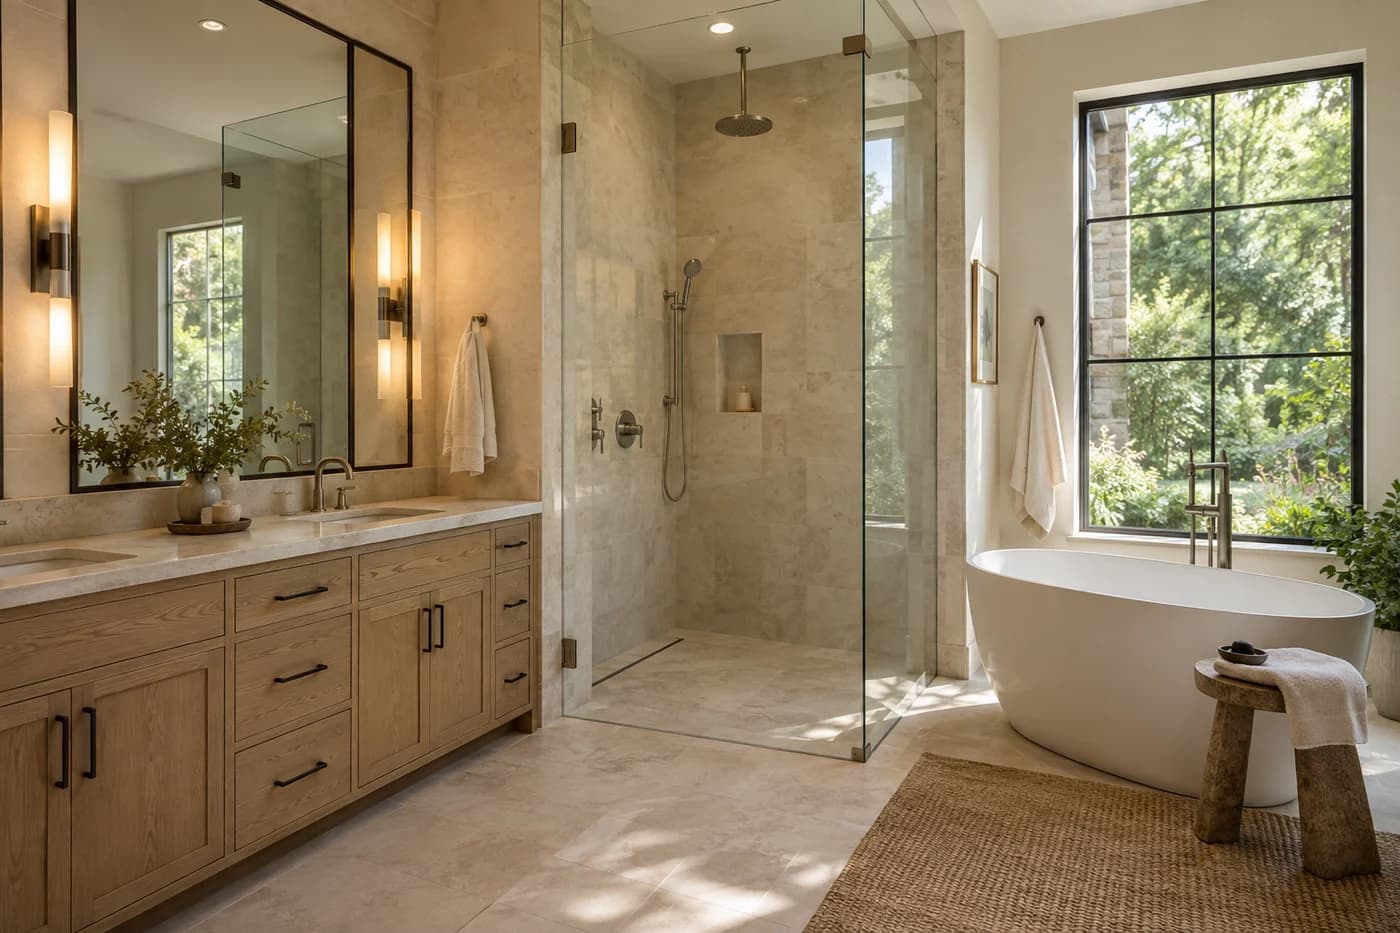
Reserve the water heater's real operating and service space
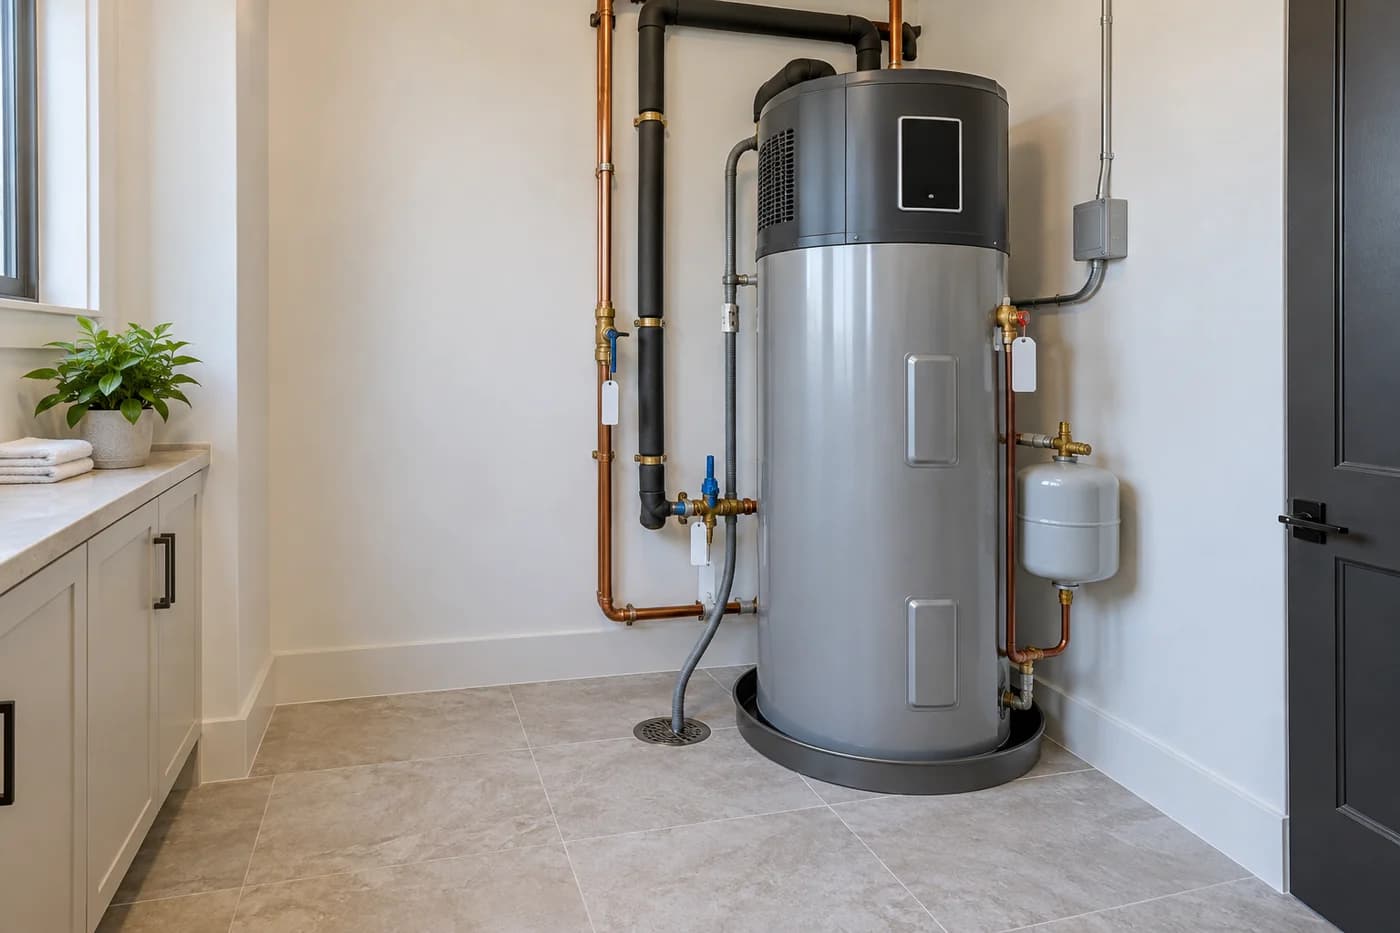
Equipment location affects pipe distance, replacement access, noise, drainage, power or fuel, combustion requirements where applicable, and the rooms around it. Place the selected equipment at real dimensions on the plan. Include connections, drain pan, relief discharge, shutoffs, expansion control where required, condensate for condensing or heat-pump equipment, working clearances, and a path to remove and replace the unit without dismantling finished rooms.
A heat-pump water heater adds airflow, sound, and cool exhaust to the space-planning discussion. ENERGY STAR advises following the selected manufacturer's free-air-volume, clearance, ducting, condensate, electrical, and service requirements. A small closed closet that fits the tank outline may not support the equipment's operation. Nearby bedrooms or quiet living spaces may also change the preferred location.
Do not choose an equipment room independently from the distribution plan. The most central location may shorten pipes but create poor access or unwanted sound; a remote garage location may provide space but lengthen the routes. Compare the complete system, including architecture, enclosure, utilities, drainage, maintenance, and the household's use pattern, before releasing the floor plan.
Verify the design before rough-in and the system after startup
Before rough-in, reconcile the plumbing drawings with the current architectural, structural, cabinet, appliance, and mechanical documents. Confirm fixture model requirements, water-heater data, pipe sizes, insulation, valve locations, recirculation controls, drains, penetrations, and access panels. A generic plumbing note cannot replace a route that has been checked against the real building.
Inspect and photograph concealed work before insulation and drywall hide it. Confirm that pipe paths and diameters match the approved design, insulation is continuous where required, controls and sensors are in their intended locations, and service valves remain reachable. Record field changes on the final documents rather than relying on memory at handover.
At startup, have the responsible professionals check the equipment installation and control sequence, purge and commission the system as applicable, verify recirculation operation, and measure delivery behavior at representative fixtures. Give the homeowner the operating instructions, maintenance requirements, shutoff map, product documents, and final system drawings. That turns a hidden network of pipes into a system the household can understand and maintain.
Sources and editorial notes
U.S. EPA WaterSense best practices for efficient hot-water delivery in homes
ENERGY STAR heat-pump water-heater design considerations
ENERGY STAR heat-pump water-heater installation best practices
Prepared with AI assistance and editorially reviewed by Sage. Architectural images are illustrative, not documented Max Built projects. This organizational guide does not replace project-specific professional advice.
Hot-water planning questions for a Charlotte custom home
Should a large custom home use hot-water recirculation?
Not automatically. First compare fixture locations, water-heater placement, route lengths, pipe volume, and whether separate fixture clusters can be served more directly. If recirculation is appropriate, specify the loop and demand-based controls rather than leaving the pump to run continuously.
Is a manifold always more efficient than trunk-and-branch piping?
No. Performance depends on each run's length, inside diameter, stored volume, fixture demand, and the home's layout. Have the plumbing professional compare complete routes rather than choosing a system by name alone.
Where should the water heater go in a custom home?
Place it where the full design works: reasonably close to major hot-water uses, with compliant power or fuel, drainage, airflow or combustion provisions, noise control, service clearance, leak protection, and a practical replacement path. The shortest pipe route is only one factor.
What should be shown on the hot-water plan?
Show the source, supply and return routes, pipe sizes and insulation, valves, fixture connections, recirculation pump and controls if used, drains, penetrations, access, electrical or fuel requirements, and the equipment's service and replacement clearances.
How can homeowners verify hot-water performance before move-in?
Ask the project team to confirm that the installed routes and controls match the approved design, commission the equipment and any recirculation system, and observe delivery at representative nearby and remote fixtures. Keep the test notes, operating instructions, shutoff map, and final drawings with the home records.
Build the right plan before construction begins
Tell us about your property, priorities, and the way you want to live. We'll help organize the next decisions around a clear, buildable path.