

Charlotte Custom-Home Basements: 7 Planning Decisions
By Max Built
9 min read
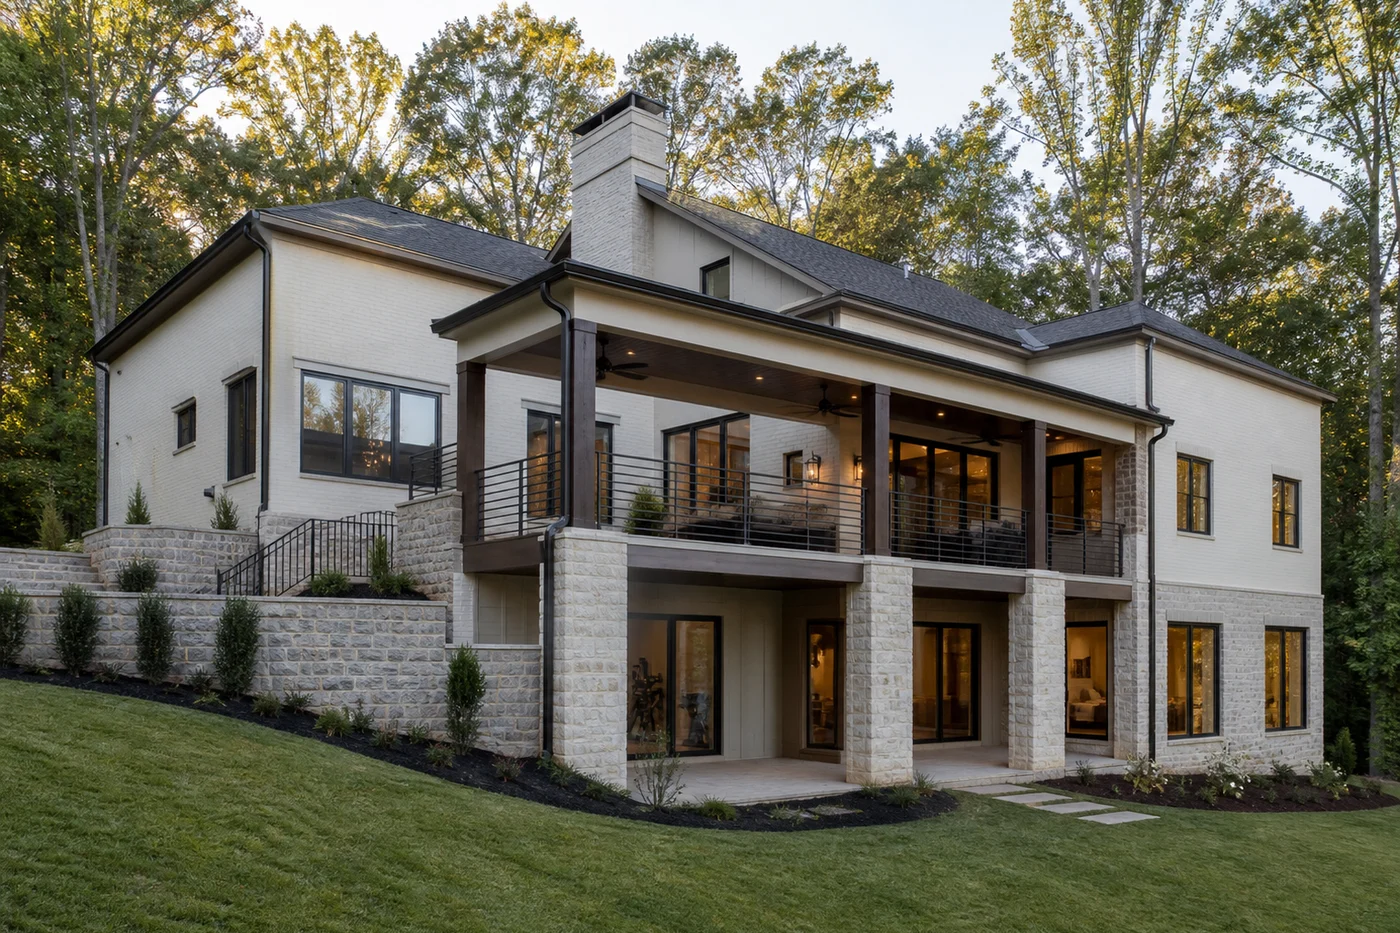
Plan a basement for a Charlotte custom home before the footprint and foundation are fixed. Start with a surveyed understanding of the lot, then decide whether the lower level should be fully below grade, daylight, or walkout. Map water away from the structure, reserve realistic space for stairs and building systems, and place finished rooms where they can receive the right light, privacy, and exterior connection. Coordinate structure, ceiling zones, plumbing, heating and cooling, electrical service, storage, and any future finish work on the same drawings. A good basement is not leftover space under the house. It is a deliberate part of the site, foundation, floor plan, and long-term use of the new home.
Planning a new home? Explore Max Built's custom-home process, then view the craftsmanship in our project portfolio.
1. Start with the lot, grade, and house elevation
A basement begins with the land. Review the survey, contours, trees, likely foundation elevations, and the way the house meets the ground on every side. A lot that falls away behind the home may support a daylight or walkout condition. A flatter site may lead to a mostly below-grade lower level, deeper window wells, or a different foundation strategy.
Study the basement at the same time as the first floor. Moving the house up or down affects the front approach, porch steps, garage relationship, rear terrace, retaining transitions, and how much foundation is visible. A lower level that works beautifully at the rear should not create an awkward arrival at the front.
Ask the project team to draw full building sections through the important grade changes. Floor plans alone cannot show headroom, exposed foundation, window height, terrace clearance, or the path from the lower level into the garden. The section is where the site and home become one decision.
- Where does the land rise or fall around the proposed footprint?
- Which basement walls can receive useful daylight?
- How will the front entry, garage, and rear garden meet the finished floors?
- Where will retaining transitions and exterior stairs be needed?
2. Decide what the lower level needs to do
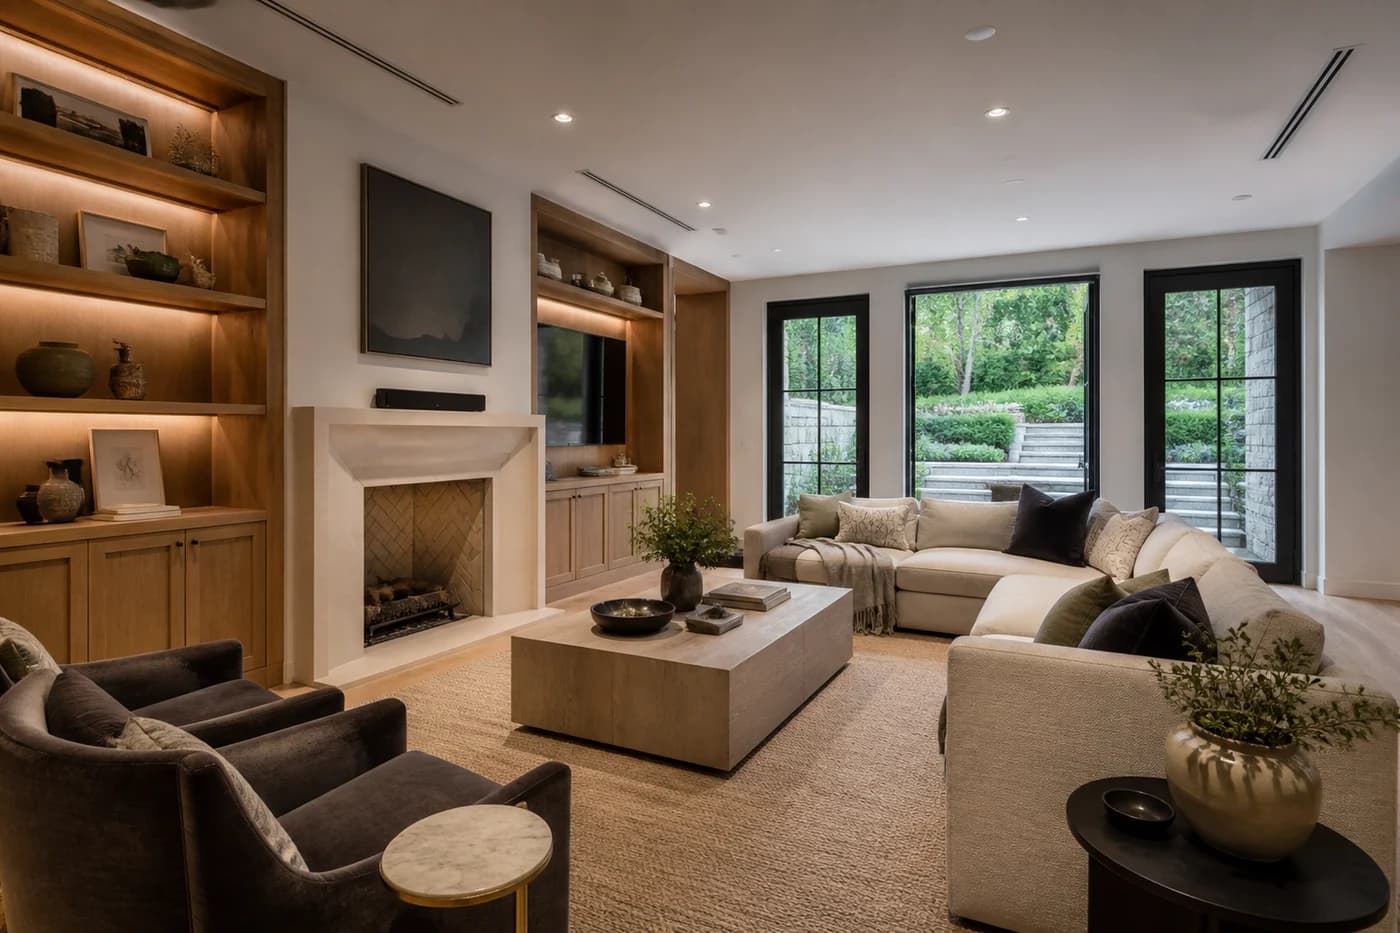
Name the rooms before deciding how large the basement should be. It may support casual gathering, guests, fitness, storage, hobbies, building systems, or a direct connection to a pool or garden. Those uses need different light, privacy, ceiling height, plumbing, sound control, and access.
Separate finished space from support space on the plan. Mechanical equipment, electrical panels, water equipment, seasonal storage, and service clearances need dependable room of their own. Hiding them behind a finished wall without enough access can make ordinary maintenance difficult and force equipment into the best window locations.
Then test the lower level against the rest of the home. A second large gathering room may be useful, or it may repeat a room upstairs that already works well. Give the basement a clear role instead of filling the plan simply because floor area is available.
3. Plan the water path from roof to finished grade
Water planning should be visible on the drawings, not reduced to a note that says the basement will be dry. Follow rain from each roof plane into gutters and downspouts, then across the final grade and away from the foundation. Review low points, exterior stairs, window wells, terraces, planting beds, retaining areas, and any location where water could collect beside the house.
Coordinate foundation waterproofing or dampproofing, drainage layers, footing drains, penetrations, joints, and any sump strategy with the selected foundation assembly and site conditions. Product choices and installation details should follow the project documents and the recommendations of the qualified team, not a generic detail copied from another site.
Keep future landscaping in the conversation. Soil, edging, walls, irrigation, and planting can alter drainage after the structure is complete. Establish the grades and protected drainage routes that later work must respect, then document them clearly for the landscape plan.
4. Place daylight, exterior doors, and sleeping rooms together
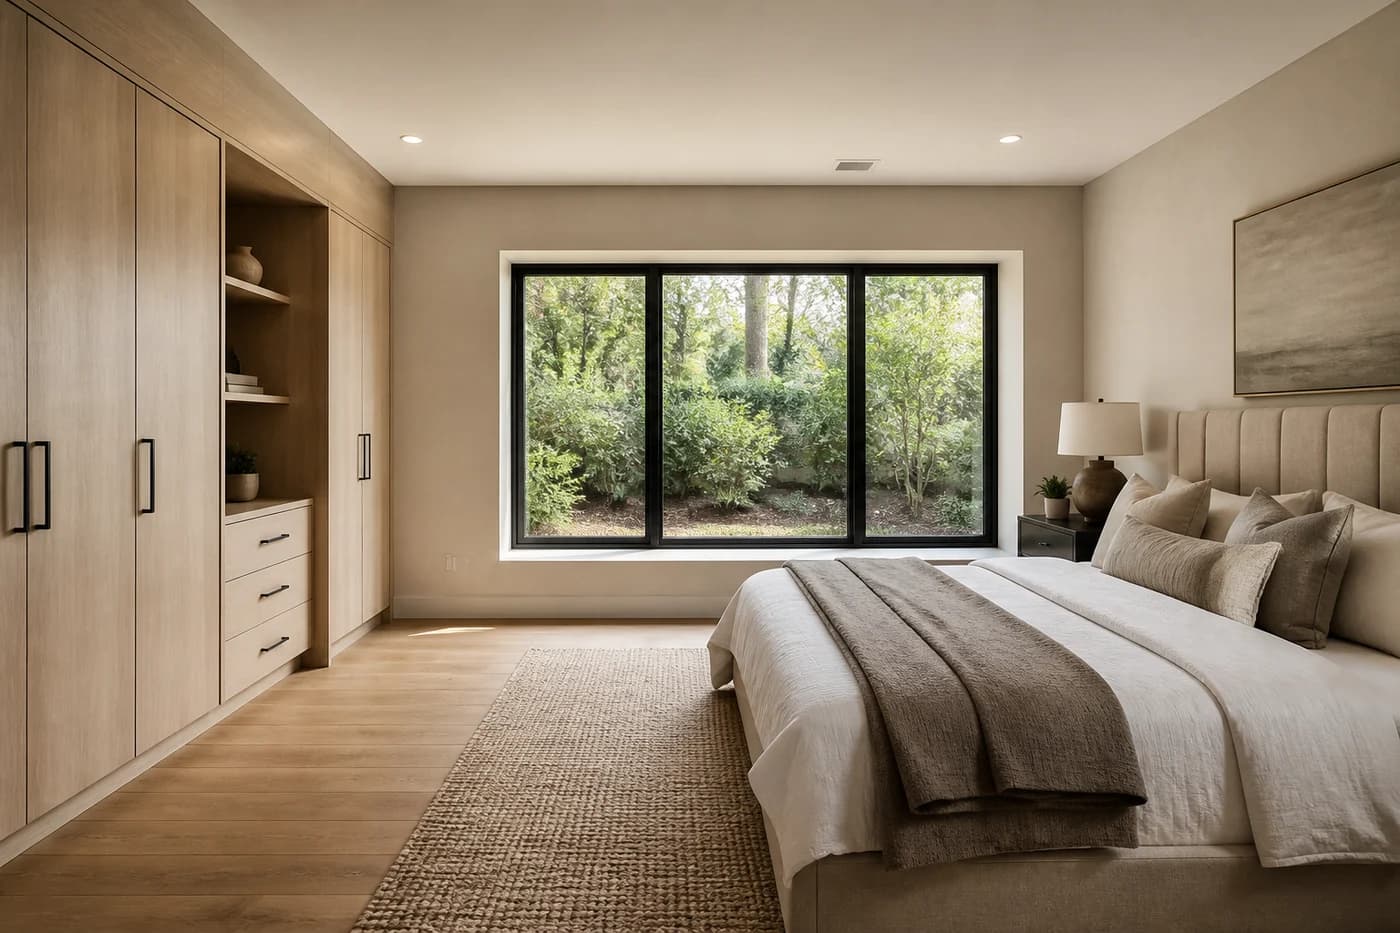
Put the best lower-level rooms on the walls with the best light and views. A walkout door can connect a lounge to the garden, while broad windows can make a guest room feel like part of the home rather than an enclosed afterthought. Storage and service rooms can occupy the darker interior zones when their access still works.
If a sleeping room is planned, coordinate its window or exterior-door strategy, approach, privacy, and applicable safety requirements early with the design and construction team. Do not assume that a decorative window or a finished room automatically satisfies every requirement for the intended use. The opening, well if needed, exterior landing, and route beyond it all need review.
Study nighttime privacy as well as daytime light. Lower-level glass may face a terrace, garden path, or neighboring property at eye level. Window placement, planting, shades, and exterior lighting should protect the room without removing the daylight that made the location attractive.
5. Coordinate structure, ceilings, and building systems
Basement ceilings often carry more work than the rooms above reveal. Beams, floor framing, ducts, plumbing, drains, electrical runs, recessed lights, sprinklers when applicable, and access panels can compete for the same depth. Draw the main routes before promising a perfectly flat ceiling everywhere.
Set structural bays and bearing locations with the lower-level plan in view. A column can disappear into a wall or millwork when it is coordinated early. The same column becomes a permanent obstacle when it lands in a walking path, between seats, or in front of a window after the room layout is complete.
Use ceiling changes deliberately where they are necessary. A lower band at a service route can define circulation, while a higher center can support a gathering space. What feels unresolved is not the change itself but a collection of unrelated soffits created after every trade chooses a separate path.
6. Design the stair as a daily route
A basement stair needs more than a leftover rectangle. Test its width, landings, headroom, turns, handrails, guards, door conflicts, lighting, and the way someone approaches it from both floors. Carrying luggage, laundry, storage bins, or furniture changes how generous the route needs to feel.
Place the lower landing where it helps someone understand the plan. Arriving in a small dark corridor between closed doors makes the basement feel separate from the home. A view toward daylight, a clear opening into the main room, or a wider landing can make the route feel natural without making the stair elaborate.
Check sound and privacy around the stair opening. An open connection can bring light and conversation between floors, but it can also carry television noise or late-night activity upward. Compare an open stair, a door, and a short vestibule against the way the household expects to use both levels.
7. Document the finished plan and future options
Decide what will be completed with the house and what may wait. If part of the basement will be finished later, coordinate useful ceiling height, insulation, moisture control, openings, plumbing locations, electrical capacity, heating and cooling routes, and safe access during the original build. Future flexibility comes from specific provisions, not an empty room and a vague promise.
Review a combined lower-level plan, reflected ceiling plan, building sections, and exterior elevations before excavation and foundation work. Confirm finished floor elevations, wall types, openings, stairs, structure, drainage details, equipment rooms, service clearances, plumbing groups, ducts, lighting, outlets, storage, and exterior connections.
Finally, remove spaces that do not earn their cost or complexity. Keep the rooms, openings, and infrastructure that support the way the household intends to live. A well-planned basement can add useful depth to a custom home, but its value comes from being dry, understandable, comfortable, and connected to the site.
Basement planning for a Charlotte custom home
Is every Charlotte-area lot suitable for a walkout basement?
No single foundation approach fits every lot. A walkout condition depends on the surveyed grade, house placement, floor elevations, drainage, access, structure, and the project team's site-specific review.
When should a basement be planned for a custom home?
Plan it during site and floor-plan design, before the footprint, foundation elevations, structure, and excavation are fixed. Room finishes can come later, but grade, water management, stairs, openings, and system routes need early decisions.
What belongs in a custom-home basement plan?
Show finished and support rooms, furniture, stairs, doors, windows, exterior landings, structure, ceiling zones, plumbing, heating and cooling, electrical service, storage, equipment clearances, drainage features, and future-finish provisions.
Can a basement guest room be added later?
It may be possible, but the intended use should be discussed early. Daylight, an appropriate opening and exterior condition, privacy, ceiling height, heating and cooling, electrical work, and applicable safety requirements are easier to coordinate before the foundation is built.
How can a basement feel connected to the rest of a custom home?
Give it a clear daily purpose, place the stair on a natural route, bring daylight into important rooms, align materials with the rest of the home, protect comfortable ceiling heights, and connect the lower level to the garden where the site supports it.
Build the right plan before construction begins
Tell us about your property, priorities, and the way you want to live. We'll help organize the next decisions around a clear, buildable path.