

Charlotte Custom-Home Envelope Guide
By Max Built
9 min read
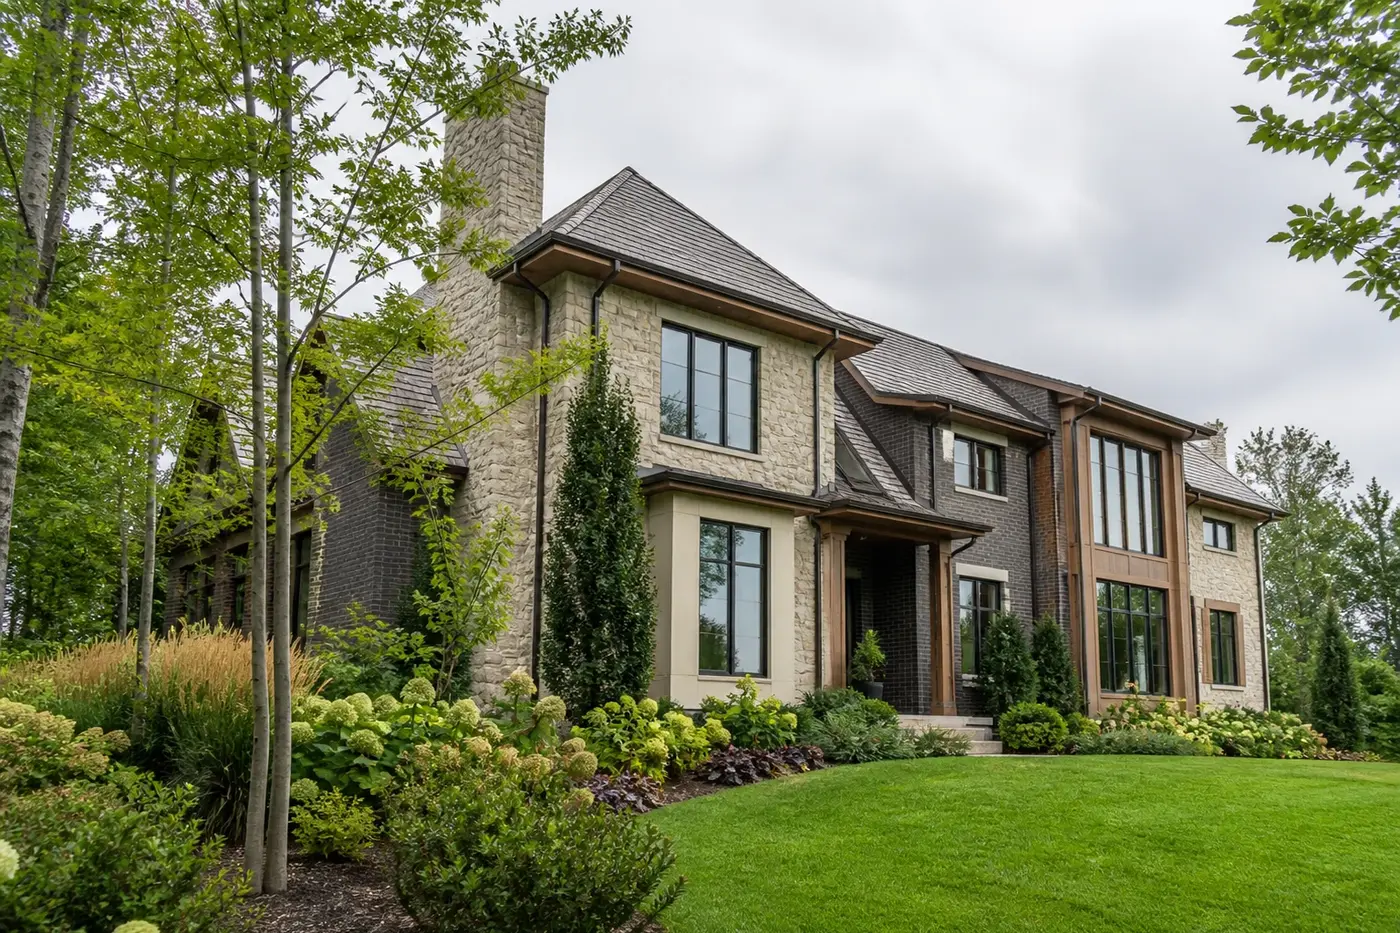
Plan the building envelope for a Charlotte custom home as one continuous boundary around the conditioned rooms—not as a list of separate products. Begin by drawing where rainwater, outside air, heat, and moisture should be controlled from the roof ridge to the finished grade. Then coordinate roof edges, wall assemblies, windows, exterior doors, masonry transitions, penetrations, insulation, and interior services before framing and rough-ins make those junctions difficult to change. Ask the architect, builder, engineers, trade partners, and product representatives as appropriate to document how each layer connects at corners and openings. Product labels matter, but continuity matters more. A well-resolved envelope gives every material a clear job and every vulnerable transition a buildable detail that can be reviewed in the field.
Planning a new home? Explore Max Built's custom-home process, then view the craftsmanship in our project portfolio.
1. Draw the complete boundary around the home
Start with building sections through the roof, exterior walls, foundation, attached garage, porches, and any change in floor level. Trace one uninterrupted line around the conditioned part of the home. That line is the first test of the envelope. If it disappears at a vaulted ceiling, roof intersection, floor edge, or connection to an unconditioned space, the team has found a decision that still needs work.
Now identify what each layer controls. The roof covering and exterior cladding shed most rain. Drainage planes direct incidental water outward. Air-control layers limit uncontrolled air movement. Insulation moderates heat flow. Other project-specific layers manage vapor, structure, fire, sound, or finishes. These jobs may be handled by different materials, but the drawings should show how they remain continuous.
Keep the discussion tied to the actual house. A simple rectangle and a home with multiple wings, dormers, terraces, and roof changes do not present the same junctions. Architectural character can remain rich, but every extra corner creates another place where the control layers must turn, connect, or terminate deliberately.
- Where does the conditioned boundary run at every roof and floor change?
- Which material controls water, air, and heat at each assembly?
- Where do those layers change products or trades?
- Which junctions need a larger drawing or field mockup?
2. Map rainwater from the roof to the site
Follow rain from every roof plane. Show valleys, crickets where selected, eaves, gutters, scuppers if used, downspouts, lower roofs, terraces, and the final path across planted grade. Water should not vanish at the end of a downspout symbol or land on a roof edge that was never designed to receive concentrated flow.
Pay close attention where shapes meet. A roof entering a taller wall, a chimney passing through roofing, a covered terrace joining the house, or masonry stepping beside a window all need layered details. The visible finish is only the outer face. Behind it, the drainage path should remain understandable and direct water back outside.
Finish the route at ground level. Coordinate downspout outlets, foundation edges, planting beds, retaining transitions, terraces, and final slopes with the site and landscape plans. The building envelope does not stop at the bottom brick course; its water strategy depends on what happens immediately around the house.
3. Coordinate every window and exterior door as an assembly
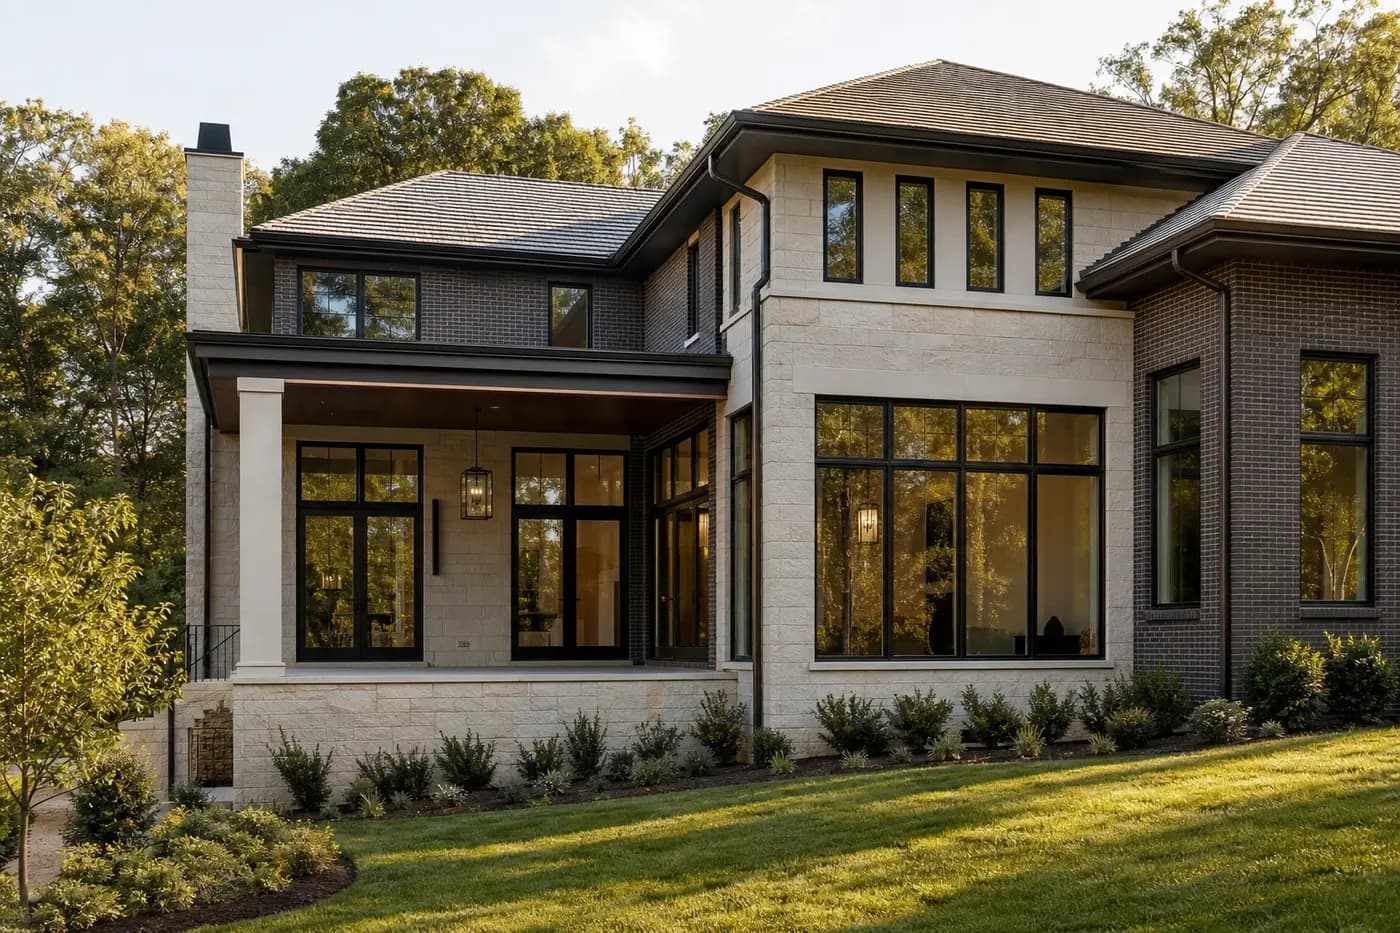
Windows and exterior doors interrupt several envelope layers at once. Review the rough opening, sill, jambs, head, pan or sill strategy, flashing sequence, exterior trim, cladding return, interior air seal, insulation around the frame, and connection to the wall's drainage plane. The selected product and wall type should drive the detail rather than a generic note copied across every opening.
Check geometry before ordering. Window groupings, deep masonry openings, arched heads, corner glass, large door systems, and low thresholds can each change structure, drainage, installation space, and finish dimensions. Draw the actual frame and attachment zone. A beautiful elevation can hide a rough opening that leaves no practical room for the specified sequence.
Study the threshold from both sides. Interior floor height, exterior paving, required slopes, weather exposure, door operation, drainage, and accessibility goals meet within a few inches. A nearly flush appearance may be possible in a particular condition, but it should result from coordinated elevations and a documented water strategy—not from raising exterior material after the door is installed.
4. Choose wall and roof assemblies that work together
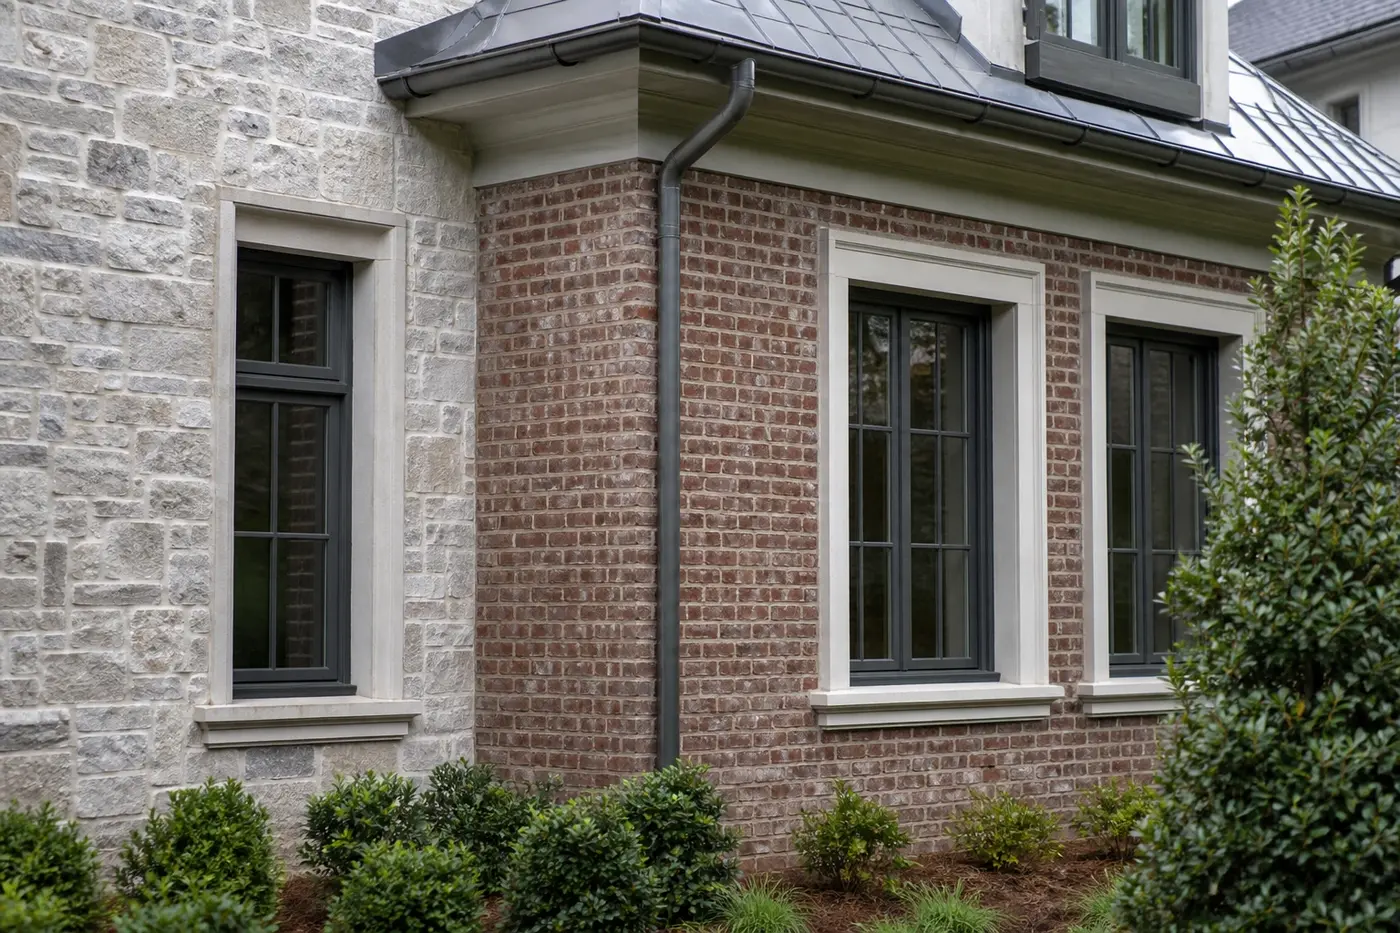
Exterior materials should be selected as parts of assemblies, not isolated samples. Brick, stone, wood, metal, stucco, panels, and other finishes have different attachment, drainage, movement, clearance, and maintenance needs. Ask what sits behind each finish, how the cavity drains, how the base terminates, and how the assembly turns at corners and openings.
Then compare adjacent materials. A thick stone wall meeting a slimmer cladding panel changes the face of wall, flashing depth, window position, and trim. A standing-seam roof beside another roof covering may change edge profiles and transitions. Resolve these changes in section so the finished composition and the concealed water path agree.
Keep compatibility in view. Sealants, membranes, tapes, flashings, fasteners, coatings, treated materials, and adjacent metals should be checked against current product information and the project specifications. If one layer depends on adhesion, contact, or drainage across another manufacturer's product, the design team should confirm the intended connection before it reaches the field.
5. Protect air-control and insulation continuity
Uncontrolled gaps often appear where assemblies change direction: roof-to-wall lines, rim areas, dropped ceilings, attic transitions, window frames, exterior doors, chases, and penetrations. Mark the intended air-control layer on the drawings and show how it connects through each condition. A note calling for a tight house is not the same as a continuous detail.
Do the same for insulation. Roof geometry, beams, ducts, recessed features, and structural connections can thin or interrupt the planned depth. Review sections before framing so structure and services do not consume the space assigned to the enclosure. The goal is not simply to fill visible cavities; it is to keep the intended thermal boundary aligned with the air-control boundary around the home.
Decide which spaces are inside that boundary. Attics, knee walls, mechanical areas, conditioned storage, porch roofs, garages, and chases need clear treatment on both architectural and system drawings. When different plans place the boundary in different locations, trade partners can each complete their own scope while leaving a gap between them.
6. Organize penetrations before rough-ins begin
Exterior lights, receptacles, hose connections, vents, exhausts, utility entries, condensate routes, cameras, controls, and future provisions all pass through the envelope. Make a schedule of them and place each item on coordinated elevations. Scattered field decisions can crowd a clean wall, conflict with masonry, or create openings where drainage and sealing are awkward.
Group routes where it makes sense, but do not force incompatible systems into one improvised opening. Each penetration needs support, slope where required, clearance, flashing or sealing appropriate to the assembly, and access for future service. Confirm the product-specific detail rather than relying on a bead of exposed sealant as the entire long-term strategy.
Review the inside face too. A wall location that looks empty outside may contain a cabinet, beam, plumbing stack, duct, tile backing, or electrical panel. Overlay exterior elevations with interior plans and system routes before drilling begins. A little coordination preserves both the envelope and the finished rooms.
7. Review the envelope while the work is still visible
Set field reviews around the moments when important layers can still be seen. Roof underlayments, wall drainage materials, opening flashings, transitions, penetrations, and air seals are easier to understand before cladding, trim, or interior finishes cover them. Photographing representative conditions can also help the project team compare later work with an approved sequence.
Consider a small mockup for a repeated or complex junction. One window in the selected wall assembly, one masonry-to-cladding transition, or one roof-to-wall condition can reveal dimensions and sequencing that looked simple on a detail. The purpose is practical: agree on how the layers fit before the same question is repeated around the house.
Use project-appropriate inspections and tests as feedback, not ceremony. The architect, builder, consultants, trade partners, and product representatives can determine what reviews make sense for the selected assemblies. When a gap or water path is found, trace it to the responsible layer and correct the detail while it remains accessible. That is how a collection of premium products becomes a coherent building envelope for the finished Charlotte custom home.
Building-envelope planning for a Charlotte custom home
What is the building envelope of a custom home?
It is the collection of roofs, exterior walls, windows, doors, foundation transitions, and control layers that separate conditioned rooms from exterior or unconditioned conditions. It manages water, air, heat, and moisture through coordinated assemblies.
When should the building envelope be planned?
Begin during architectural and system design, before roof geometry, wall types, opening sizes, structure, and service routes are fixed. Product details can develop later, but the control-layer paths and important junctions need room from the start.
Are high-quality windows enough to create a strong envelope?
No single product completes the enclosure. Window performance also depends on the opening, installation, flashing, drainage, air sealing, insulation, surrounding wall assembly, and the way the sill, jambs, and head connect to those layers.
Which building-envelope details deserve extra review?
Prioritize roof-to-wall intersections, valleys, chimneys, terraces, material changes, large window and door openings, low thresholds, foundation transitions, attached unconditioned spaces, and penetrations where several control layers or trades meet.
What should homeowners ask to see before exterior finishes cover the work?
Ask the project team which drainage, flashing, air-control, insulation, and penetration details should be reviewed while visible. Representative photos, field observations, mockups, and project-appropriate tests can help confirm that the documented sequence was carried through.
Build the right plan before construction begins
Tell us about your property, priorities, and the way you want to live. We'll help organize the next decisions around a clear, buildable path.