

How Should You Plan Exterior Lighting?
By David K
8 min read
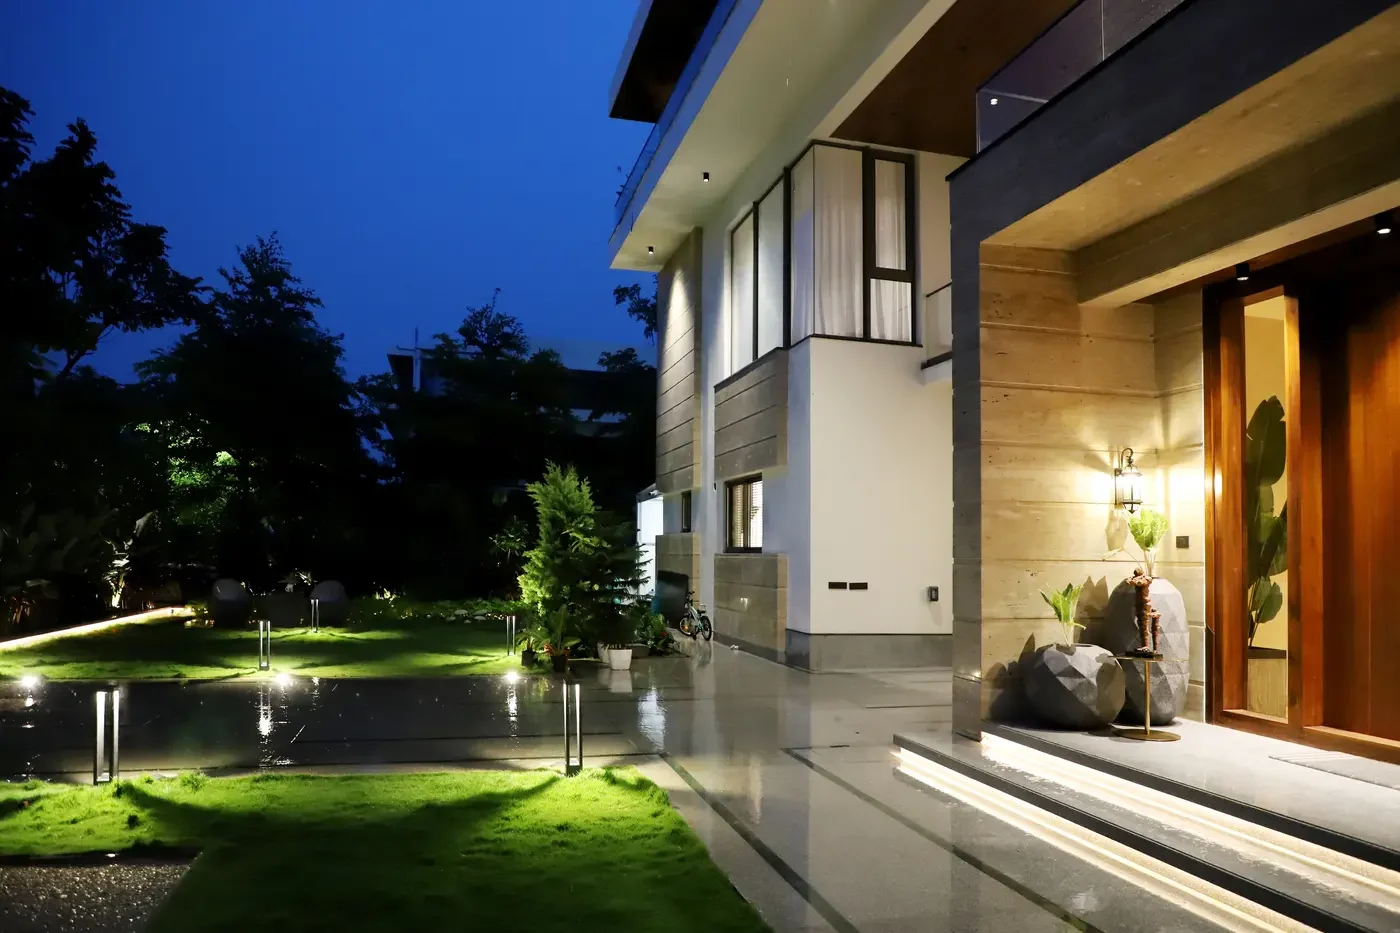
Plan exterior lighting as a set of specific nighttime tasks, not as a collection of decorative fixtures. Map the routes, thresholds, steps, gathering areas, service points, and selected landscape features that genuinely need light. Then assign each area an appropriate fixture, beam direction, mounting location, circuit, and control. Favor shielded, low-glare sources and the lowest useful light level; keep light on your property and out of windows and the sky. Coordinate sleeves, boxes, transformers, drainage, planting, cameras, irrigation, and finish details before concrete and walls close. Finally, commission the system after dark so aiming, dimming, schedules, and sensor ranges can be corrected in the real setting.
Planning a new home? Explore Max Built's custom-home process, then view the craftsmanship in our project portfolio.
Map the nighttime jobs before choosing fixtures
Begin with a dark-site plan and a simple question: what needs to be seen here after sunset? Mark the front walk, exterior doors, steps, grade changes, terraces, gates, trash and service routes, equipment access, and any path used between the house and another structure. Add the views that matter from inside, such as a courtyard, specimen tree, or garden wall. This creates a lighting brief rooted in how the property works instead of how many fixtures fit on an elevation.
Separate navigation from decoration. A step needs clear visual definition at foot level. A front door needs comfortable light for keys, faces, and the threshold. A terrace needs flexible light for movement and gathering. A mature tree may need no electric light at all, or one carefully aimed source rather than several bright fixtures. When every light has a written job, unnecessary fixtures are easier to remove.
Review the plan with the architecture, grading, landscape, and security layouts. A fixture that looks correct on a building elevation may be blocked by a future shrub, cast glare through a bedroom window, conflict with a camera, or sit where runoff collects. Resolve those conflicts while fixture locations, walls, walks, and planting can still move.
- Which routes and level changes must remain legible after dark?
- Which doors need task light rather than decorative glow?
- Which outdoor rooms need more than one lighting scene?
- Which views deserve emphasis, and which areas should remain dark?
Use darkness, contrast, and shielding to improve visibility
More light is not automatically better visibility. An exposed bright source can create glare, make nearby shadows look deeper, and pull attention away from the walking surface. The U.S. Department of Energy describes the challenge as balancing the useful function of nighttime light with the effects of unnecessary, excess, misdirected, and mistimed illumination. Start with the lowest practical level and add light only where the task remains unclear.
The responsible-lighting principles published by DarkSky and the Illuminating Engineering Society offer a useful residential test: light should be useful, targeted, low level, controlled, and warm-colored where possible. In practice, that means shielding the source from normal sightlines, aiming light down or onto the intended surface, avoiding light trespass, and choosing fixtures by photometric performance rather than by appearance alone.
Look at the surrounding materials. Pale stone, metal, water, and glass can reflect more light than dark planting or brick. A fixture that seems modest on a product sheet may be uncomfortable when aimed across polished paving or visible through a large window. Ask the lighting designer or project team to evaluate mounting height, beam spread, source brightness, and reflected light together.
Build zones around how the property is used
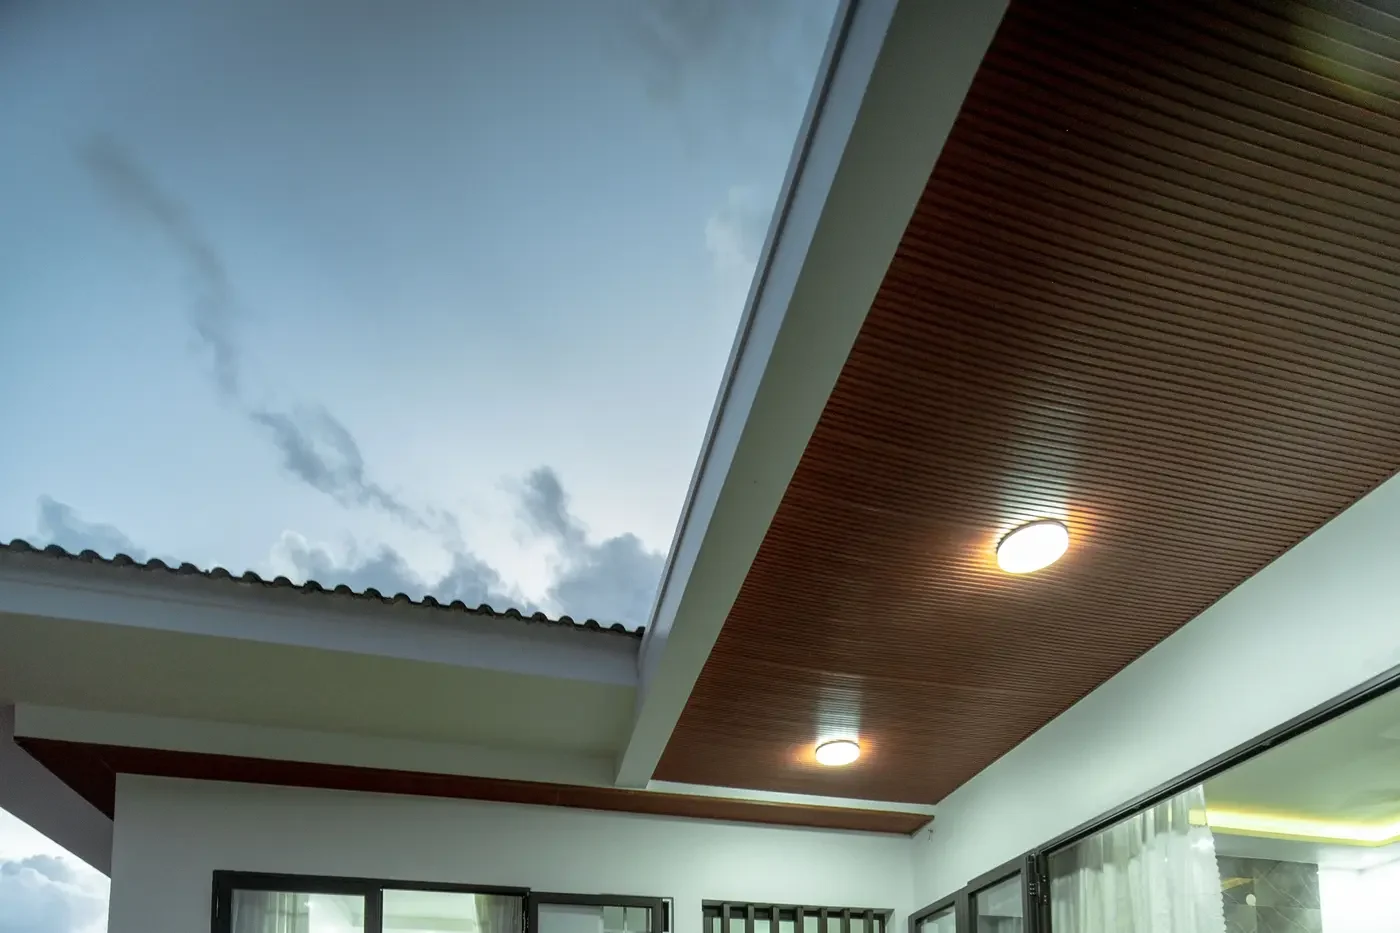
Do not place the entire exterior on one switch or one all-night schedule. Divide the plan into understandable zones: daily arrival, secondary entries, steps and circulation, terrace or outdoor-room lighting, landscape accents, service areas, and security-responsive light. The exact groups depend on the property, but each should correspond to a real use rather than an arbitrary circuit boundary.
Choose the control for the job. A photocell or astronomical schedule can handle predictable dusk operation. A timer can turn decorative and landscape light off when it is no longer useful. Occupancy or motion sensing can raise light temporarily at a side path or service area. Manual controls remain important for outdoor rooms and unusual events. Confirm that fixtures, drivers, dimmers, sensors, and any home-control system are compatible before products are ordered.
Plan normal, late-evening, and away modes. The normal scene can support arrival and outdoor use without illuminating the whole site. A late scene can retain only the minimum useful route and threshold lighting. An away mode can combine selected scheduled and responsive zones without creating constant brightness. Keep physical control and labeling understandable so the system still works when an app, network, or automation platform is unavailable.
Coordinate the hidden infrastructure before finishes close
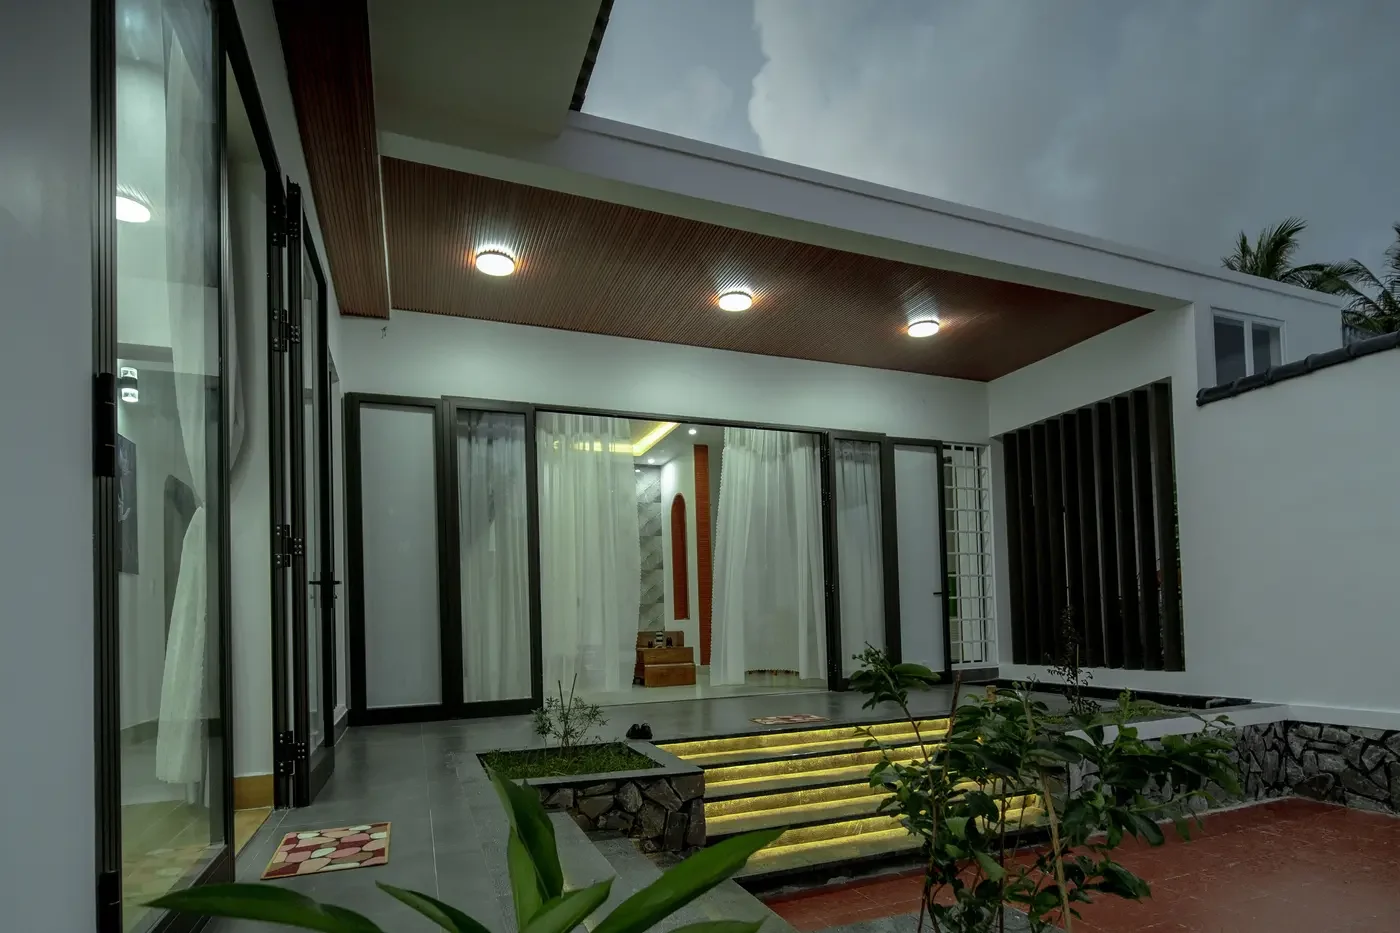
Exterior lighting depends on more than visible fixtures. Show boxes, conduit, sleeves, junction locations, transformers, drivers, power supplies, sensors, control panels, and accessible service points on coordinated drawings. Landscape systems may need low-voltage cable routes and transformer capacity; building-mounted fixtures need boxes aligned with masonry, siding, columns, and soffit patterns. Concealed components still need ventilation, drainage protection, and future access appropriate to the selected system.
Plan crossings before hardscape and planting are installed. A spare sleeve beneath a walk may preserve a future route without cutting finished paving. Coordinate electrical pathways with irrigation, drainage, tree roots, gas, communications, gates, pool systems, and other utilities. The responsible licensed professionals should establish the actual wiring methods, equipment ratings, protection, and inspection requirements for the project.
Keep lighting details current when architecture or landscape changes. Moving a tree, adding a retaining wall, changing a stair, or widening a terrace can invalidate fixture positions and beam directions even when the electrical plan appears unchanged. Tie decisions to the latest site, grading, architectural, and landscape drawings rather than marking corrections in separate field notes.
Protect bedroom windows, neighbors, and the night view
Walk the lighting plan from more than the property entrance. Check views from bedrooms, the great room, terraces, neighboring lot lines, and upper floors. A source that is hidden from the front walk may be visible from a second-floor window. A tree light aimed across the property can create spill beyond the intended canopy. Shielding, lower mounting, tighter optics, reduced output, and a different aiming point often solve more than adding another fixture.
Review HOA or community standards and the current local requirements that apply to the exact property before finalizing the design. Requirements and approval paths can vary by jurisdiction, neighborhood, and project conditions. Product labels and online examples are not substitutes for the project's approved documents or the judgment of the responsible design and electrical professionals.
Preserve darkness as part of the composition. A luxury home does not need every façade plane, tree, and roof edge illuminated. Selective light can make an entry easier to find, reveal depth, and keep the landscape visible from inside while leaving quieter areas dark. Restraint also makes the places that are illuminated feel more intentional.
Commission the system after dark and document the settings
Exterior lighting cannot be finished from daytime plans alone. Schedule a nighttime review after fixtures, key finishes, hardscape, and enough planting are in place to judge the real effect. Walk every route, stand at each door, sit in the outdoor rooms, and look from important interior windows. Check steps, faces at entries, reflections, glare, dark gaps, spill, sensor response, and how one zone affects the next.
Aim and dim before adding hardware. Small changes to beam direction, shield position, output, or timing can solve a problem that would otherwise lead to another fixture. Test motion-sensor range so normal planting movement or activity beyond the intended area does not trigger the system unnecessarily. Confirm schedules through a power interruption and verify that manual overrides return to a predictable state.
At handover, record fixture models, lamp or integrated-source information, driver and transformer locations, control groups, schedules, dimming levels, sensor settings, aiming notes, warranty information, and safe maintenance access. Photograph concealed routes and label serviceable equipment. Max Built can help coordinate the builder, design team, electrical contractor, landscape team, and homeowner early, while exterior lighting can still be integrated into the new home instead of layered onto finished architecture.
Sources and editorial notes
U.S. Department of Energy guidance on light at night
DarkSky and IES Five Principles for Responsible Outdoor Lighting
Mecklenburg County residential plan review services
Pexels representative exterior photography
Pexels representative covered-entry photography
Pexels representative soffit-lighting photography
Prepared with AI assistance and editorially reviewed by Sage. Architectural images are illustrative, not documented Max Built projects. This organizational guide does not replace project-specific professional advice.
Exterior-lighting questions for a new custom home
When should exterior lighting be planned for a custom home?
Begin during site and architectural design, then coordinate the detailed fixture, circuit, control, sleeve, and landscape plan before electrical rough-in, exterior finishes, hardscape, and planting. Final aiming and dimming should happen after dark near completion.
How many exterior lights does a custom home need?
There is no useful fixture count for every home. Map the tasks, routes, level changes, doors, outdoor rooms, service points, and selected landscape features; then use the fewest properly aimed and controlled fixtures that meet those needs without glare or spill.
Should exterior lights stay on all night?
Not every zone should. Use schedules, dimming, sensors, and manual control so light is available when needed and reduced or off when it is not. Any continuous lighting should have a defined purpose and be set to the lowest useful level.
What makes an exterior light neighbor-friendly?
It has a clear purpose, directs light only where needed, uses no more output than necessary, avoids glare and spill across property lines or into windows, operates only when useful, and uses an appropriate warmer color where possible.
What should be reviewed during a nighttime lighting walk-through?
Check every walking route, step, threshold, outdoor room, interior view, neighboring direction, sensor range, schedule, dimming level, glare source, reflection, and beam aim. Adjust settings and aiming before deciding that more fixtures are needed.
Who should confirm exterior-lighting code and installation details?
The responsible licensed design and electrical professionals and the authority having jurisdiction should confirm the project-specific requirements, equipment ratings, wiring methods, protection, permitting, and inspections. HOA or community standards should also be checked where applicable.
Build the right plan before construction begins
Tell us about your property, priorities, and the way you want to live. We'll help organize the next decisions around a clear, buildable path.