

Charlotte Great Room Planning: 7 Decisions
By Max Built
9 min read
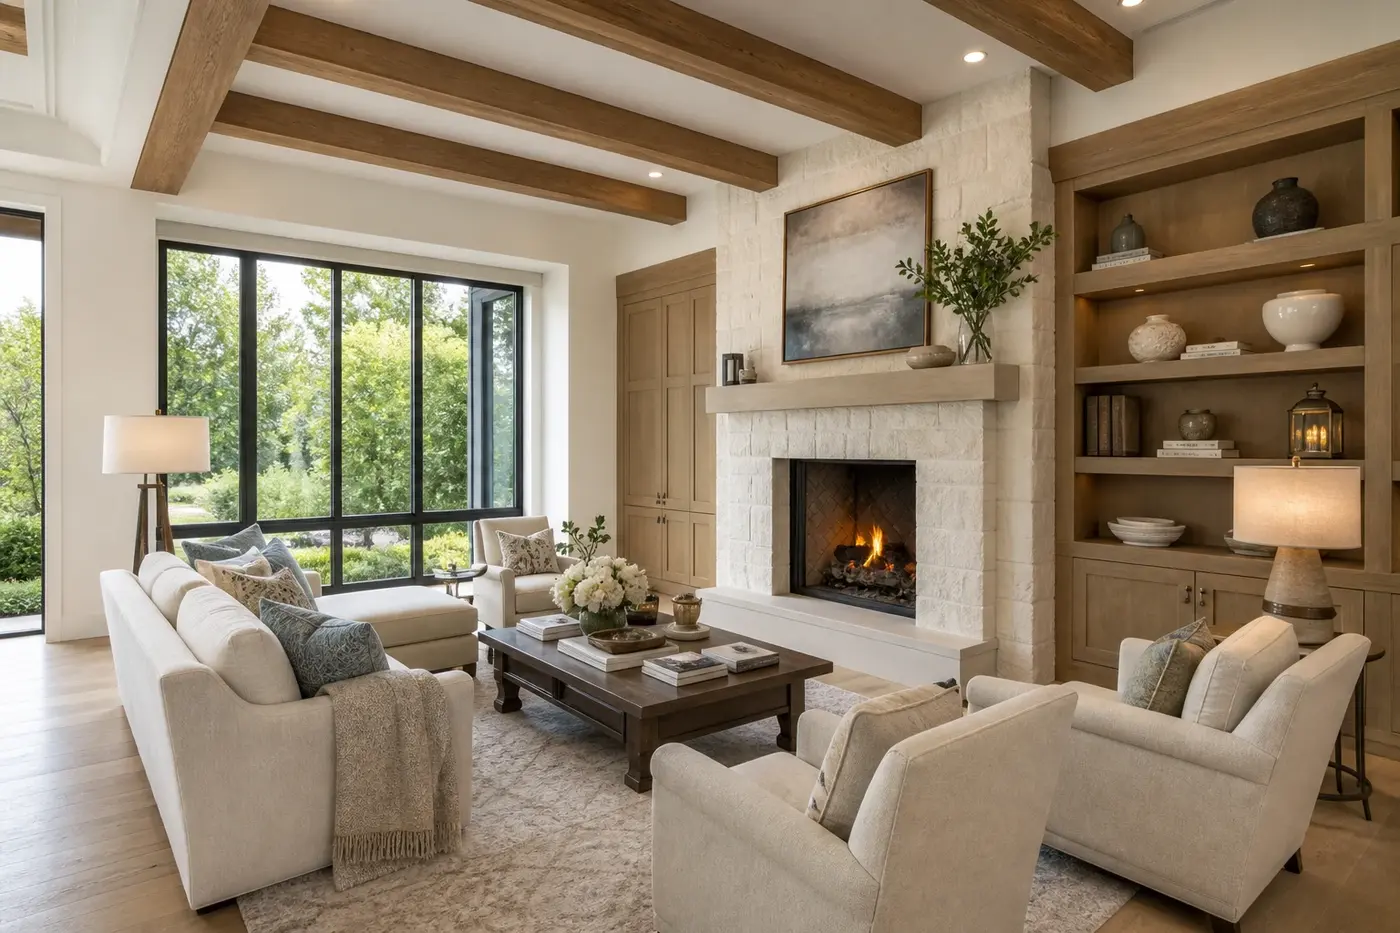
Plan a Charlotte custom-home great room from the activities and furniture it needs to support, then shape the architecture around them. Start with a scaled seating plan and protect the paths between the entry, kitchen, stairs, outdoor spaces, and private rooms. Decide which view leads the room, how the fireplace and television will coexist, and where daylight falls throughout the day. Coordinate ceiling structure, windows, lighting, outlets, floor registers, acoustics, and built-ins before construction fixes their locations. A great room feels generous when people can talk comfortably, move without cutting through the seating, and understand how the room connects to the rest of the new home.
Planning a new home? Explore Max Built's custom-home process, then view the craftsmanship in our project portfolio.
1. Define what the great room needs to do every day
Begin with ordinary life. List who uses the room, when they gather, whether they read or watch television there, how often they entertain, and which nearby spaces they move between. A room planned only for a wide-angle photograph can be surprisingly awkward once conversation, homework, snacks, music, and a quiet evening all compete for the same floor area.
Decide what belongs in the great room and what should happen elsewhere. It may be the main conversation space, the primary television room, or both. It might also connect directly to the kitchen and a covered outdoor room. Naming those jobs early helps the floor plan provide the right wall lengths, views, storage, and circulation instead of asking furniture to solve an architectural problem later.
Then rank the uses. If conversation is first, seat spacing and sightlines should lead. If the room anchors frequent gatherings, routes to the kitchen and outdoors matter more. A clear priority does not eliminate other uses; it gives the room a center of gravity.
- How many people use the room on a normal day and during gatherings?
- Is the television a focal point, a secondary feature, or located elsewhere?
- Which spaces must connect directly to the great room?
- What should someone see first when entering the room?
2. Draw the real furniture before setting the room size
A great room should be sized around a tested furniture plan, not a vague goal to make it large. Draw the actual sofa depth, chair widths, side tables, lamps, coffee table, rug, fireplace hearth, and any console. Include the space needed to pull out a chair, reach a table, and walk behind the seating without brushing furniture.
Keep conversation distances comfortable. Seating spread too far apart can make a large room feel formal and disconnected, while an oversized sectional can turn the main route into an obstacle course. Try more than one arrangement. The strongest plan usually has a clear primary grouping and enough flexibility to add a chair or move a table without breaking circulation.
Check the room from seated eye level. Window sills, fireplace height, television position, and views into adjacent spaces can feel very different from the standing perspectives used in plans and renderings. The furniture plan is not decoration added after architecture; it is one of the drawings that should guide the architecture.
3. Protect circulation without cutting through the seating
Trace every common route through the room. Someone may walk from the entry to the kitchen, carry food toward an outdoor table, head to a stair, or move toward a bedroom hall. Those paths should pass along the edge of the main seating group rather than through the space between the sofa and fireplace.
Doorways and openings need enough landing room on both sides. A broad opening can improve connection, but it can also remove the wall needed for a lamp, console, art, or television. Several wide openings may leave a room that is easy to enter but difficult to furnish. Keep useful wall planes where they support the layout.
Test busy moments. Open nearby doors, place people in the kitchen and great room, and imagine someone crossing with a tray while another person pulls out a chair. A few inches moved on the plan can preserve a calm route for decades.
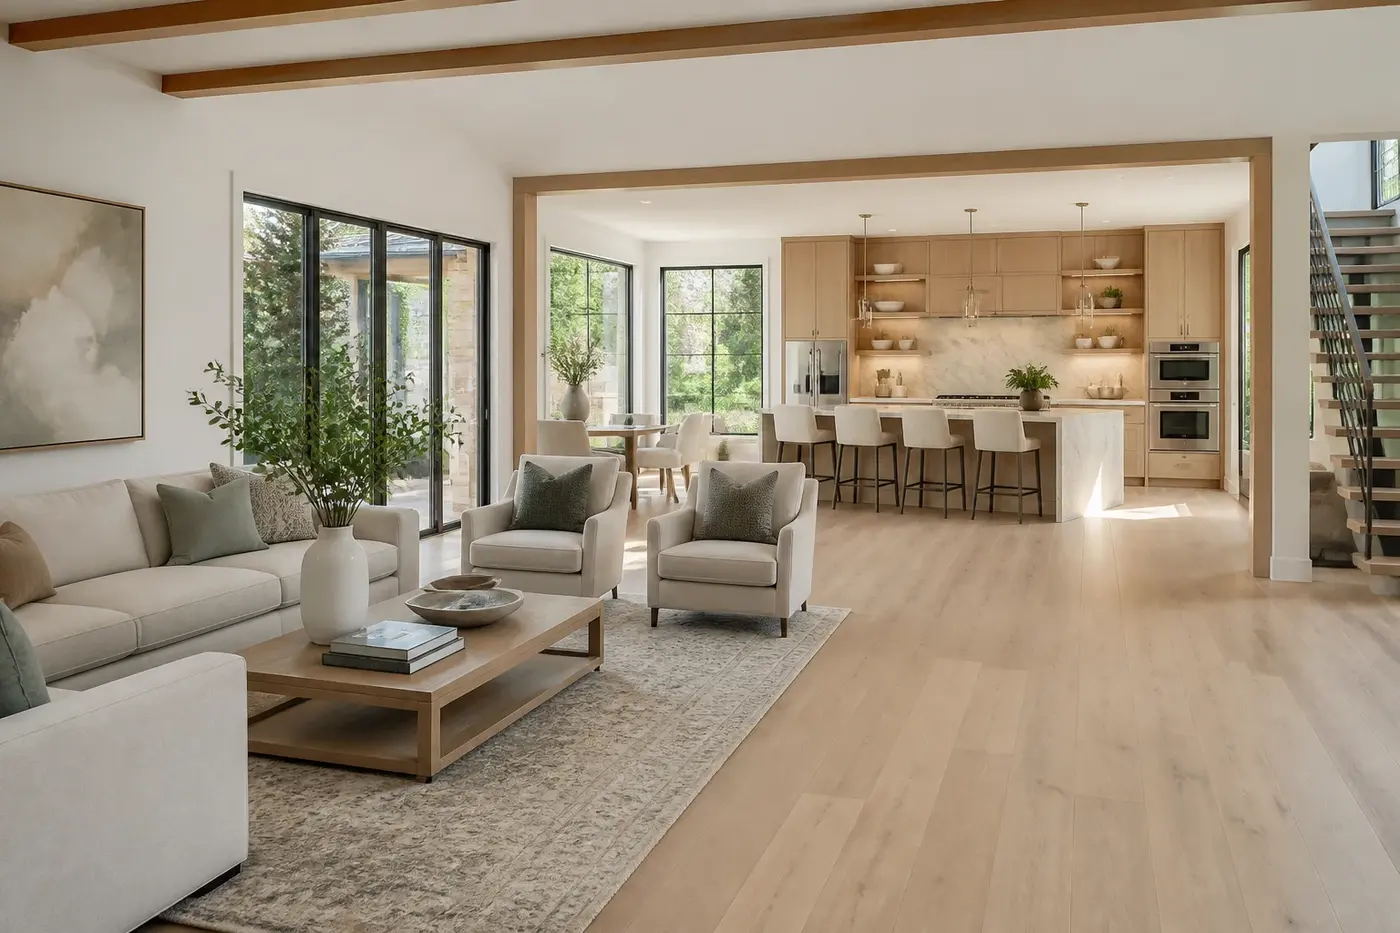
4. Connect the great room and kitchen without losing definition
An open connection can make daily life feel easy, yet the two spaces still need distinct jobs. Align the opening and island so the kitchen does not send its busiest work path through the seating. Keep the refrigerator, cleanup area, and pantry route from spilling into the great room whenever the plan allows.
Study the views in both directions. From the sofa, decide how much of the work zone should be visible. From the kitchen, make sure the fireplace, garden, or another residential focal point gives the eye somewhere intentional to land. A short wall, change in ceiling shape, or carefully placed cabinet run can create definition without closing the spaces apart.
Coordinate flooring, ceiling lines, lighting, and furniture clearances across the boundary. When every finish and fixture simply continues, the room may feel like one oversized zone. Subtle changes can help each area feel complete while keeping movement natural.
5. Compose the fireplace, windows, views, and media as one wall plan
Choose the visual hierarchy before framing begins. A fireplace, tall garden windows, a television, art, and built-in storage all ask for attention. Putting every feature on one wall can create a crowded elevation, while spreading them around the room can force the seating to face several directions at once.
If a television is included, test its size, height, viewing distance, glare, wiring, ventilation guidance, and relationship to the fireplace. It does not automatically belong above the mantel. A side wall, concealed cabinet, or separate media space may create a more comfortable viewing angle and preserve the fireplace as architecture.
Charlotte daylight can be generous through large windows, but orientation and tree cover change the room hour by hour. Review direct sun, glare, shade needs, privacy, furniture fading, and the nighttime view. Coordinate glass, window treatments, outlets, controls, and structural headers early so the finished wall reads as one composition.
6. Plan ceiling scale, layered light, and sound together
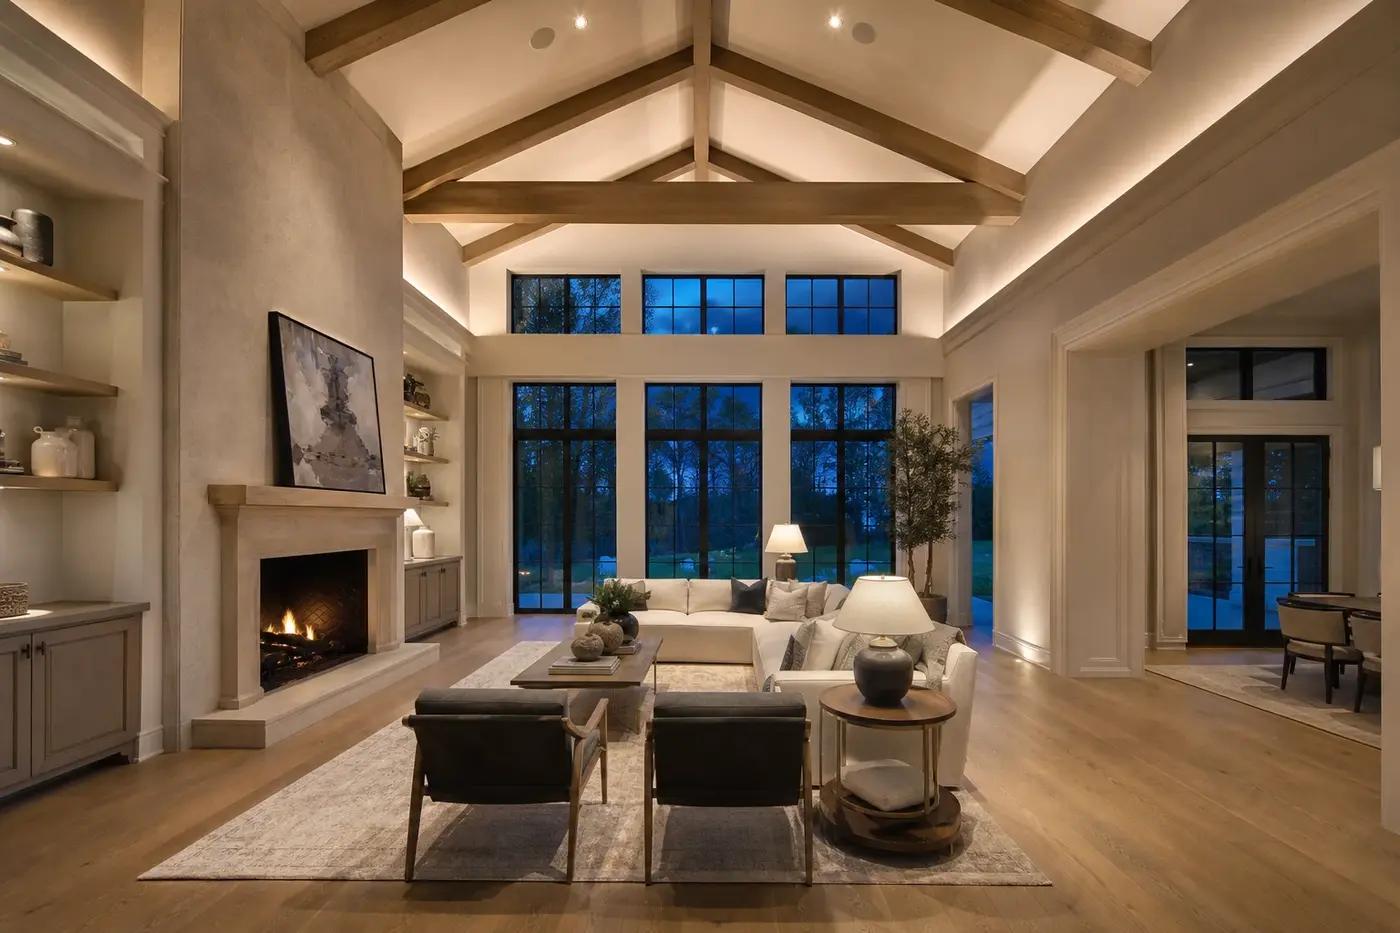
A tall or vaulted ceiling can give the room presence, but height changes more than appearance. It affects window proportions, beam depth, fixture suspension, ceiling-fan selection if used, heating and cooling distribution, and how voices and music carry. Test the room width and height together. A ceiling should support the seating zone below rather than make it feel small.
Layer the lighting around real activities. General light should make the room easy to navigate. Lamps and targeted fixtures support reading and conversation, while concealed or architectural light can reveal the ceiling without flooding it. Locate switches, dimming, floor outlets, and fixture support before finishes hide the wiring.
Hard floors, broad glass, stone, and a high ceiling can make a beautiful room sound harsh. Rugs, upholstered furniture, drapery, books, and selected acoustic details can soften it. Review speaker locations and equipment storage with the same care as lighting; avoid making technology the most visible element in the room.
7. Coordinate the complete room before construction fixes it
Before framing and rough-ins are final, review one coordinated plan and interior elevations showing furniture, rugs, openings, windows, shades, fireplace dimensions, television if included, built-ins, lighting, outlets, controls, speakers, floor registers, returns, ceiling structure, trim, and material transitions. Small conflicts become obvious when every layer appears on the same drawings.
Mark the layout at full scale when possible. Tape the sofa, chairs, coffee table, hearth, and main walking paths on a floor. Sit at the approximate sofa position and look toward each focal point. Walk from the kitchen to the outdoor connection. This simple test often reveals a route or distance that looked fine on paper.
Finally, edit. Keep the architectural moves that improve gathering, movement, light, views, and comfort. Remove features that compete without helping the room work. A successful great room does not need to be the biggest space in the house. It needs to feel settled, useful, and connected from the day the new home is occupied.
Great room planning for a Charlotte custom home
How large should a custom-home great room be?
Size it from a scaled furniture plan, the number of people expected, comfortable conversation spacing, and protected circulation. Room dimensions should follow the tested layout rather than a standard square-foot target.
Should a great room be completely open to the kitchen?
It can be open while still having a clear edge. Coordinate the island, work routes, ceiling lines, lighting, flooring, and furniture so kitchen traffic does not cross the main seating area and both spaces feel complete.
Where should the television go in a great room with a fireplace?
Compare the mantel wall, a side wall, concealed millwork, and a separate media space. Check viewing height, distance, glare, heat, wiring, equipment ventilation, and furniture direction before choosing the location.
What should be decided before framing a great room?
Confirm furniture, circulation, openings, window and shade locations, fireplace dimensions, media, built-ins, ceiling structure, lighting, outlets, controls, speakers, heating and cooling distribution, and finish transitions on coordinated drawings.
How can a large great room feel comfortable rather than empty?
Create one clear seating center, keep conversation distances practical, use appropriately scaled furniture and rugs, protect useful wall planes, and layer light and soft materials. More empty floor area does not automatically make the room feel generous.
Build the right plan before construction begins
Tell us about your property, priorities, and the way you want to live. We'll help organize the next decisions around a clear, buildable path.