

Charlotte Custom-Home Interior Doors: 7 Decisions
By Max Built
9 min read
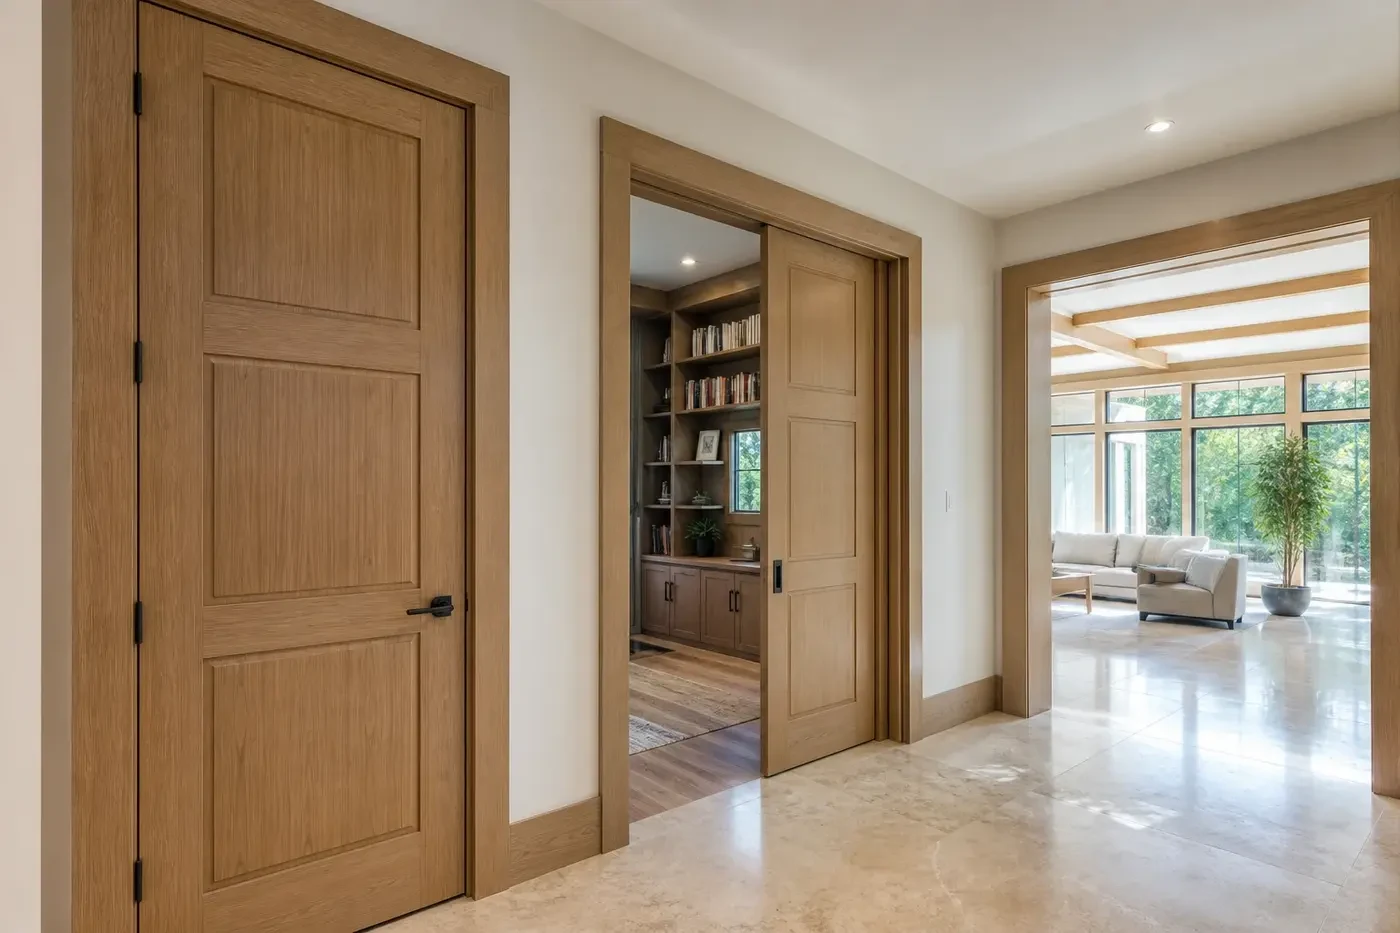
Plan interior doors for a Charlotte custom home by drawing every door in its real open position before the floor plan is final. Start with the privacy, sound control, furniture, and circulation each room needs. Then choose the right operation—hinged, pocket, sliding, or paired—without forcing one type everywhere. Confirm slab width and height, jamb depth, casing, wall-pocket space, hardware, electrical conflicts, floor transitions, and accessibility with the project team before framing and rough-ins. A well-planned door should feel almost effortless: it opens where someone expects, clears nearby furniture and other doors, closes securely, and supports the character of the new home without interrupting daily movement.
Planning a new home? Explore Max Built's custom-home process, then view the craftsmanship in our project portfolio.
1. Map privacy and movement room by room
Begin with the floor plan and trace an ordinary day. Follow the route from the bedroom to the bath, from the kitchen to the pantry, and from the main living spaces toward quieter rooms. Mark where someone may carry laundry, open a cabinet, pull out a chair, or pass another person. A door that looks harmless as a thin line can become the most awkward object in a small hall once it swings open.
Next, rate each opening for visual privacy, sound privacy, convenience, and frequency of use. A bedroom needs a different kind of separation than a pantry. A powder room near a gathering space deserves careful sightlines. A door between two busy rooms may need to stay open most of the day without blocking a wall, switch, or walking path.
This first pass keeps the discussion practical. Instead of choosing doors as a finish package near the end, the household can decide what each opening needs to accomplish while the rooms and walls can still move.
- Which openings need visual privacy, sound control, or both?
- Where will an open door narrow a daily walking path?
- Which walls need to remain clear for furniture, art, or storage?
- Which doors will be used while someone is carrying something?
2. Test every swing with furniture and nearby doors
Draw the full arc of every hinged door, then add the objects around it at real size. Beds, nightstands, vanities, toilets, cabinets, closet rods, benches, and rugs all change the useful clearance. Open adjacent doors at the same time. Two doors can work separately and still collide when a bedroom, bath, and linen closet meet in one compact vestibule.
The direction of the swing should support the way someone enters. A door can reveal the room gradually, shield a private view, or land against a useful wall. Reversing it may improve one condition and create another, so test the handle approach, the standing space needed to operate it, and the route after the door is open.
Pay attention to the back of the door as well. Hooks, mirrors, stops, and nearby controls need a documented location. Do not let a wall switch end up behind the open slab or rely on a floor stop where it will become a tripping point.
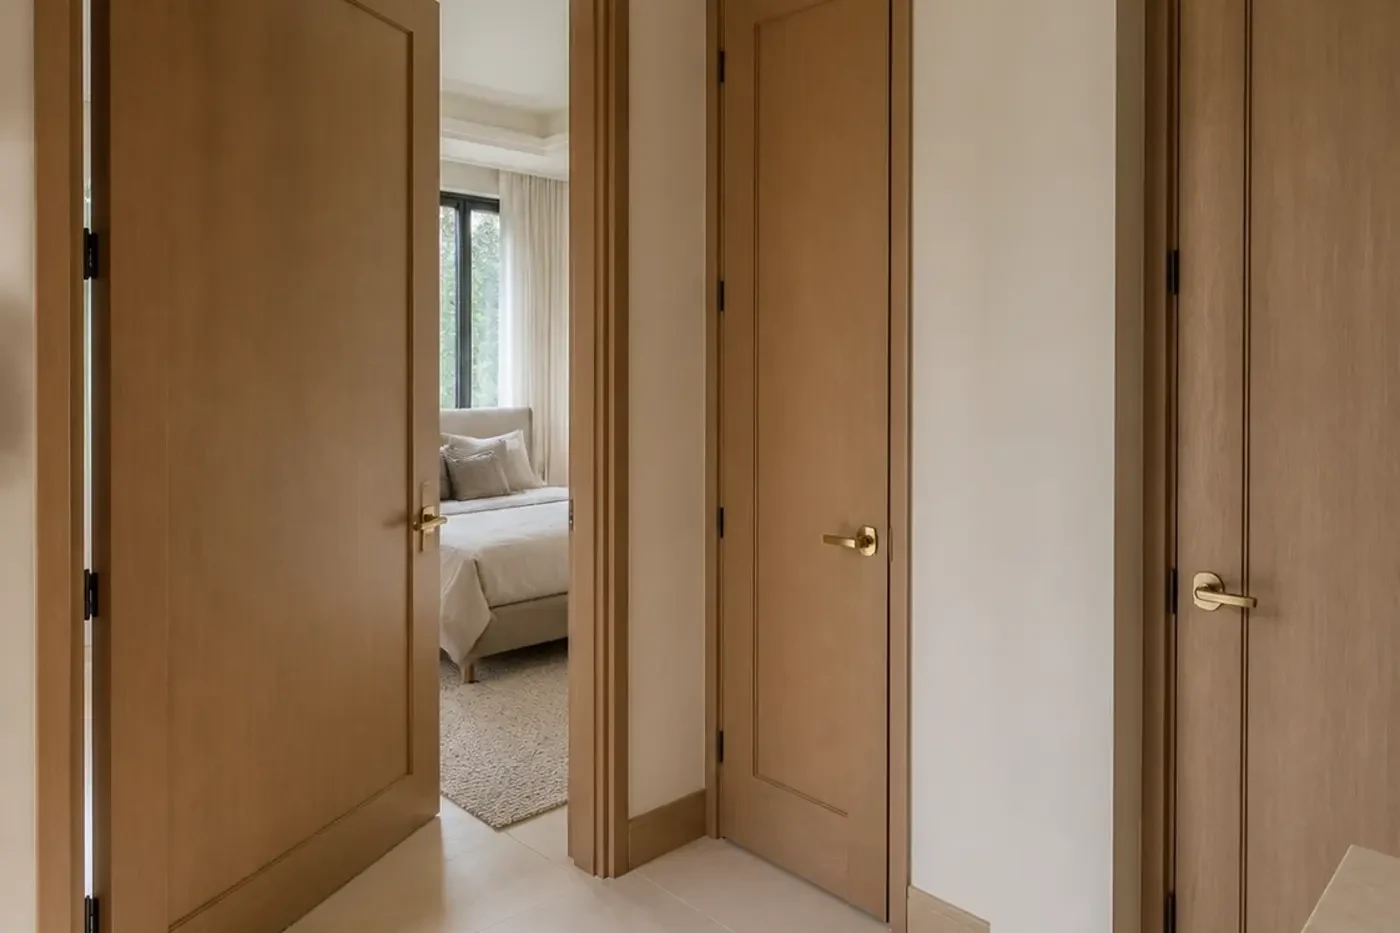
3. Choose the right operation for each opening
A conventional hinged door is familiar, closes positively, and can provide a strong sense of privacy. It also needs clear floor and wall space. Pocket doors preserve that space and can connect rooms elegantly, but the wall pocket must remain free of plumbing, ducts, blocking, and electrical devices that would interfere with the assembly. Surface sliding doors remain visible when open and usually do not seal like a hinged door.
Paired doors can give a broad opening presence, though the inactive leaf, hardware, meeting detail, and furniture clearances need attention. Wider cased openings may be the better answer where privacy is not required. The goal is not to showcase every possible door type. It is to match the operation to how the opening will actually be used.
For each special door, review the complete manufacturer information and installation needs with the builder and design team. Wall thickness, track access, slab weight, guides, stops, pulls, and future service access should be resolved before the surrounding finishes are designed.
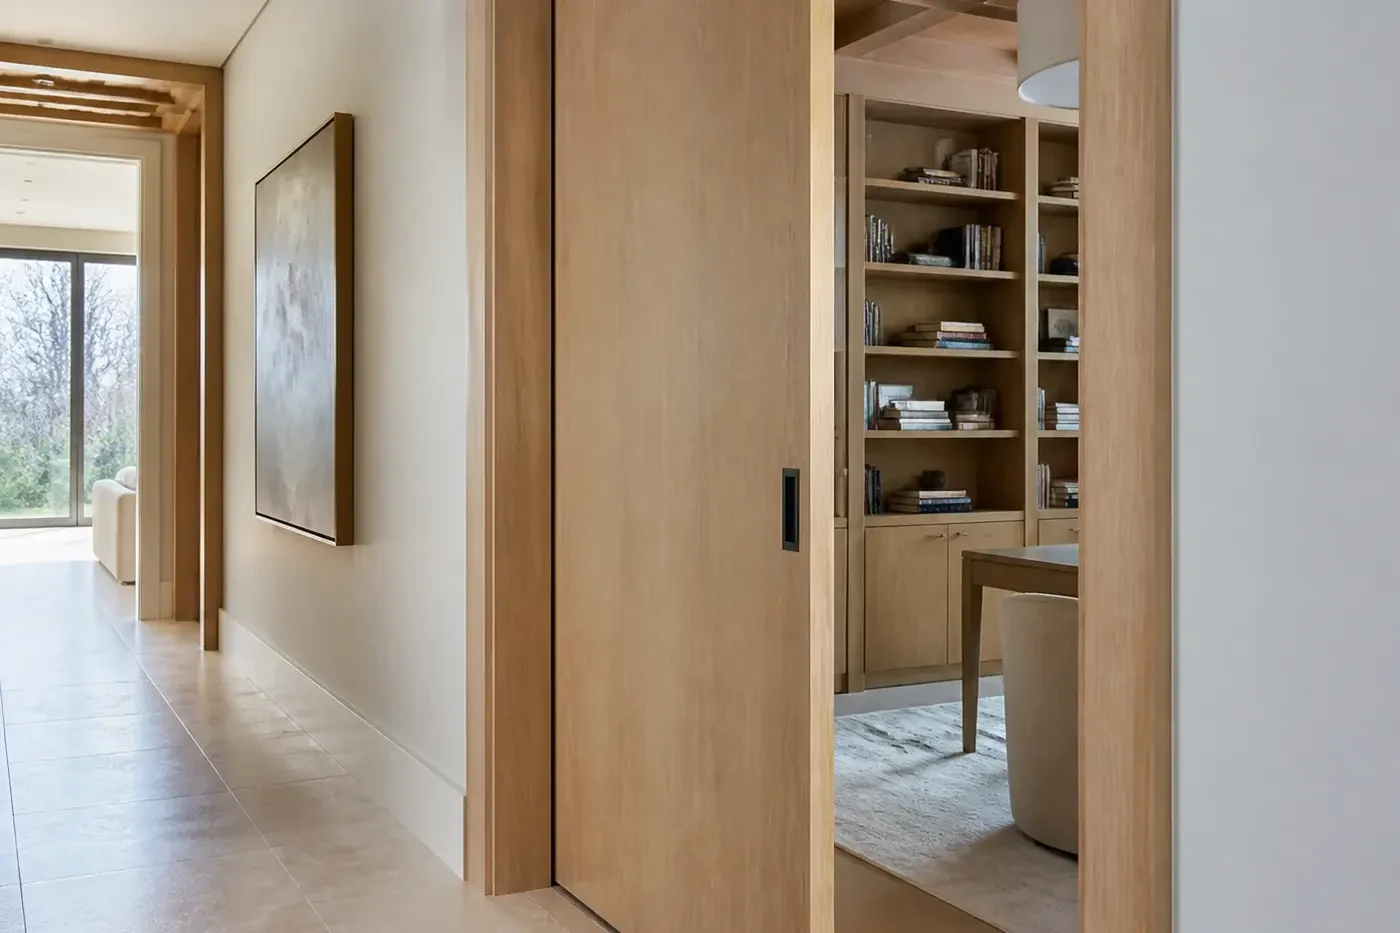
4. Set door sizes and proportions as part of the architecture
Door height and width affect more than appearance. A tall slab can suit generous ceiling proportions, but it also changes weight, hinges, hardware, jamb construction, and the relationship to nearby cabinetry and openings. A wider clear opening may make a frequently used room easier to enter, yet the larger slab needs enough space to operate comfortably.
Create an interior-door schedule early enough to compare the whole house. Note each opening, room names, operation, nominal size, intended clear opening, handing, slab style, jamb, casing, hardware function, and any special condition. Repeated dimensions and aligned heads can bring calm to a long gallery, while a deliberate change can mark an important room.
Check proportions in elevation, not only on the floor plan. A narrow door squeezed beside a broad wall panel, a casing that clips a corner, or several unrelated head heights can make an otherwise quiet interior feel unresolved. Coordinated elevations reveal those problems while adjustment is still simple.
5. Plan sound and privacy as a complete assembly
The door slab is only one part of privacy. Its construction, fit at the jamb, perimeter gaps, undercut, seals when appropriate, hardware, and the wall around it all affect what people hear. A more substantial door can help, but it cannot compensate for a large floor gap or a noisy route that places a sleeping room beside the busiest gathering area.
Use the floor plan first. Closets, short halls, and bathroom zones can create helpful buffers between quiet and active rooms. Then discuss the door and wall assembly with the project team based on the level of separation the household expects. Avoid promising complete silence; everyday sound control comes from several coordinated decisions rather than one upgraded product.
Privacy also has a visual side. Stand at the doorway and look through it from normal approach angles. A small shift can keep a bed, toilet, or private storage area out of a direct hall view without making the room difficult to enter.
6. Coordinate hardware, trim, floors, and controls
Choose hardware by function before choosing its finish. Bedrooms and baths may need privacy functions, while closets, passages, and paired doors require different sets. Confirm lever or knob style, backset, hinges, latches, strikes, flush bolts, pulls, stops, and any selected access or smart-home requirements. Hardware should feel consistent without pretending every opening has the same job.
Review how the jamb and casing meet baseboards, wall paneling, tile, cabinets, and floor transitions. A concealed or flush door requires a different level of framing and finish coordination than a traditional cased opening. Pocket-door trim and pulls should still be comfortable to use. If flooring changes beneath a door, set the joint so it is visually appropriate when the door is closed.
Place switches, outlets, thermostats, and controls after the door operation is known. The open slab should not hide the light switch, and a pocket should not contain wiring that conflicts with its frame. These details seem small on a drawing. They are noticed every day once the home is occupied.
7. Review the complete schedule before framing
Before framing and rough-ins are fixed, walk through the door schedule with the floor plans and interior elevations side by side. Open every slab on the drawing. Confirm room names, handing, sizes, clear openings, wall thicknesses, pocket cavities, nearby plumbing and air distribution, controls, cabinetry, furniture, floor joints, trim, and hardware functions.
Then rehearse the plan at full scale where practical. Mark a tight vestibule, primary-suite entry, or pantry opening on the floor. Stand where the handle will be, move through the opening, and test what happens when the next door opens. This catches awkward approaches and collisions that are easy to overlook on a screen.
Finally, simplify. Keep special door types where they solve a real circulation, privacy, or architectural need. Use consistent, dependable details elsewhere. The finished result should not call attention to the planning behind it. Doors should simply be in the right place, open the right way, and support the rooms around them.
Interior-door planning for a Charlotte custom home
When should interior doors be planned for a custom home?
Plan door locations, operations, swings, sizes, and special wall needs during design, before framing and rough-ins are fixed. Hardware finishes can be refined later, but the opening and construction requirements should be coordinated early.
Where do pocket doors work well in a custom home?
They can work well where a hinged slab would block furniture or circulation, such as selected pantry, bath, closet, or connecting-room openings. The wall pocket must be coordinated with structure, plumbing, ducts, wiring, blocking, trim, and the selected hardware system.
Should all interior doors be the same height?
Not necessarily, but repeated head heights and proportions can make the interior feel calmer. Any change should be deliberate and coordinated with ceiling heights, wall panels, cabinetry, adjacent openings, slab weight, jambs, and hardware.
How can interior doors improve bedroom privacy?
Start with room placement and sightlines, then coordinate the wall, door construction, jamb fit, undercut, seals when appropriate, and hardware. A short vestibule or closet buffer may help more than relying on the slab alone.
What belongs in an interior-door schedule?
Record each opening, connected rooms, operation, size, clear opening, handing, slab style, jamb and casing, hardware function, special assembly requirements, and relevant floor, wall, cabinetry, control, and accessibility conditions.
Build the right plan before construction begins
Tell us about your property, priorities, and the way you want to live. We'll help organize the next decisions around a clear, buildable path.