

How to Plan Lighting for a Charlotte Custom Home: 7 Decisions
By Max Built
9 min read
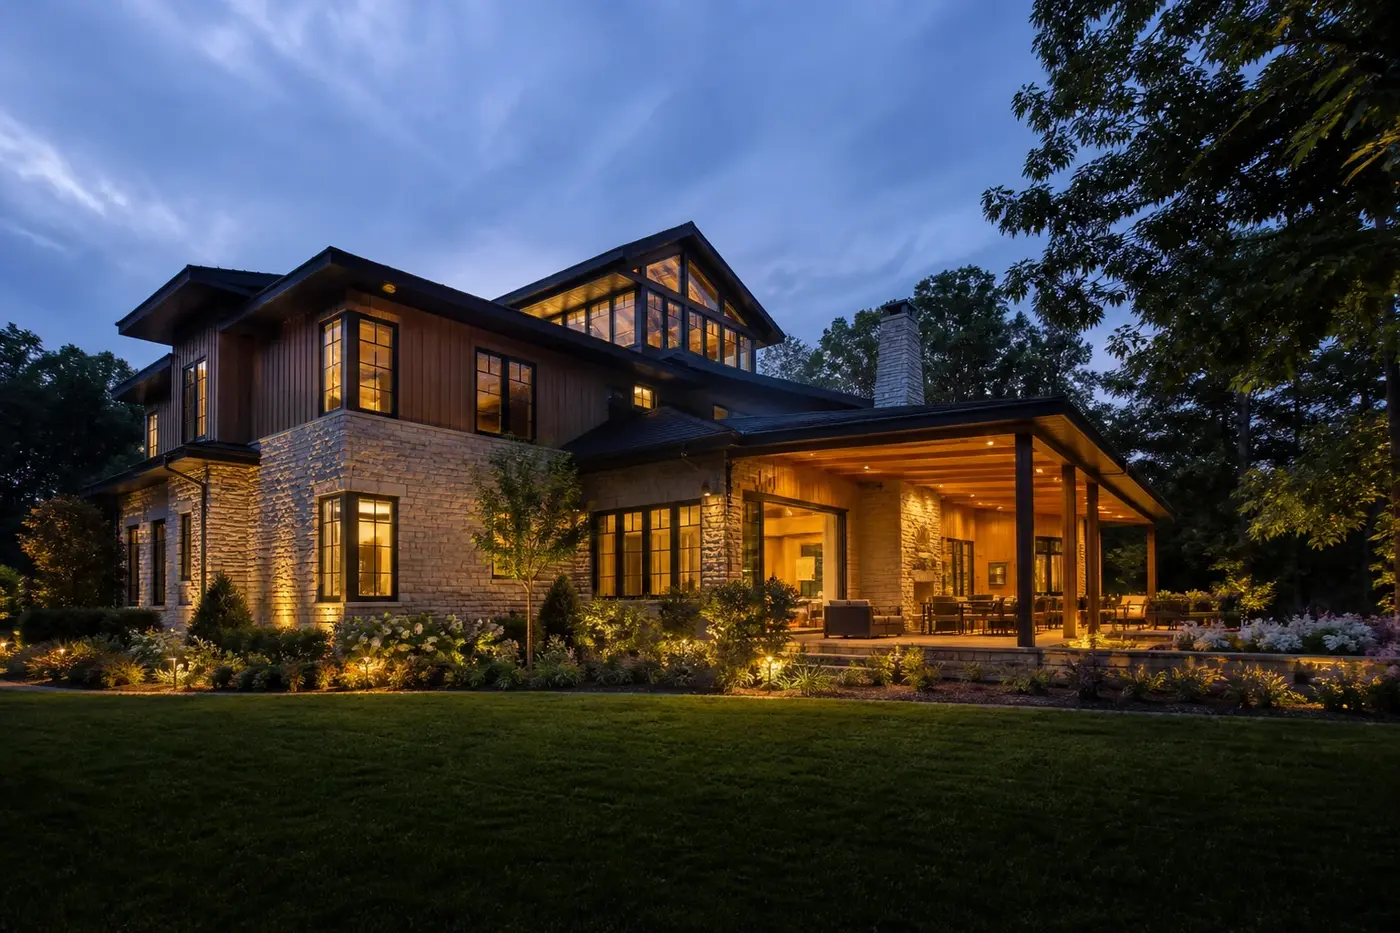
Plan lighting while the floor plan, windows, ceilings, cabinetry, and furniture can still move together. Start with what happens in each room, then layer daylight, general light, task light, and a small amount of accent light. Draw fixture locations against the real ceiling and furniture plan, decide how each group will be controlled, and coordinate the details before framing and wiring. The goal is not to fill every ceiling with downlights. It is to put the right light where daily life actually needs it.
Planning a new home? Explore Max Built's custom-home process, then view the craftsmanship in our project portfolio.
1. Begin with daily life, not a fixture catalog
Walk through a normal day in the new home before choosing a single decorative fixture. Where does breakfast happen? Which counter handles food preparation? Where will someone settle with a book, greet guests, set down keys, or step outside after dark? Each activity needs a different kind of light. A bright, even kitchen work surface has a different job from the softer light around a fireplace or the quiet path between a bedroom and bath.
Write those activities directly on the floor plan. Mark work surfaces, reading chairs, art, dining tables, stair landings, exterior doors, and the furniture that anchors each room. This turns the lighting conversation into a practical plan instead of a list of products. It also exposes easy-to-miss places: a pantry shelf left in shadow, a hallway that depends on spill light from another room, or a terrace door with no useful light outside it.
Keep the first pass simple. Ask what needs to be seen, when the space is used, and how bright it should feel. Those answers give the builder and design team a clear brief before fixture sizes, finishes, and model numbers enter the discussion.
- Which surfaces need clear task light?
- Where should the evening atmosphere feel softer?
- What artwork, stone, wood, or landscape deserves emphasis?
- Which routes need safe, low-glare light after dark?
2. Coordinate electric light with daylight first
Charlotte homes can receive very different light from one side of a property to another. Trees, roof overhangs, porches, neighboring homes, and window proportions all change what reaches the interior. Review the lighting plan beside the site orientation and window plan. A room with generous morning light may need little electric light early in the day but still need focused task lighting after sunset.
Look for places where daylight will be blocked or overly strong. A deep covered room can protect large glass while leaving the interior behind it dim. Low western sun may create glare across a television, island, or dining table. Rather than treating electric lighting as a repair, adjust windows, shade, room layout, and fixture placement as one coordinated response.
Also decide what the home should feel like at dusk. Light inside becomes visible from the garden, while landscape and porch lighting shape the view back toward the house. A balanced plan lets rooms transition naturally from daylight to evening without suddenly making every fixture equally bright.
3. Build each room from a few useful layers
Most rooms work better with several modest sources than with one intense source in the middle. General light helps people move through the space. Task light serves a counter, desk, sink, or reading chair. Accent light can reveal a textured wall, built-in shelf, painting, or architectural detail. Decorative fixtures contribute light too, but they also set scale and character.
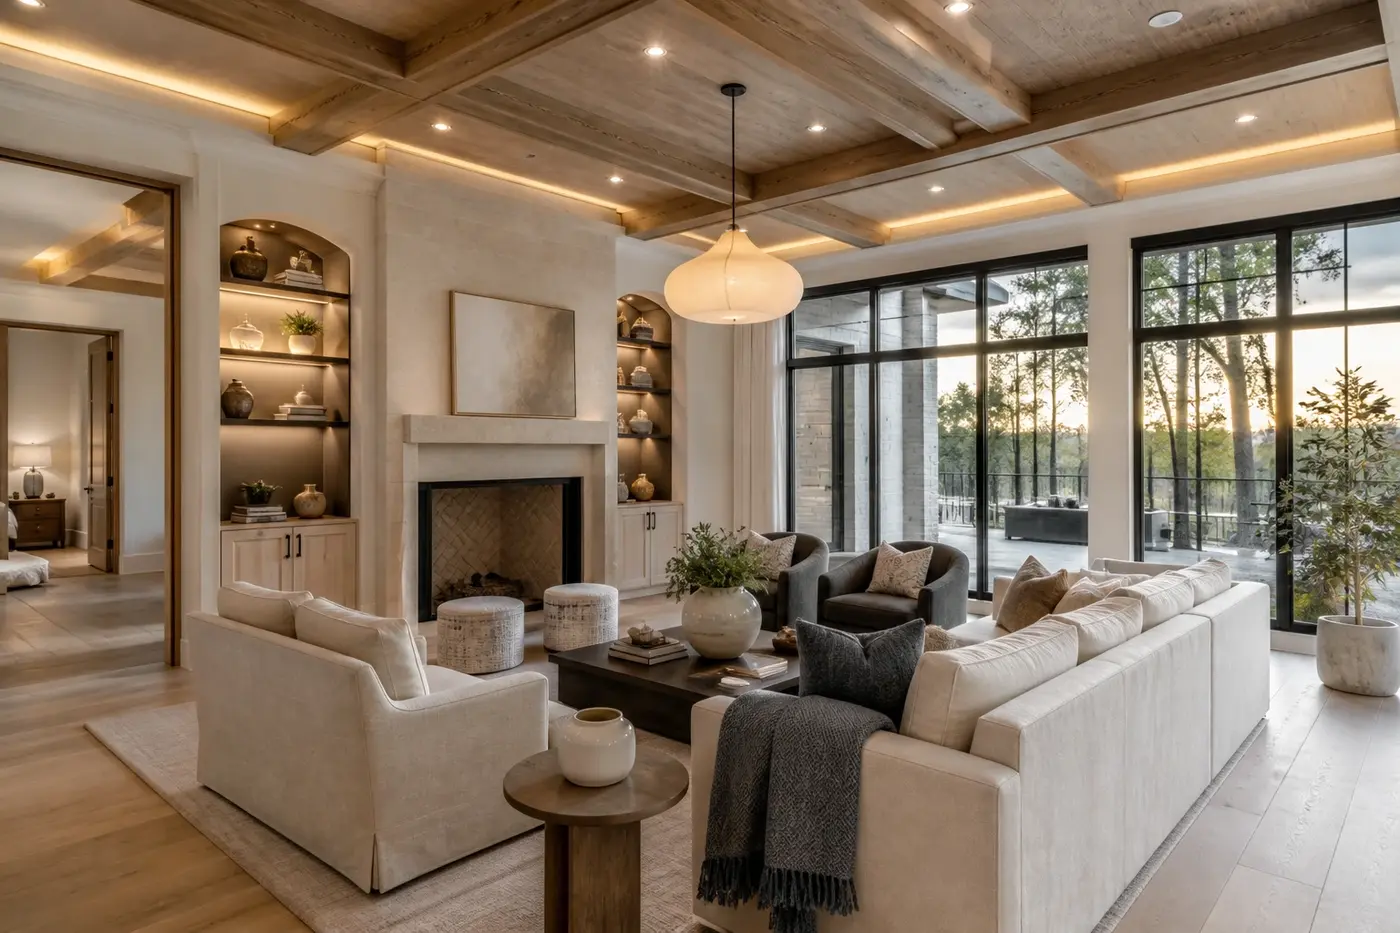
Use only the layers the room needs. Rows of recessed lights can flatten a ceiling and still leave faces, counters, or cabinets poorly lit. In a great room, a restrained mix might include quiet ceiling light, lamps near seating, integrated shelf lighting, and a decorative fixture that relates to the furniture below. In a kitchen, useful under-cabinet light and well-placed ceiling light often matter more than adding another pendant.
Draw every layer separately, then view them together. Check where beams overlap, where glare could occur, and whether the brightest surface is actually the one that deserves attention. The best plans feel flexible without turning every room into a control panel.
4. Draw fixtures against furniture, cabinetry, and architecture
A neat lighting grid can be completely wrong for the room beneath it. Recessed lights should respond to cabinets, counters, seating, walls, and circulation—not simply divide the ceiling into equal squares. Pendants need to align with the actual island or table. Bedside lighting should relate to the bed width and nightstands. Picture lights and wall washers need the final art or surface location.
Overlay the reflected ceiling plan with the furniture and cabinetry plans. Check fixture centerlines, beam locations, ceiling heights, door swings, drapery pockets, air registers, speakers, sprinklers where applicable, and access panels. A beautiful pendant loses its effect when it competes with a nearby grille or lands off-center because the island changed later.
Use elevations and sections for vertical relationships. They show whether a sconce sits comfortably beside a mirror, whether a pendant blocks a view, and how concealed lighting fits within a beam, shelf, or ceiling edge. Plans tell you where a fixture goes; sections explain whether it truly belongs there.
5. Give kitchens and other work surfaces clear, comfortable light
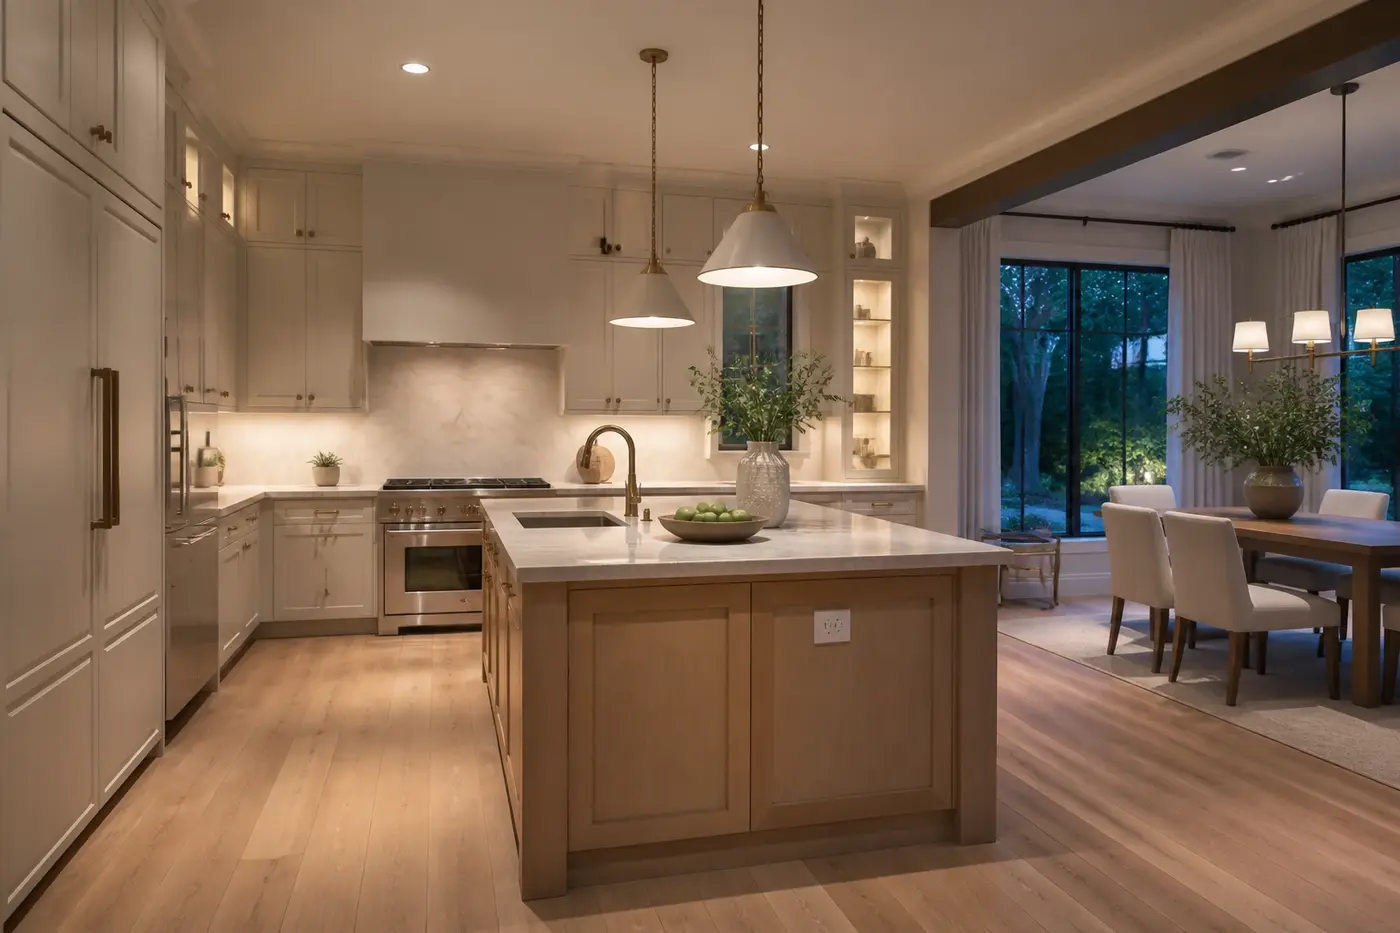
Task lighting should reach the work, not the back of the person using it. In a kitchen, coordinate ceiling fixtures with counter edges and upper cabinets so the user does not cast a heavy shadow across the preparation area. Under-cabinet lighting can fill that gap, but its channel, wiring, color, and visibility need to be detailed with the cabinetry rather than added after installation.
Review the island carefully. Pendants can provide scale and atmosphere, yet their spacing, hanging height, shade shape, and brightness must suit the island's real dimensions. Keep sightlines open where the kitchen connects to the great room or garden. If the pendants are mainly decorative, make sure another layer handles the actual task light.
Carry the same thinking into the pantry, utility areas, dressing rooms, and baths. Light the shelf, counter, mirror, or closet interior that someone needs to see. Consistent color and sensible switching will make these rooms feel connected to the rest of the home without forcing every fixture to match.
6. Plan controls around real routes through the home
A layered plan only works when it is easy to operate. Group fixtures by purpose and by the way the room changes through the day. General light, task light, decorative light, and accent light may need separate control, but that does not mean every fixture needs its own switch. A few logical groups are easier to understand than a wall crowded with nearly identical buttons.
Place controls where people naturally enter, leave, and pause. Test the route from the front door to the kitchen, from the main living spaces to the bedrooms, and from interior rooms to covered outdoor areas. Three-way or coordinated controls can be useful along routes with more than one entry. Bedside and late-night paths deserve special attention so the home can be navigated without flooding adjacent rooms with light.
Discuss dimming, control compatibility, labeling, and any automation before products are ordered. Decide what should still work simply if an app or broader system is unavailable. Technology can make a complex house feel effortless, but familiar physical controls in predictable locations remain valuable every day.
7. Review the whole home as a nighttime composition
Exterior and landscape lighting should reveal the home gently, not turn every surface into a stage. Start with arrival, entries, steps, terraces, and important walking routes. Then add selective light to architecture, planting, or a garden feature where it improves orientation or the view from inside. Shield sources where possible and avoid glare into windows or neighboring properties.
Look back at the home from the garden. Interior pendants, ceiling lights, and lamps become part of the exterior elevation after dark. If every room glows at the same level, the façade can look flat. A more restrained balance gives depth to the windows and keeps the covered outdoor room connected without overpowering the landscape.
Before wiring is finalized, review the floor plans, reflected ceiling plans, elevations, cabinetry, furniture, electrical drawings, and exterior lighting together. Confirm every fixture has a purpose, every control has a clear location, and every decorative piece fits the architecture around it. Then leave room for fine-tuning. Lamps, dimmer settings, and final aiming will help the finished custom home settle into a lighting rhythm that feels natural rather than overdesigned.
Lighting planning for a Charlotte custom home
When should lighting be planned for a custom home?
Begin during floor-plan and window development, then refine the reflected ceiling and control plans alongside furniture, cabinetry, structure, and electrical drawings. Major locations should be settled before framing and wiring make changes difficult.
Does every room need recessed lighting?
No. Some rooms benefit from recessed fixtures, while others work better with pendants, sconces, lamps, concealed light, or a combination. Choose sources by the room's activities, ceiling, furniture, and desired atmosphere rather than applying one pattern everywhere.
How many lighting layers should a room have?
Use as many as the room needs and no more. General, task, accent, and decorative light are useful categories, but a simple room may need only two. Each layer should have a clear purpose and a logical control.
How should kitchen pendants be positioned?
Set them from the final island dimensions, seating, sightlines, ceiling conditions, and fixture size. Centerlines and spacing should be drawn rather than guessed, and separate task lighting may still be needed for the work surface.
What should homeowners review before lighting rough-in?
Review fixture locations, switch groups, dimming, cabinetry, furniture, appliance and mirror locations, ceiling beams, vents, speakers, drapery pockets, exterior doors, and the nighttime route through the home. Confirm the plans agree before wiring proceeds.
Build the right plan before construction begins
Tell us about your property, priorities, and the way you want to live. We'll help organize the next decisions around a clear, buildable path.