

Planning a Luxury Kitchen in Charlotte: 8 Decisions That Shape How It Works
By Max Built
9 min read
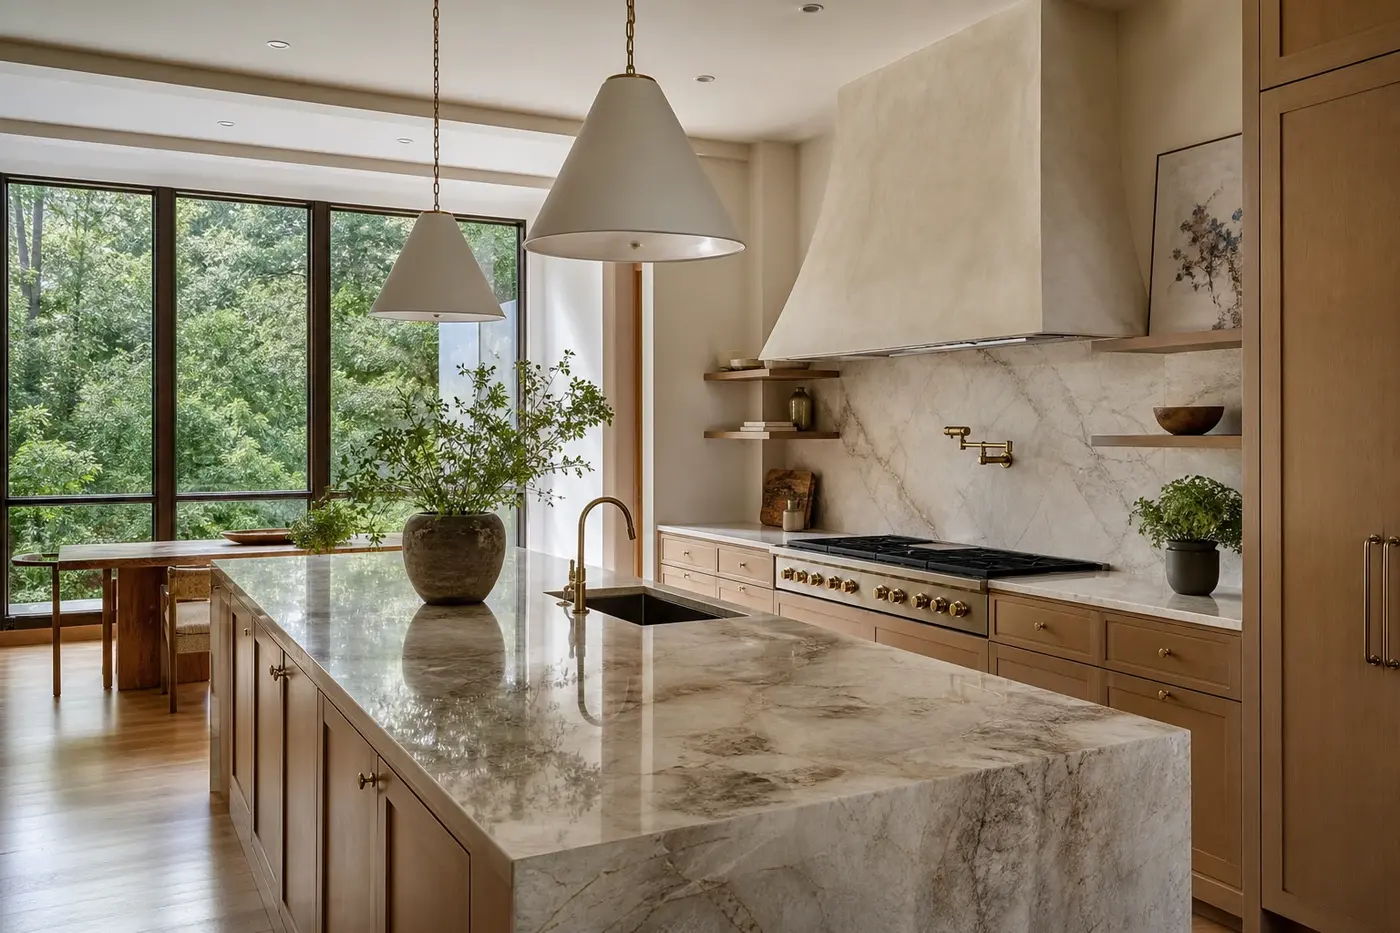
Plan a luxury kitchen around the way the household moves, cooks, gathers, and puts things away—not around the island alone. Start with the relationship between the kitchen and nearby rooms. Then settle the work zones, clearances, appliance locations, pantry strategy, lighting, storage, and materials as one coordinated system. The strongest kitchens feel calm because the practical decisions are built into the architecture before finishes take center stage.
Planning a new home? Explore Max Built's custom-home process, then view the craftsmanship in our project portfolio.
1. Define how the kitchen will live before drawing the island
Begin with an ordinary day. Where does coffee happen? Who cooks at the same time? Do groceries arrive through a mudroom, garage entry, or front door? During a gathering, should guests settle at the island, move toward the great room, or continue outside? Those answers shape the room more honestly than a collection of inspiration photos.
Write down the activities that need a real home: cooking, baking, schoolwork, serving, cleanup, small appliances, wine storage, flowers, pet supplies, and household paperwork. Not every kitchen needs every zone. The point is to choose deliberately. A room feels luxurious when it removes friction, not when it simply contains more cabinetry.
- How many people regularly cook or clean up together?
- Which items stay visible, and which should disappear after use?
- Where do guests naturally pause without entering the main work path?
- What needs to connect directly to the pantry, mudroom, dining area, and terrace?
2. Plan the kitchen and connected rooms on one furniture plan
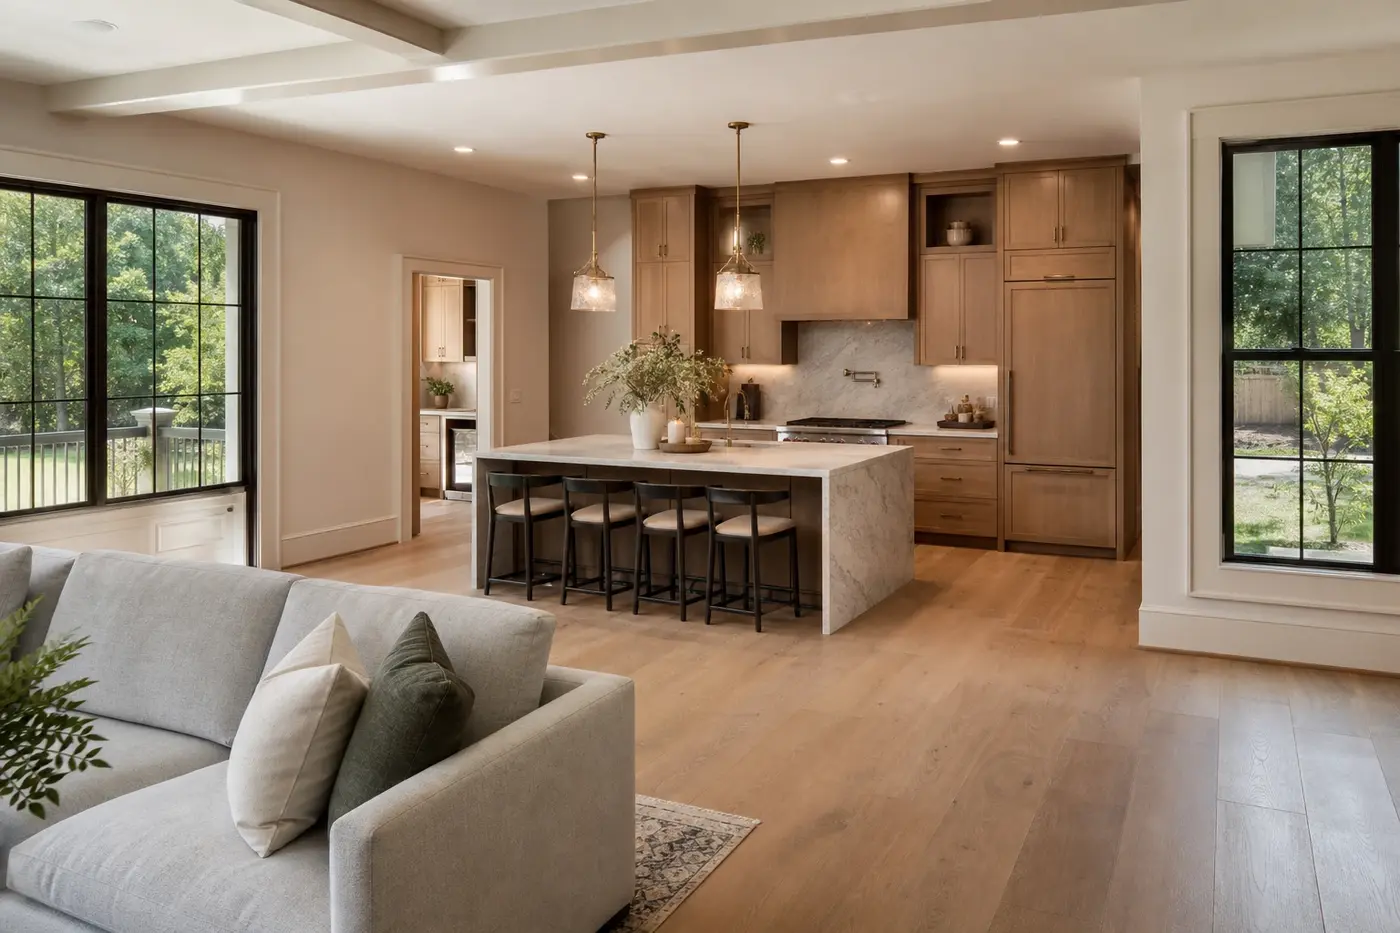
A kitchen does not stop at the cabinet line. Its success depends on the breakfast area, great room, dining room, pantry, outdoor room, and household entry beside it. Draw those spaces together, including tables, sofas, stools, door swings, and the paths people take between them. A generous opening can still fail if a chair blocks it or every route cuts behind the cook.
Sightlines matter, too. Decide what someone sees from the front entry, the main seating area, and the garden doors. The range wall might be an architectural focal point. The cleanup sink, countertop appliances, and pantry door may deserve a quieter position. You do not have to hide the fact that this is a working room. You do want the working pieces to support the larger composition.
3. Build clear work zones instead of chasing a perfect triangle
The classic work triangle can be a useful check, but larger kitchens often need more than three points. Think in short sequences. Produce moves from refrigeration to prep, then toward cooking. Dishes move from the table to cleanup, then into storage. Coffee needs water, cups, beans, and a place to set the machine without crossing the main cooking zone.
Map those routes and look for collisions. A refrigerator door should not trap the person standing at the sink. A dishwasher should not open across the only path to the pantry. Two cooks need enough room to work without orbiting the island all evening. Sometimes the best improvement is not more distance. It is putting the right drawer, landing surface, or appliance exactly where the next action happens.
4. Size the island from the clearances outside it
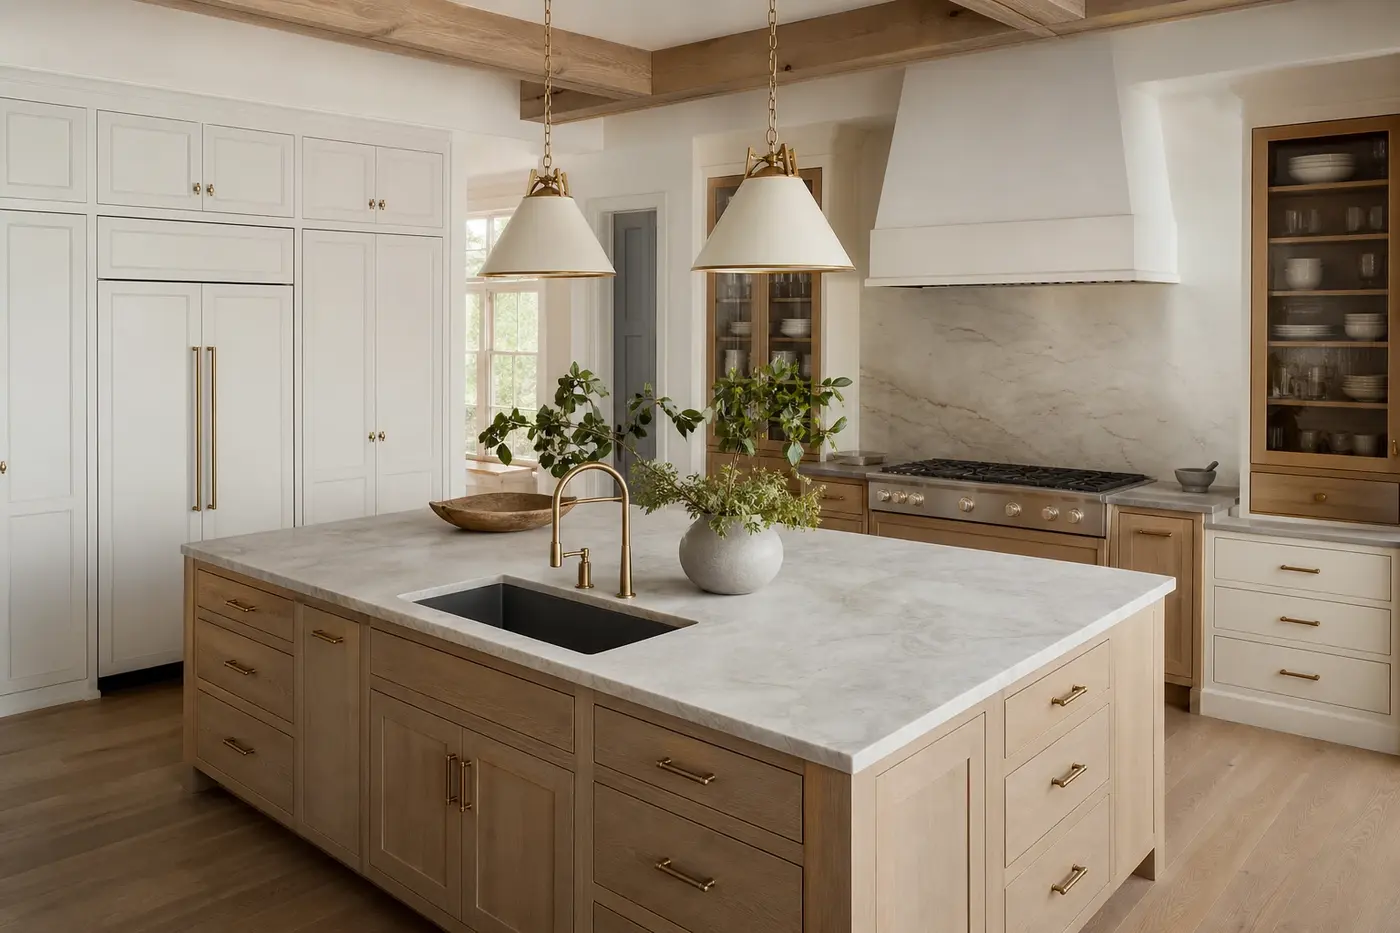
Oversized islands photograph well and can make daily movement surprisingly awkward. Start with the space around the island: open appliance doors, occupied stools, a person carrying a tray, and someone passing behind the cook. Only then should the remaining footprint become the island.
Be precise about what the island must do. Prep, cleanup, seating, serving, storage, and conversation can coexist, but they should not pile into the same few feet. A sink may be practical there, yet its faucet and drying area become part of the main view. Seating on two sides can support conversation better than a long row, though it changes the shape and circulation. Test the complete room rather than treating maximum island size as the goal.
5. Decide what belongs in the main kitchen—and what moves behind it
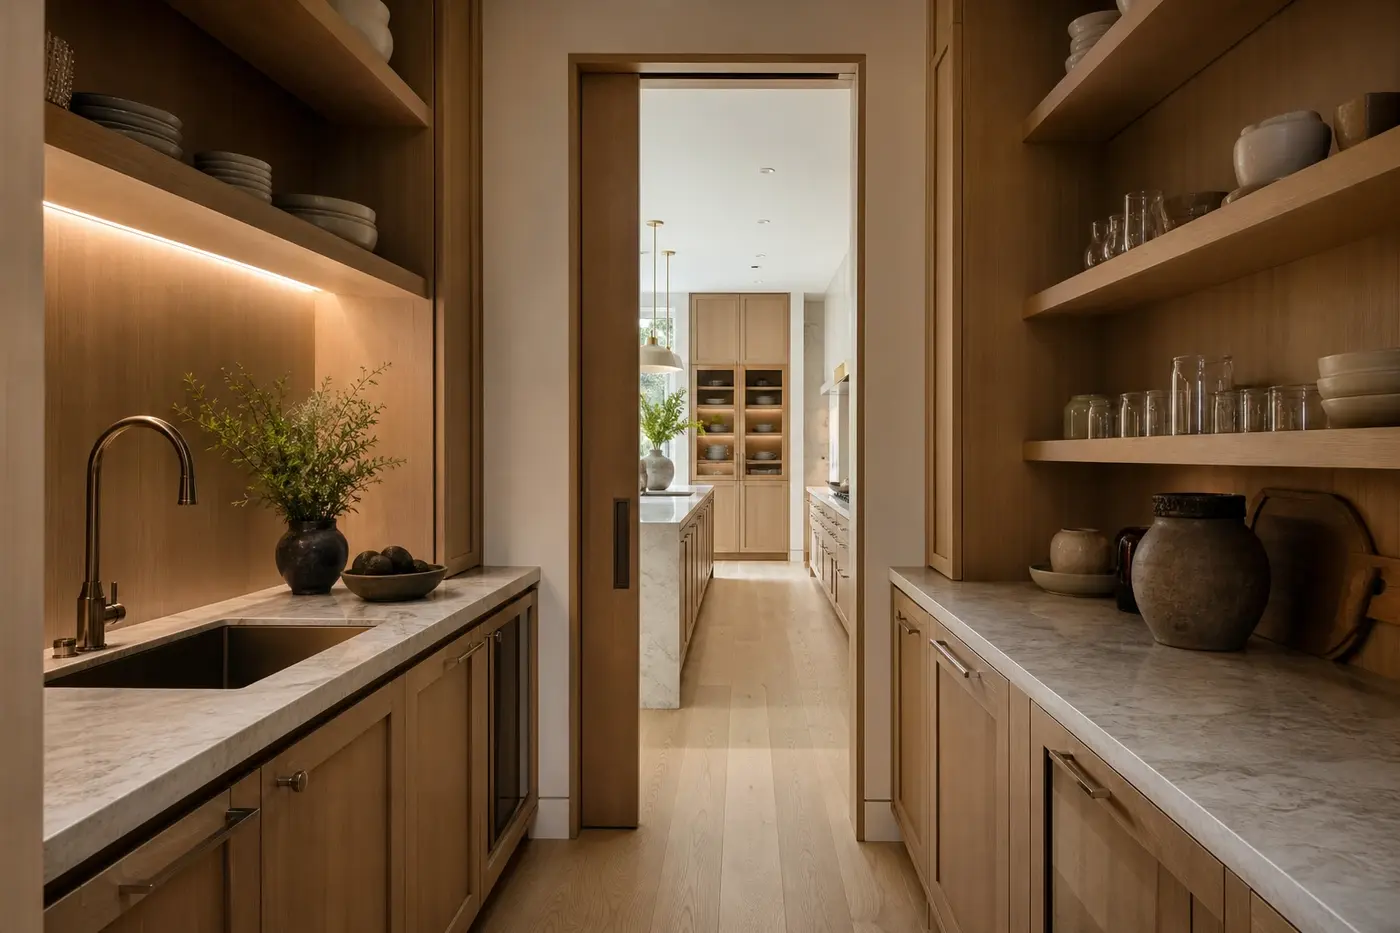
A scullery, back kitchen, or well-planned pantry can keep small appliances, serving pieces, bulk storage, and cleanup near the action without making the main room carry every task. It works best when it shortens routes. If someone has to walk through a narrow door and around a corner for every glass, the support room becomes an obstacle instead of an advantage.
List what will actually happen there. A second sink may support entertaining and cleanup. Refrigerated drawers may serve drinks or overflow ingredients. Open shelves make frequently used pieces easy to reach, while closed storage handles the visual noise. Coordinate ventilation, plumbing, electrical service, lighting, countertop depth, and appliance clearances early. This is a working room, even when guests rarely see it.
6. Coordinate appliances, cabinetry, and building systems as one package
Appliance decisions affect far more than appearance. Door swings, ventilation, electrical requirements, water lines, clearances, service access, cabinet depths, panel thicknesses, and adjacent drawers all depend on the actual models. A range hood also needs a believable route through the structure. A refrigerator panel must open without striking a wall or hardware nearby.
Review appliance specifications with the cabinet drawings and reflected ceiling plan, not in isolation. Then look at the elevations. Do upper cabinet lines align? Can a drawer beside the range open fully? Is there landing space near the ovens and refrigerator? Where will outlets go without interrupting the stone or millwork? Quiet coordination now prevents the kitchen from collecting visible compromises later.
7. Layer lighting for prep, gathering, and evening calm
Pendant lights are only one layer. Counter work needs even task lighting without shadows from the person standing in front of it. Tall cabinetry and open shelves may need integrated lighting. The range, sink, and pantry require their own attention. Ambient ceiling light should support the room without turning every surface equally bright.
Plan control along with fixtures. Cooking, cleanup, morning coffee, and a late dinner call for different combinations. Dimmers and sensible switching make those changes easy, but switch locations must follow the way people enter and move through the room. Check color quality and temperature across decorative, recessed, and cabinet lighting so white oak, stone, paint, and metal do not shift unpredictably from one pool of light to the next.
8. Choose materials for the way they age, not just the sample
Natural stone, wood, metal, plaster, tile, and painted cabinetry all change with use and light. Ask what can stain, etch, scratch, patina, fade, or require periodic care. None of those qualities automatically disqualifies a material. Trouble starts when the household expects one behavior and the installed surface delivers another.
Review large samples together, ideally in the light the kitchen will receive. A dramatic slab needs to be studied as an elevation, especially at seams, waterfall ends, backsplashes, and cutouts. Wood grain should move consistently across doors and panels. Hardware should feel good in the hand, not merely look right online. The final palette can be restrained and still feel rich when every junction, edge, and finish has been considered at full scale.
Test the kitchen before final approvals
Walk through the drawings using real scenarios: unloading groceries, preparing breakfast, hosting dinner, opening the dishwasher while someone reaches the refrigerator, carrying food to the terrace, and putting away a large serving piece. Look at plans, elevations, appliance specifications, lighting, and finish samples together. One drawing rarely reveals the whole room.
Early builder coordination helps connect the design intent with structure, mechanical routes, cabinetry, stone, lighting, and installation sequencing. Max Built can work alongside the architect and interiors team while those details are still flexible. Explore the custom-home process, review the portfolio, and bring your kitchen priorities to the conversation before the cabinet package is locked.
Planning a luxury kitchen for a Charlotte custom home
Should a luxury kitchen have a scullery or back kitchen?
Only when it supports the way the household cooks, stores, serves, and cleans. A scullery can be useful for small appliances, pantry goods, beverage service, or secondary cleanup, but it should shorten daily routes and receive the same careful planning as the main kitchen.
Is a larger kitchen island always better?
No. The island should be sized after appliance openings, work aisles, stool clearances, circulation, and the tasks assigned to it are mapped. An oversized island can increase walking distance, create unreachable areas, and crowd the rooms around it.
When should kitchen appliances be selected?
Early enough for the actual specifications to inform cabinetry, ventilation, electrical service, plumbing, clearances, panels, and adjacent storage. Model changes can affect dimensions and requirements, so keep the design team working from a current appliance schedule.
How many lighting layers does a custom kitchen need?
Think in functions rather than a fixed number: even task light at counters, ambient light for the room, decorative light where it adds character, and integrated light for cabinets or shelves when useful. Controls and dimming should support different times of day and patterns of use.
What countertop material is best for a luxury kitchen?
The best choice depends on the household's expectations for appearance, staining, etching, scratching, heat, seams, maintenance, and natural variation. Compare full slabs or large samples and discuss how each material will age before choosing on looks alone.
Build the right plan before construction begins
Tell us about your property, priorities, and the way you want to live. We'll help organize the next decisions around a clear, buildable path.