

How to Plan Plumbing for a Charlotte Custom Home: 7 Decisions
By Max Built
9 min read

Plan plumbing while the floor plan, structure, cabinetry, and site utilities can still move together. Group water-using rooms where it makes sense, place every fixture against the real furniture and cabinet plan, trace supply, drain, vent, and hot-water routes, and decide where shutoffs and service access will live. Then review outdoor water, appliance connections, and future flexibility. The goal is not simply to fit pipes inside the walls. It is to create a new home whose kitchens, baths, utility spaces, and outdoor areas work naturally every day.
Planning a new home? Explore Max Built's custom-home process, then view the craftsmanship in our project portfolio.
1. Map daily water use before drawing fixture locations
Start with routines. Who cooks while someone else cleans up? Does the household want a prep sink, a beverage station, or a separate scullery? Will the primary bath be used by two people at the same time? Where do muddy shoes, garden clippings, pet supplies, and sports gear get rinsed? These questions are more useful than beginning with a fixture catalog because they reveal what each plumbing location actually needs to do.
Mark those routines on the floor plan. Include the kitchen, pantry or scullery, baths, utility room, mudroom, outdoor living areas, and any specialty spaces that genuinely need water. Then walk the routes between them. A sink placed a few feet from where it is used can create a daily detour; a utility sink hidden behind an open door can be frustrating even though it fits on the drawing.
Keep the list disciplined. Every added fixture brings supply, drainage, venting, waterproofing, cabinetry, and future maintenance with it. A custom home feels luxurious when useful things are in the right place—not when every possible room has a faucet.
- Which fixtures serve an everyday task rather than an occasional idea?
- Where will two people need water at the same time?
- What should be rinsed or cleaned before it enters the main rooms?
- Which outdoor routines need a nearby hose bib, sink, or shower connection?
2. Organize wet rooms without forcing the floor plan
Placing kitchens, baths, and utility spaces near practical plumbing routes can simplify the hidden work, but efficiency should not flatten the architecture. A powder room should not open awkwardly into a gathering space just to share one wall. A primary bath should still receive the privacy, daylight, and proportions it needs. The right plan balances short, understandable service routes with the experience of the rooms above them.
Review both floors together. Look at where upstairs drains and vents pass through the level below, and make sure they do not land in a prominent ceiling, window wall, beam, or cabinet. Study the building in section as well as plan. A route that appears easy from above may cross a stair, vaulted ceiling, or structural zone when viewed vertically.
This is where early builder coordination matters. The architectural plan, structural concept, mechanical routes, and plumbing layout should be compared before any one of them becomes too fixed. A small room shift now can protect a clean ceiling or avoid an unnecessarily complicated route later.
3. Draw every fixture with cabinetry, doors, and clearances
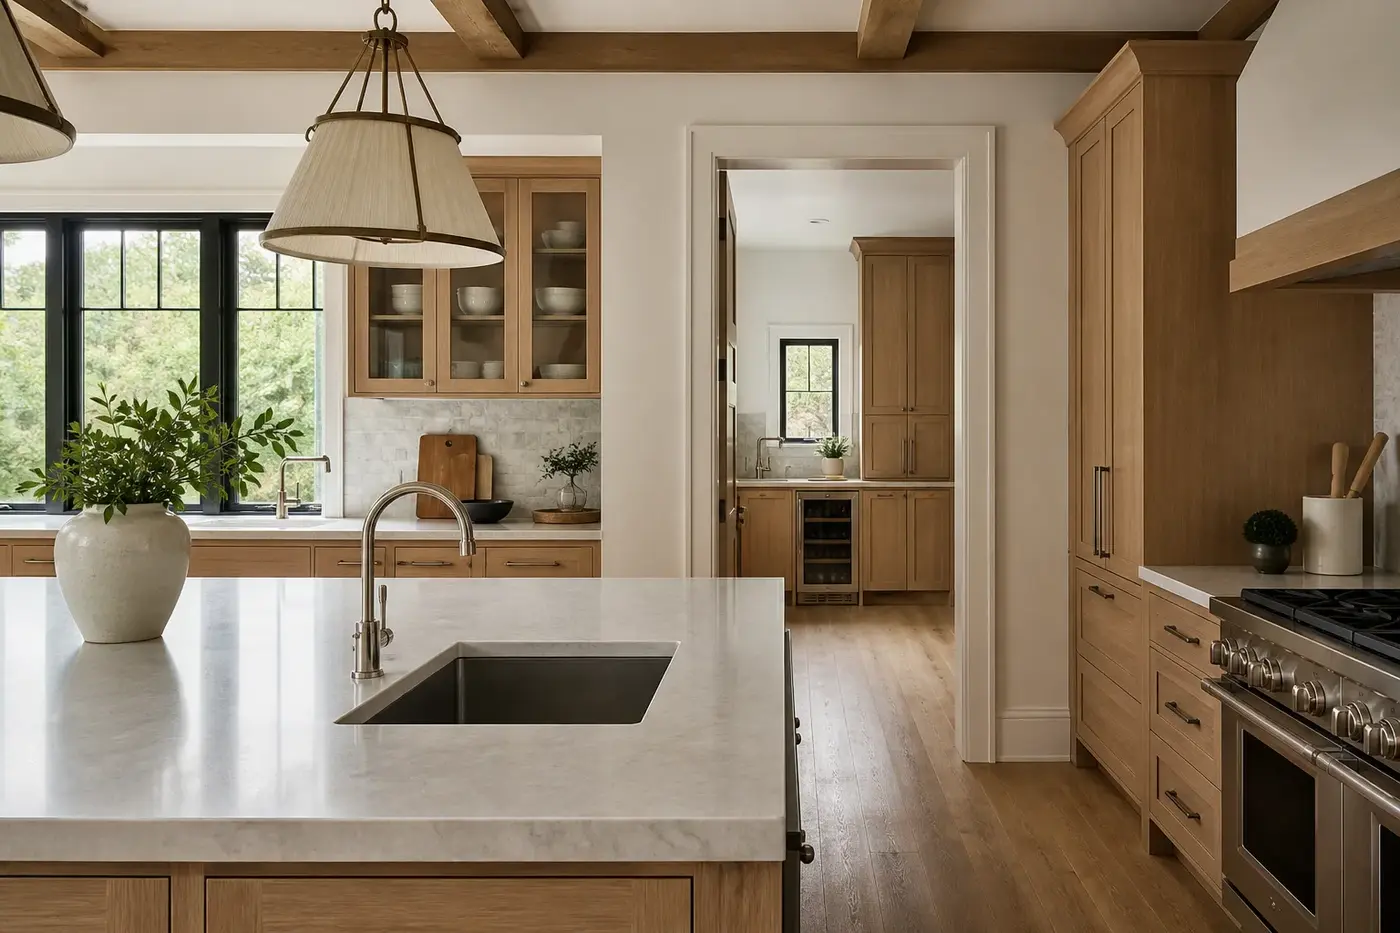
A fixture symbol is not enough. Draw the actual sink, faucet, tub, shower controls, toilet, appliance, cabinet, and door swing at useful scale. Check how someone approaches it, where towels and supplies are stored, and whether drawers can open without colliding with plumbing or hardware. In the kitchen, align sinks and faucets with window divisions, island seating, dishwashers, waste pullouts, and the work surface around them.
Use interior elevations for the details a floor plan cannot explain. They show faucet height beneath a window, the relationship between sconces and mirrors, shower niches and controls, stone seams, backsplash outlets, and the way a vanity meets the wall. For wall-mounted faucets or concealed valves, the framing depth and exact centerlines need to be settled before the wall is closed.
Mock up the most important relationships when dimensions feel abstract. A taped outline of a tub, vanity, shower, or island can quickly expose a reach that is uncomfortable or a passage that feels narrow. It is easier to move tape—or a line on a drawing—than plumbing embedded in a finished room.
4. Coordinate bathroom plumbing as a complete room
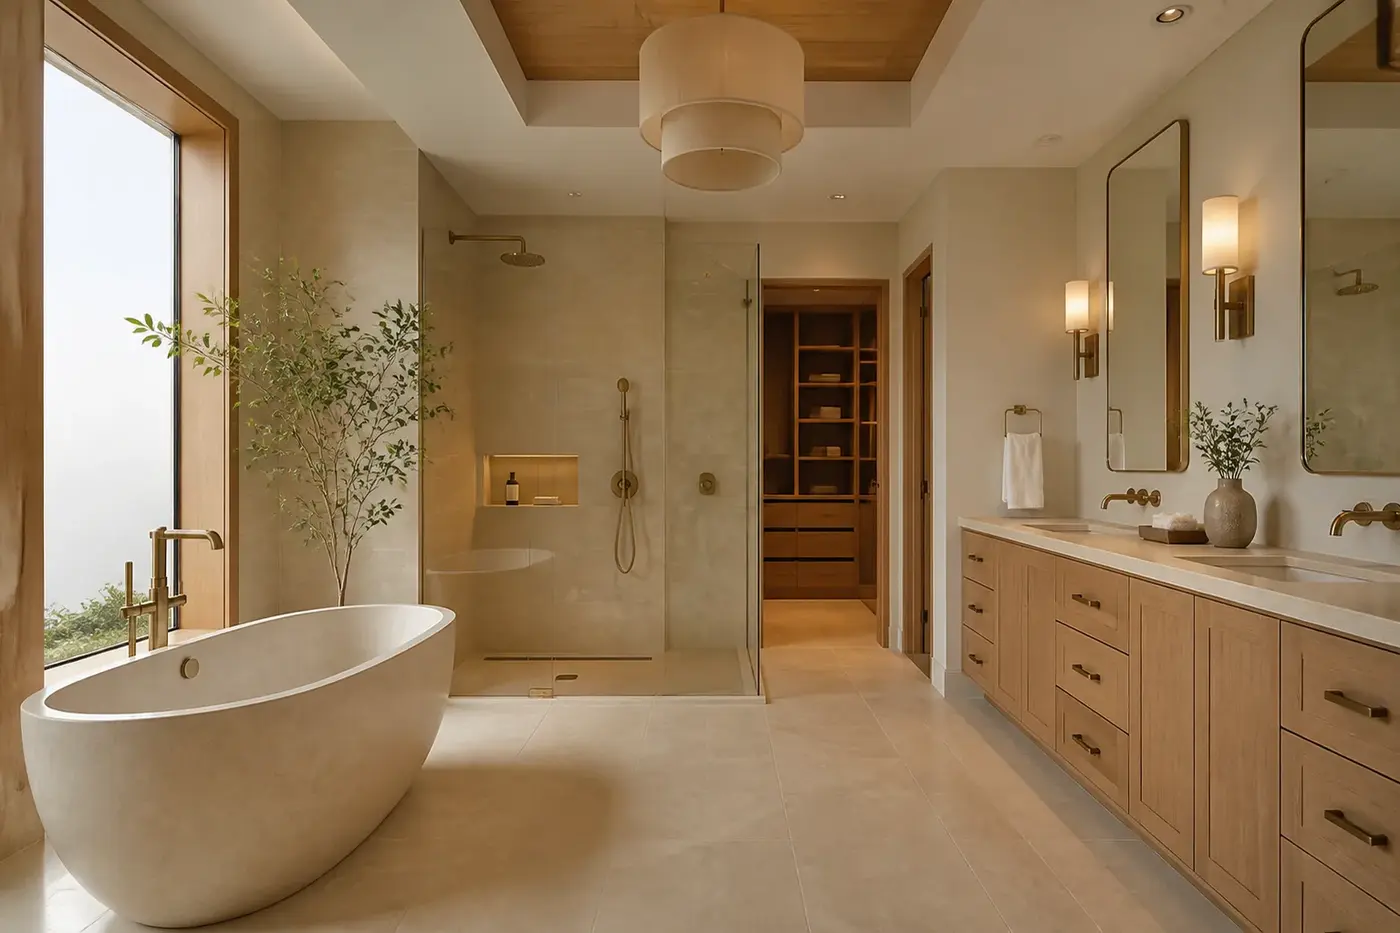
Bathrooms collect many decisions in a small area. The tub filler, shower valve, hand shower, drains, toilet, vanity sinks, ventilation, lighting, glass, stone, and storage all compete for wall and floor space. Review them together. A beautiful shower loses its calm when controls are difficult to reach without stepping into cold water, or when a niche interrupts a carefully aligned stone pattern.
Decide where shower controls belong in relation to the entry and spray. Confirm the slope and drain strategy with the selected finish and shower layout. At the vanity, compare vessel, undermount, integrated, and wall-mounted options by more than appearance; each changes counter height, storage, cleaning, wall preparation, and faucet placement.
Also plan for what is less visible. Waterproofing transitions, access to serviceable parts, toilet clearances, blocking for accessories, and the path of drains and vents all deserve space. When these details are resolved early, the finished bath can look quiet because the complicated work is organized behind it.
5. Plan hot water around distance and real demand
The experience of hot water depends on more than the equipment label. Fixture demand, pipe length, pipe size, insulation, equipment location, and the way the household uses several rooms at once all matter. Map the most frequently used fixtures and discuss the complete strategy with the builder and qualified plumbing professionals rather than selecting equipment in isolation.
Pay attention to distance. A remote bath or outdoor room can feel disconnected when hot water takes a long time to arrive. A recirculation approach may be considered, but it needs deliberate controls, insulation, routing, and energy planning. The right answer depends on the house, so draw the routes and decide how the system should operate instead of treating recirculation as a box to check.
Leave appropriate access around serviceable equipment and valves. A mechanical space that looks tidy on plan can become crowded once real clearances, connections, drains, pans, and adjacent systems are added. Coordinate the room in three dimensions before framing defines its limits.
6. Put shutoffs, cleanouts, and service access where they can be used
A concealed system still needs to be understood and maintained. Identify the main shutoff, fixture shutoffs, cleanouts, equipment drains, access panels, and any specialty controls on the drawings. They should be reachable without removing permanent cabinetry or damaging a prominent finish. If an access panel is necessary, place and detail it intentionally rather than discovering it after the room is complete.
Ask how a homeowner would respond to a leak at night. The main shutoff should be clearly located and easy to operate. Consider whether water-monitoring or automatic shutoff equipment belongs in the plan, then coordinate power, connectivity, bypasses, and service space if it does. Technology is most useful when the basic manual system remains clear.
Create a simple record of valve and access locations for the finished home. Photographs before walls close can also document supply, drain, and vent routes, but they do not replace accurate drawings and labels. Good records make future maintenance more focused and reduce guesswork around finished surfaces.
7. Review outdoor water and future flexibility before rough-in
Walk the property plan, not only the interior. Place hose connections where they support gardens, terraces, service areas, and the sides of the house without stretching a hose across an entry path. If the outdoor room includes a sink or beverage area, coordinate its roof cover, winter exposure, drainage, cabinetry, and connection back to the house. Pool or landscape features, if planned, need their own professional coordination rather than an improvised allowance.
Think about plausible future needs without filling the home with unused pipes. A capped connection or accessible route can be worthwhile when a future fixture is genuinely likely and its location is known. Vague preparation everywhere usually adds complexity without creating useful flexibility.
Before plumbing rough-in, review the fixture schedule, cabinetry, interior elevations, floor structure, reflected ceiling plans, appliances, waterproofing details, hot-water strategy, outdoor plan, and all service access together. Confirm model numbers and rough-in requirements for selected products. One coordinated review gives the trades a clear target and gives the finished custom home a better chance of feeling effortless where water is used most.
Plumbing planning for a Charlotte custom home
When should plumbing be planned for a custom home?
Begin during floor-plan development, then refine fixture locations, routes, cabinetry coordination, hot water, and access before structural framing and rough-in. Products with unusual rough-in requirements should be identified early.
Should bathrooms be stacked in a two-story custom home?
Stacking or aligning wet areas can simplify routes, but it should not override privacy, daylight, room proportions, structure, or the experience of the floor plan. Compare both levels and building sections before deciding.
What should be reviewed before plumbing rough-in?
Review fixture model numbers, centerlines, cabinet drawings, appliance connections, door swings, shower controls and drains, tub fillers, wall framing, floor structure, vent routes, hot-water piping, shutoffs, cleanouts, access panels, and outdoor connections.
Where should the main water shutoff be located?
It should be in a known, accessible location that a homeowner can reach quickly. Confirm the precise location and any monitoring or automatic-shutoff equipment with the builder and qualified plumbing professionals for the specific home.
Can a custom home be prepared for future plumbing fixtures?
Yes, when the future use and location are credible. Plan the route, cap, drainage, venting, access, and documentation deliberately. Avoid adding vague unused connections that create complexity without a clear purpose.
Build the right plan before construction begins
Tell us about your property, priorities, and the way you want to live. We'll help organize the next decisions around a clear, buildable path.