

How to Plan a Roof for a Charlotte Custom Home: 7 Decisions Before Design Is Final
By Max Built
9 min read
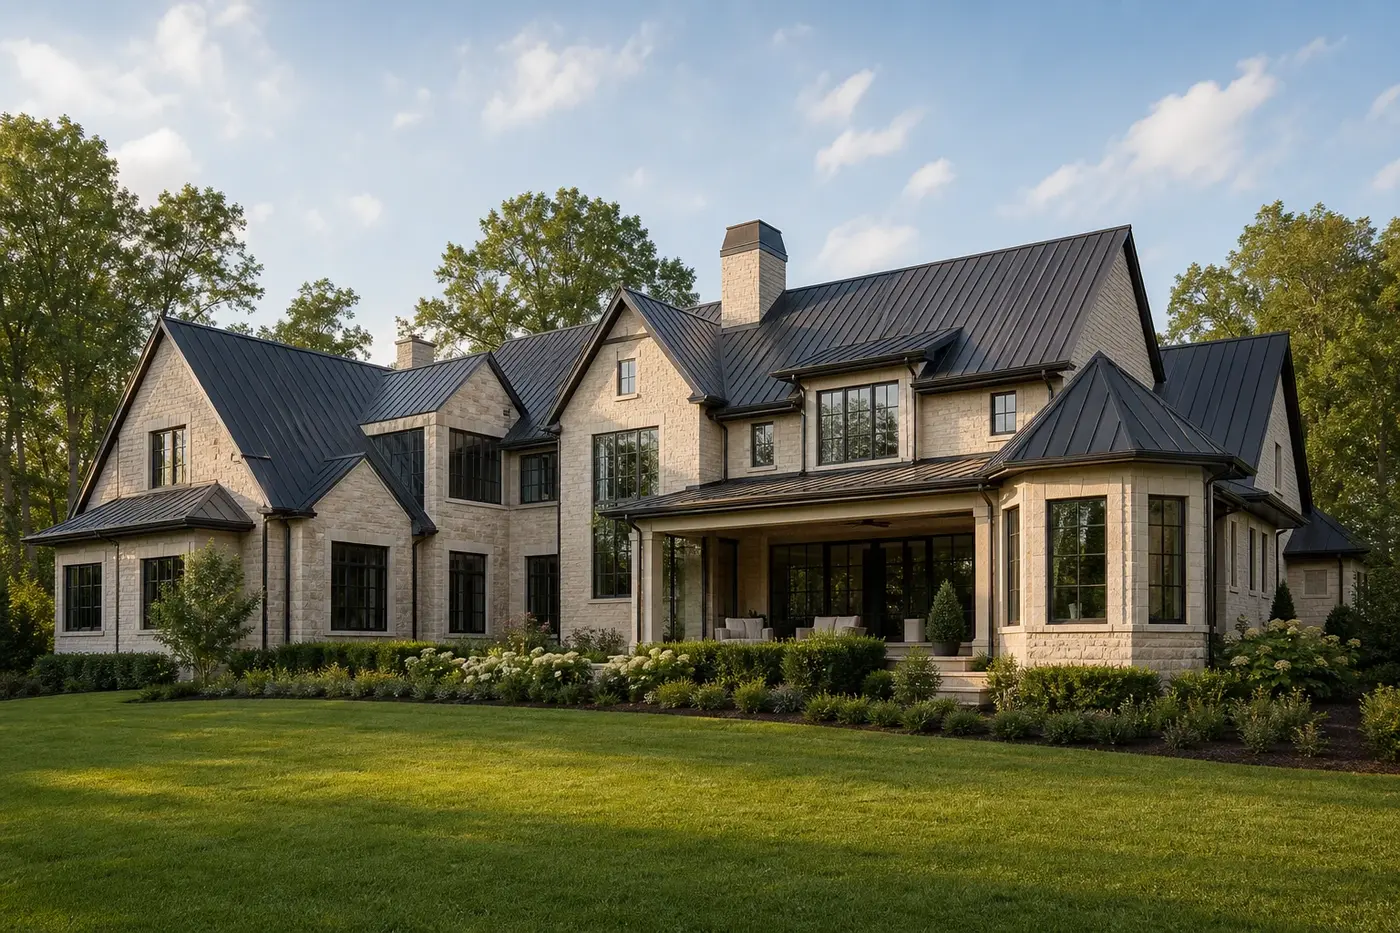
Plan the roof as part of the whole custom home, not as a cap added after the floor plan is finished. Start with the property, room layout, and exterior massing. Then compare roof forms in plan, elevation, and section so ridges, valleys, vaulted spaces, drainage, materials, chimneys, vents, gutters, and future service access all work together. The strongest roof is rarely the one with the most peaks. It is the one whose shape makes the rooms better, sheds water clearly, and gives the home a calm, intentional silhouette.
Planning a new home? Explore Max Built's custom-home process, then view the craftsmanship in our project portfolio.
1. Begin with the house and property—not a favorite roof photo
Roof design starts lower than most people expect. The footprint, room widths, ceiling goals, stair position, garage, covered outdoor areas, and the way the home sits on the property all shape what can happen overhead. A roof copied from an inspiration image may look appealing from one angle and still fight the actual plan at every turn.
Begin with a simple massing model of the house on the real site. Study the arrival side, garden side, long views, mature trees, and the places where lower outdoor rooms meet taller interior volumes. Charlotte properties vary widely in grade and orientation, so the same floor plan can call for a very different roof when it rotates or steps with the land.
Keep the first conversation broad. You do not need to choose every shingle or gutter yet. You do need to know which parts of the home should feel prominent, which should stay quiet, and where the roof can support that hierarchy without becoming a collection of unrelated peaks.
- Which rooms or wings deserve the strongest roof volume?
- Where should the roof lower to create a more sheltered scale?
- How will the home be seen from the arrival, lawn, and neighboring properties?
- Can the main roof idea be explained without pointing to a dozen separate features?
2. Compare complete roof forms instead of choosing one feature at a time
A gable, hip, shed, or low-slope roof is not an isolated style choice. Each form changes the building section, exterior wall height, attic or mechanical space, window opportunities, drainage pattern, and connection to nearby roofs. Mixing forms can create a beautiful custom home, but every change needs a reason rooted in the plan or the site.
Ask the architect to show the whole roof plan early. Trace the ridges, hips, valleys, crickets where needed, lower tie-ins, and the edges above porches and terraces. Then rotate the model. A front elevation can hide an awkward valley on the side, while a polished garden view may ignore how a lower roof meets a taller wall behind it.
Look for moves that solve several problems at once. One clear gable may give a major room its volume, create a legible exterior centerpiece, and direct water toward simple eaves. A lower hip could reduce the scale near a bedroom wing. Good roof planning is not about removing all complexity. It is about spending complexity where it improves the home.
3. Connect the roof shape to the rooms below it
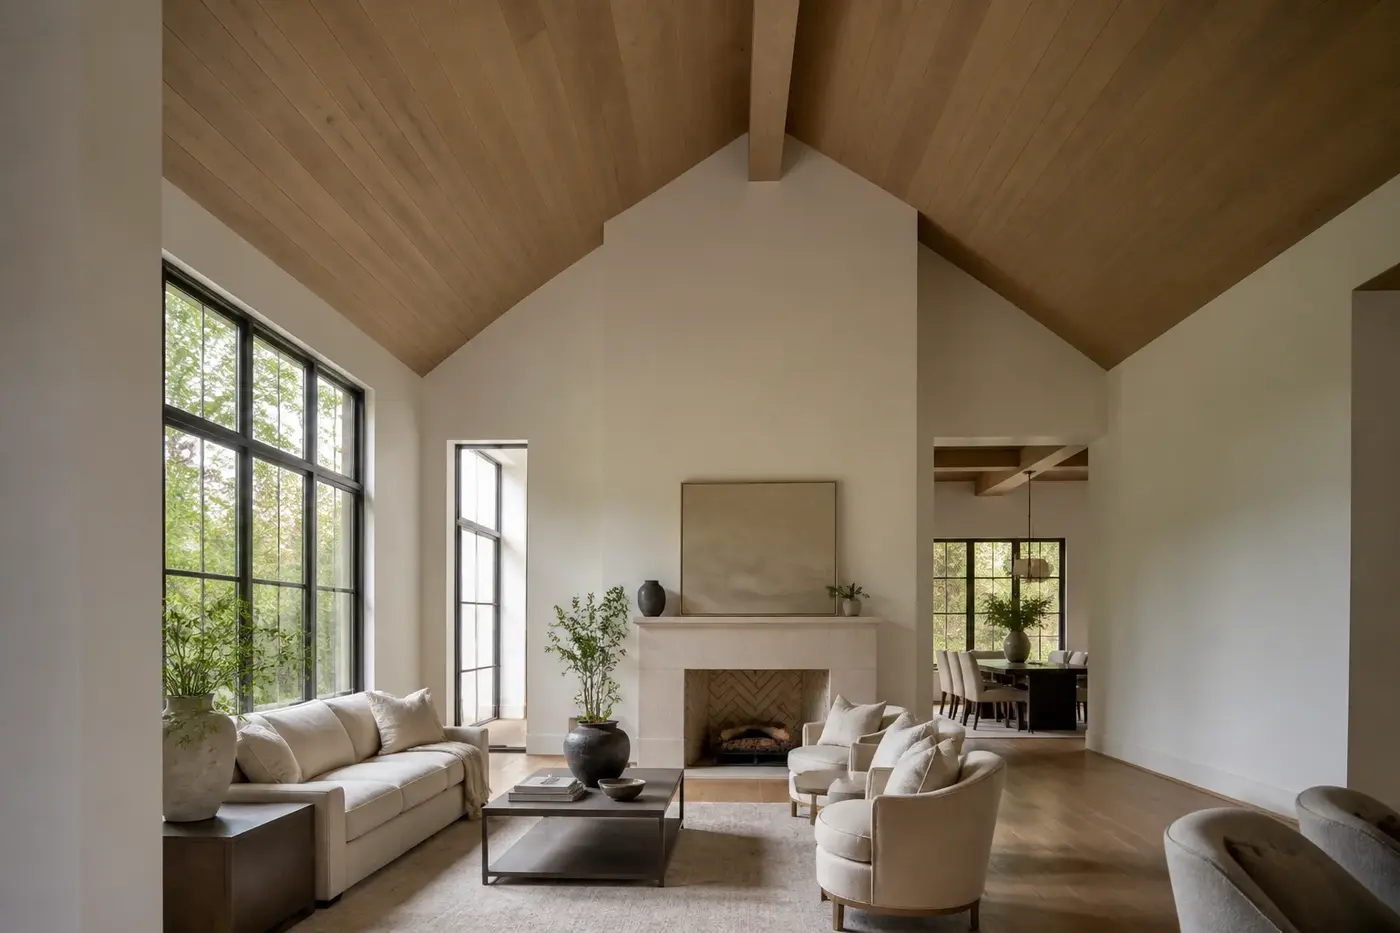
The roof and ceiling do not have to match everywhere, but they should be designed together. A vaulted great room can follow the main roof volume honestly. A flat kitchen ceiling may reserve space above for structure, lighting, ducts, or a quieter transition. The problem comes when an exterior roof is developed for appearance while the rooms beneath it need a different set of heights and routes.
Cut building sections through the important spaces. Include the ridge, rafters or trusses, floor levels, tall windows, fireplaces, shade pockets, lighting, and the planned furniture. Those drawings reveal whether a dramatic roof actually gives the room better proportions—or simply creates a difficult pocket above it.
Transitions deserve as much attention as the main vault. Study where a tall room meets a lower gallery, where an outdoor ceiling continues from the interior, and where roof structure crosses a large opening. A clean change in height can make the sequence feel deliberate. A leftover wedge or sudden soffit usually signals that the section still needs work.
4. Simplify roof intersections and make the water path obvious
Every valley, wall intersection, change in pitch, and low roof tucked beneath a taller one creates a place that must collect, redirect, or shed water. That does not mean a custom home needs one plain roof. It means the drainage logic should be clear enough to draw, detail, build, inspect, and maintain.
Follow rain from the highest ridge to the ground. Where does each roof plane send it? Can one upper area concentrate water onto a small lower roof? Does a valley end beside a wall or opening? Are there deep inside corners where leaves may gather? The design team should resolve those questions before exterior materials and window locations make the answer harder.
Simplicity often improves the architecture too. Aligning two ridges, removing a tiny roof plane, or shifting an opening away from a difficult junction can calm an elevation and create a cleaner assembly. When a complex intersection is essential, enlarge the detail and make its flashing, underlayment, drainage, and service access part of the design—not a field improvisation.
5. Choose roofing materials as complete assemblies
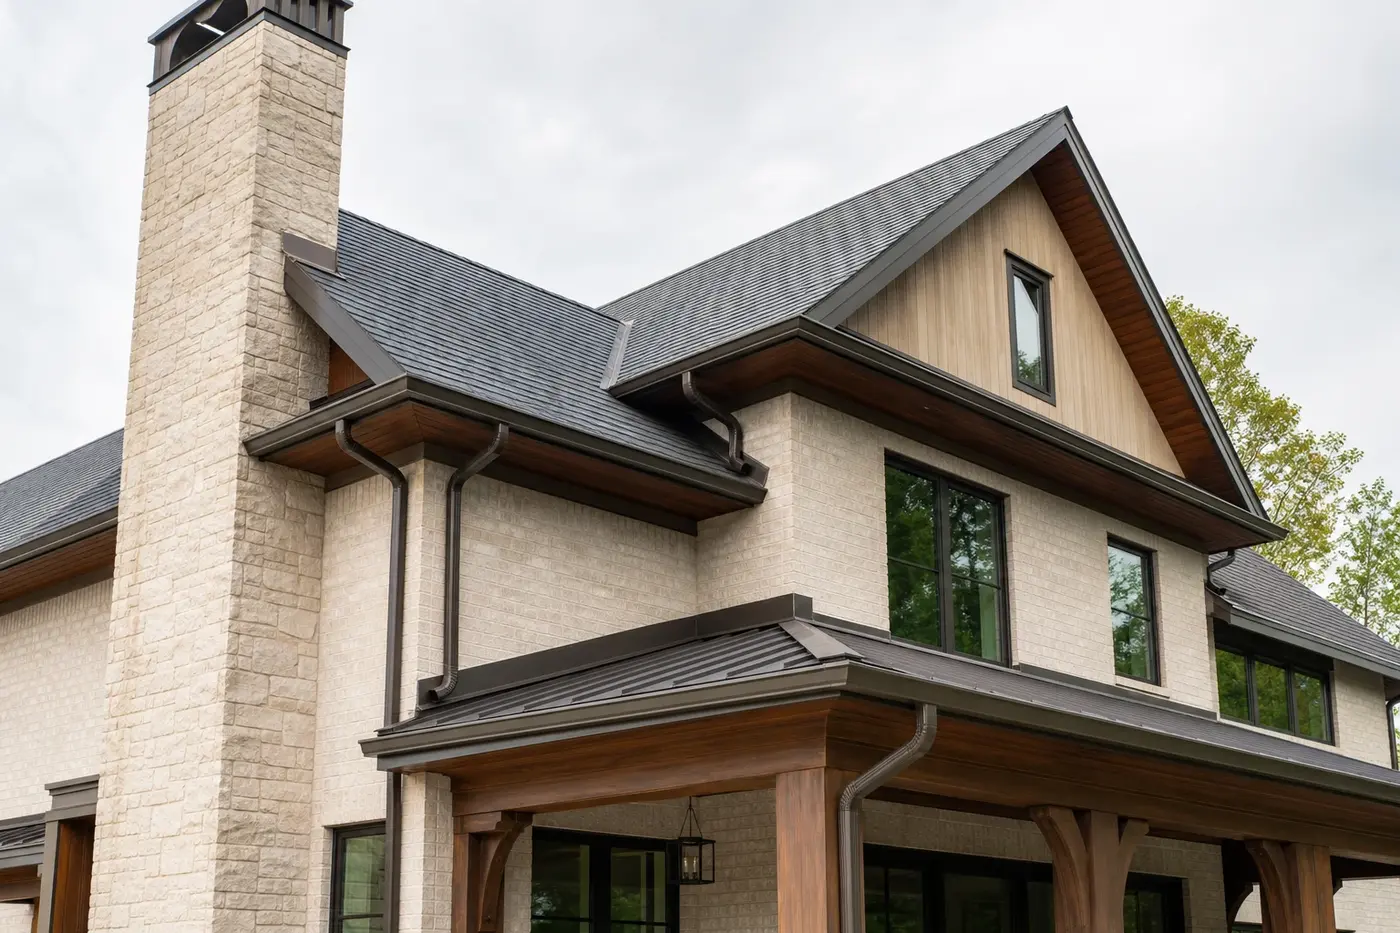
A roofing sample tells only part of the story. Material choice also affects pitch, fastening, underlayment, flashing, ventilation, edge details, snow or leaf guards where appropriate, gutters, and the way penetrations are finished. Even the apparent thickness and shadow line at the eave can change the character of the home.
Compare materials on the actual roof geometry. A standing-seam metal roof can give a low porch or simple gable a crisp rhythm, but too many short planes may create fussy seams and crowded transitions. Asphalt shingles, natural slate, tile, and other approved systems each bring their own module, weight, slope, texture, and detailing requirements. The right choice must suit both the architecture and the proposed assembly.
Build the palette with the rest of the exterior. Set the roofing beside masonry, siding, windows, wood, fascia, gutters, flashing, and exterior metals in real daylight. Check sheen as carefully as color. A finish that looks quiet on a small sample can become a dominant field across a broad roof, especially in late-day sun.
6. Give chimneys, vents, gutters, and equipment a planned place
A roof has working parts. Chimneys, plumbing vents, exhausts, intake and discharge locations, skylights if used, gutters, downspouts, overflow routes, and access points all need space. If those elements arrive after the exterior is composed, they tend to land wherever a route happens to fit. The result can weaken both performance and appearance.
Create a roof coordination plan that combines architecture, structure, plumbing, mechanical, electrical, and drainage information. Group compatible penetrations where the systems allow it, but do not force unsafe or impractical routing just to hide them. Keep critical components away from valleys and tight transitions when the design team recommends it. Then check how each item appears from the ground and from upper windows.
Gutters and downspouts deserve their own elevation review. Decide which roof edges need them, where water reaches grade, and how drainage continues away from the home. A downspout can align with a masonry pier or quiet corner instead of cutting across an important window grouping. These are small drawings with a large effect on the finished exterior.
7. Review the roof in plan, elevation, section, and detail before release
No single drawing can prove that a roof works. The plan shows drainage geometry. Elevations show proportion. Sections reveal structure and room volume. Enlarged details explain edges, transitions, flashing, ventilation, and material changes. Review all four together before the roof package becomes difficult to adjust.
Use a short checklist for every roof zone: ridge, valley, eave, rake, chimney, wall tie-in, low-roof transition, gutter, downspout, penetration, and access point. Then look at the home without the technical labels. Does the silhouette feel balanced? Are the important rooms legible from outside? Do the materials stop and start in believable places? Has a small unresolved area created unnecessary visual noise?
Finally, carry that review into construction. Confirm key dimensions and junctions before framing and roofing advance past the point where a clean correction is possible. For homeowners building in Charlotte, early coordination with the architect, engineers, and custom-home builder is what keeps the roof's design, structure, drainage, and exterior craft connected. Explore Max Built's custom-home process, review the portfolio, and bring the property and early plans into the conversation before the roof form is locked.
Roof planning for a Charlotte custom home
When should the roof be designed for a custom home?
Begin during concept design, while the footprint, room volumes, site placement, exterior massing, and structure can still change together. Develop the roof plan and key sections before windows, fireplaces, building systems, and exterior materials become fixed.
Is a simpler roof always better for a luxury custom home?
Not automatically. A roof can use several forms when each one supports the rooms, site, scale, or drainage. The goal is purposeful complexity: clear primary volumes, well-resolved intersections, and no small leftover planes added only to make the elevation look busier.
Should a vaulted ceiling follow the exterior roof exactly?
It can, but it does not have to. The best approach depends on the room proportions, structure, insulation and ventilation strategy, lighting, mechanical routes, and adjacent spaces. Study the roof and ceiling in the same building section before choosing.
What should homeowners review on a roof plan?
Review ridges, hips, valleys, slopes, wall intersections, lower tie-ins, chimneys, penetrations, gutters, downspouts, drainage concentration, and access. Compare the plan with elevations and sections so hidden geometry does not create an unexpected exterior or interior condition.
How do roof materials affect the design?
Roof materials influence suitable pitches, weight, fastening, underlayment, flashing, edge profiles, ventilation, seam or shingle patterns, maintenance, and how much visual attention the roof receives. Evaluate the complete assembly on the proposed roof form—not just the color sample.
Build the right plan before construction begins
Tell us about your property, priorities, and the way you want to live. We'll help organize the next decisions around a clear, buildable path.