

How Should You Plan Roof Drainage?
By David K
8 min read

Plan roof drainage by tracing water continuously from each roof plane to a safe final discharge point. Start with the roof plan: mark ridges, valleys, upper roofs, lower roofs, walls, terraces, and every edge that receives concentrated runoff. Then size and locate the collection system for the actual catchments, coordinate gutters or drains with fascia and flashing, place downspouts where they can reach a workable route, and connect each outlet to approved surface or underground drainage that moves water away from the foundation without creating erosion or a problem on another property. Include overflow, cleanouts, leaf and debris access, freezing and maintenance considerations, and field verification before finishes conceal the important transitions. The architect, builder, civil or drainage professional, roofer, gutter installer, and landscape team should resolve the property-specific system under current code, product, and local review requirements.
Planning a new home? Explore Max Built's custom-home process, then view the craftsmanship in our project portfolio.
Draw every catchment before choosing gutters
A roof-drainage plan begins with areas, slopes, and flow paths—not with a catalog profile. Divide the roof into catchments and show where each plane sends water. Valleys, dormers, chimneys, parapets, intersecting walls, low roofs, and covered outdoor rooms can concentrate several roof areas at one short edge. A gutter that looks proportionate on an elevation may still receive far more water than the facade suggests.
Trace upper roofs separately from the surfaces below them. Do not assume concentrated discharge can spill onto a lower roof without consequences. The lower assembly, flashing, material, slope, and receiving gutter all need to be designed for that added flow. When the path turns a corner or narrows beside a wall, call out the transition rather than leaving it to field judgment.
The practical deliverable goes beyond a roof-form study or a general envelope diagram: it is a complete runoff plan with actual collection points, conveyance routes, overflow paths, and discharge destinations. It should agree with the roof plan, exterior elevations, wall details, and site-grading documents before construction documents are released.
- Which roof planes feed each gutter, drain, scupper, or lower roof?
- Where do valleys or upper roofs concentrate water at a short edge?
- Which roof-wall intersections need step and kick-out flashing?
- Where can overflow occur without entering a wall or crossing an entrance?
Coordinate roof edges, flashing, and collection as one detail
The U.S. Department of Energy's Building America Solution Center treats gutters and downspouts as part of a broader exterior water-management system. Collection only works when water reaches it cleanly. Drip edges, underlayment, fascia, roof covering, gutter position, hangers, end conditions, and wall drainage layers should be drawn in the sequence they are installed.
Roof-to-wall intersections deserve special attention. Building America guidance describes step flashing that is layered with the roof and wall drainage planes, plus kick-out flashing at the lower end to direct runoff into the gutter instead of down the wall. The exact dimensions, materials, laps, clearances, and fastening should follow the adopted code, approved plans, roofing and cladding systems, and current manufacturer instructions.
Review the detail against the finished architecture. Deep fascia, exposed rafter tails, masonry returns, wood soffits, metal roofs, and concealed-gutter concepts can all change available space and sequencing. If drainage is visually hidden, inspection and replacement access still need to remain clear. A refined roof edge should not depend on an inaccessible joint or a sealant bead as its only water-control strategy.

Size the system before placing downspouts on the elevations
Gutter and downspout sizing should respond to the contributing roof area, local design rainfall, roof slope, valley concentration, outlet capacity, material, and the number and spacing of outlets. Building America notes that larger gutters carry more water only when enough downspouts and outlets are provided. A long decorative run with too few outlets can remain the controlling restriction.
Place downspouts from both performance and architectural plans. They need direct connections to the roof collection points, but they should also avoid doors, primary window groupings, narrow passages, foundation projections, and locations where a lower elbow becomes vulnerable. Aligning a downspout with a quiet wall return or masonry pier can support the elevation without forcing a long horizontal offset that holds debris or looks improvised.
Show how every downspout reaches grade. Dimensions that work on a flat elevation can fail when a stone base projects, a terrace wraps the wall, or the final landscape rises around the foundation. Coordinate brackets, material transitions, cleanouts, underground adapters, and any protective details before masonry, paving, or planting closes the route.
Carry the water beyond the foundation
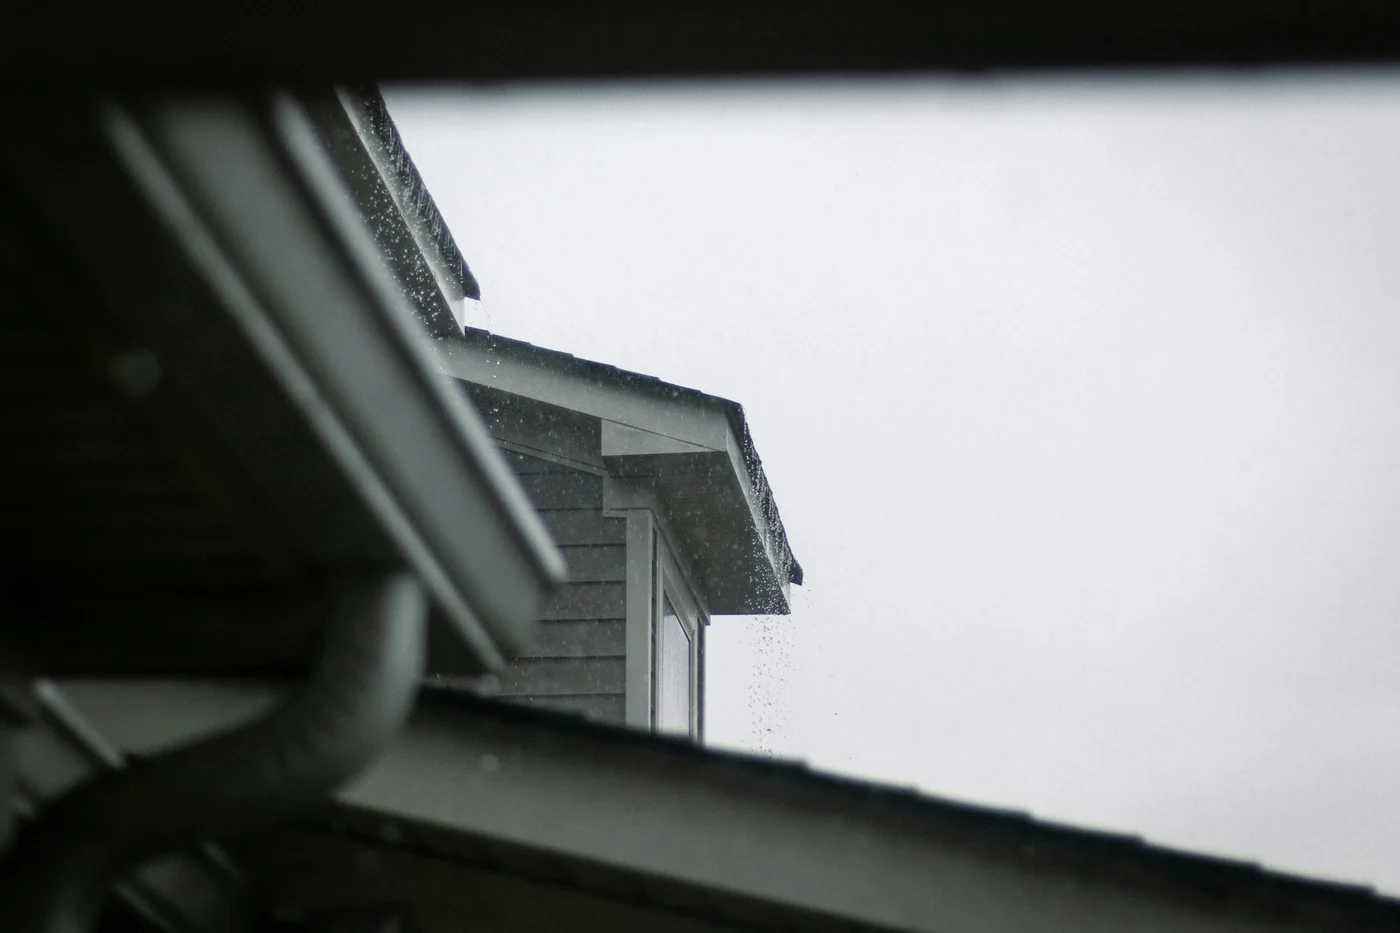
The drainage plan is incomplete when the line stops at the bottom of a downspout. Building America guidance emphasizes directing roof runoff away from the foundation to suitable sloping grade or an approved underground catchment or drainage system. It also warns against connecting roof-drain piping to a perforated foundation drain, because adding roof runoff can load the very system intended to keep foundation soils drained.
Choose the final destination with the site plan. Surface extensions, solid underground leaders, daylight outlets, approved storm connections, infiltration features, cisterns, or other systems each require suitable slope, capacity, overflow, erosion protection, access, and local acceptance. The right option depends on the lot, soils, grade, easements, receiving area, foundation, landscape, and jurisdiction; a generic detail cannot settle those property-specific questions.
In Charlotte, residential lot review can involve stormwater, drainage, zoning, urban forestry, and related site requirements depending on the project. Confirm the current review path and approved discharge strategy for the address. Roof water should not be redirected onto a neighboring property, trapped behind a retaining wall, discharged across a walk, or sent to an outlet where the grade carries it back toward the house.

Plan overflow, access, testing, and homeowner handoff
Every drainage system needs a response for blockage or rainfall beyond normal operating conditions. Identify where water can visibly overflow without entering wall assemblies, backing beneath roofing, pouring across a doorway, or concentrating beside the foundation. Concealed drains, scuppers, collection boxes, underground leaders, and harvesting systems may require explicit secondary paths or warning signs in the design.
Make maintenance possible from the start. Trees near the home, long valleys, screens or guards, outlet strainers, buried leaders, catch basins, and daylight terminations all affect the cleaning plan. Provide accessible cleanouts where the design calls for them, keep outlets observable, and avoid burying connections beneath permanent hardscape or dense planting without a service strategy.
Before handoff, review the roof and drainage system during rain or with an appropriate controlled test directed by the responsible professionals. Look for ponding, overshoot, leaks, loose connections, reverse slope, blocked outlets, erosion, and water returning toward the building. Give the owner a simple plan showing gutters, downspouts, underground routes, cleanouts, outlets, overflow points, maintenance guidance, and representative photographs. Max Built can help coordinate these moving parts during a new custom-home build; final design and approval remain with the qualified project team and reviewing authorities.
Sources and editorial notes
U.S. DOE Building America guide to gutters and downspouts
U.S. DOE Building America guide to roof-wall flashing
City of Charlotte individual residential lot review resources
Prepared with AI assistance and editorially reviewed by Sage. Architectural images are illustrative, not documented Max Built projects. This organizational guide does not replace project-specific professional advice.
Roof-drainage planning questions
When should roof drainage be planned for a custom home?
Begin during architectural and site design, while roof geometry, fascia, wall intersections, downspout locations, terraces, grading, utilities, and landscape routes can still move. Final product selections can follow, but the complete runoff and discharge path should exist before construction documents are released.
Are gutters required on every new home?
Not in every condition. Requirements depend on the adopted code, soils, climate, roof and foundation design, site-drainage needs, and local review. Even where gutters are not specifically required, the design still needs a complete strategy for controlling roof runoff, splash, erosion, wall wetting, and water near the foundation.
Can an upper roof drain onto a lower roof?
Only when the complete lower assembly is designed to receive and convey the concentrated flow. The project team should evaluate the lower roof material, flashing, erosion or wear, slope, valley geometry, gutter capacity, and overflow risk rather than allowing an upper downspout to discharge wherever it fits.
Should downspouts connect to the foundation drain?
Building America guidance says roof-drain piping should not be connected to perforated foundation-drain piping because that can add roof water beside the foundation. Use the approved solid conveyance and discharge strategy developed for the property.
What is kick-out flashing?
It is a diverter at the lower end of a roof-to-wall intersection that directs water away from the wall and into the gutter. It must be integrated with the roof flashing, wall drainage plane, cladding, and gutter rather than added as an isolated surface patch.
What roof-drainage records should the homeowner receive?
Ask for the final roof and site-drainage plan, gutter and downspout locations, underground leader routes, cleanouts, outlets, overflow points, product information, maintenance guidance, photographs of concealed connections, and any inspection or test records prepared for the project.
Build the right plan before construction begins
Tell us about your property, priorities, and the way you want to live. We'll help organize the next decisions around a clear, buildable path.