

Charlotte Custom-Home Selections
By Max Built
9 min read
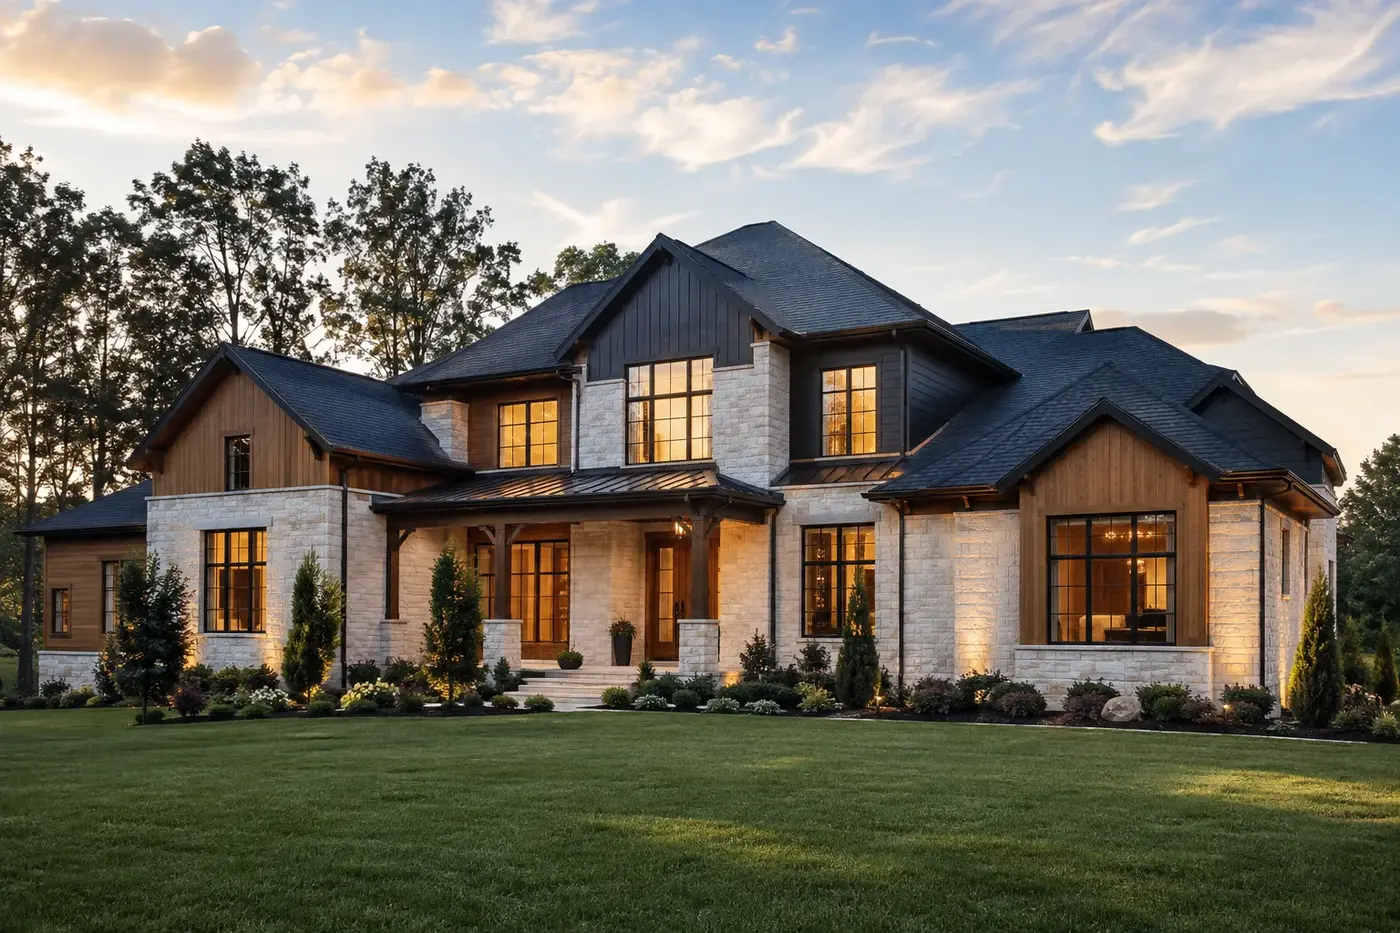
Plan selections for a Charlotte custom home as a coordinated construction record, not a collection of attractive samples. Begin with the rooms and experiences that matter most, then list every choice the drawings and trades will need. Group connected decisions—such as flooring, cabinetry, counters, plumbing fixtures, lighting, hardware, paint, and trim—so their dimensions, colors, installation needs, and transitions can be reviewed together. Approve full-size samples in the light of the actual home when practical, record the exact product and finish, and place each decision on the current plan, elevation, or detail. Most importantly, decide in the order the house needs information. A visible finish may be chosen late, but anything that changes structure, openings, rough-ins, backing, recesses, or lead coordination belongs much earlier.
Planning a new home? Explore Max Built's custom-home process, then view the craftsmanship in our project portfolio.
1. Build one selections list from the drawings
Start with the current floor plans, elevations, reflected ceiling plans, and room drawings. Walk through the home one space at a time and list what must be selected, confirmed, or coordinated. Include the obvious items—flooring, cabinets, counters, plumbing fixtures, lighting, hardware, paint, and tile—but also note thresholds, trim profiles, grout, vents, fireplace surrounds, shelving, mirrors, glass, and exterior finish transitions.
Give each item a location and an owner. A line that says only ‘pendant light’ is not enough. Identify the room, drawing reference, quantity, decision status, person responsible for the next step, and any related choice that cannot move forward without it. That turns a wish list into a working record for the homeowner, designer, builder, and trade partners.
Keep open questions separate from final approvals. A preferred stone may still need confirmation of thickness, edge profile, available sizes, support, and installation pattern. Marking it as decided too soon can hide the work that remains. One honest list makes the unknowns visible before they become field questions.
- Where will this selection be installed?
- Which drawing or detail should show it?
- What other decisions depend on it?
- Is it a preference, a priced option, or a final approval?
2. Make decisions in construction order, not shopping order
The most enjoyable choices are not always the first ones the house needs. A decorative fixture can wait longer than a decision that changes framing, electrical boxes, plumbing locations, floor recesses, wall backing, or the size of an opening. Ask the project team which information is needed next and what would be affected if it changed later.
Sort the list into layers. Begin with choices that shape the building: window and door units, fireplace type, major appliances, plumbing locations, built-ins, ceiling features, and large-format material assemblies. Next come products that influence rough-ins or substrates. Final colors and small decorative items can follow once the conditions around them are stable.
This order keeps attention on consequences rather than excitement. It also gives the household a manageable next group of decisions instead of presenting the entire home at once. A shorter active list is easier to review carefully—and less likely to produce rushed choices that conflict with work already underway.
3. Coordinate connected rooms as one composition
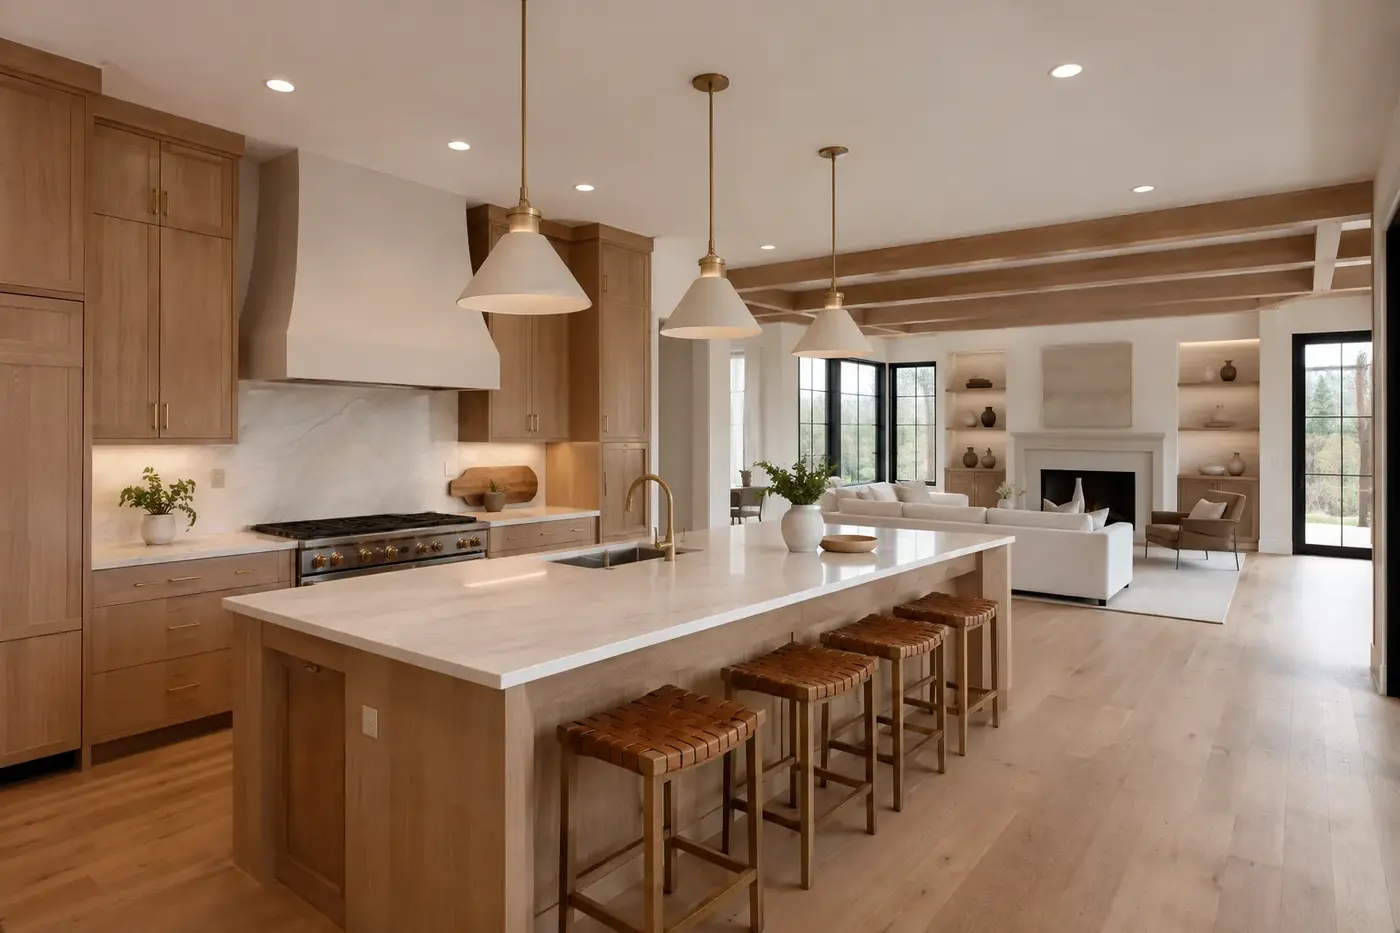
Open kitchens, great rooms, dining areas, stair halls, and entries are experienced together. Review their materials side by side before approving any one room in isolation. Flooring direction, cabinet tone, counter movement, fireplace stone, metal finishes, paint, and lighting should feel related without becoming a matched set.
Choose a few elements to carry through the connected spaces, then allow deliberate changes where a room needs its own identity. Repeating one wood tone or metal finish can create calm. A different stone or wall treatment can mark an important focal point. The key is knowing which relationship is intentional before several installers make separate assumptions.
Look beyond color. Compare sheen, texture, edge profile, joint size, scale, and the way each surface meets the next. Two warm neutrals can still compete if one is highly reflective and the other heavily textured. A coordinated room is built from transitions as much as from the materials in its center.
4. Check performance and compatibility before color
A material has to suit its location. Begin with what the surface will face: water, heat, direct sun, repeated touch, cleaning, foot traffic, or changing humidity. Then review the selected product information and installation requirements with the appropriate project professionals. Appearance matters, but it cannot answer whether the complete assembly belongs in that condition.
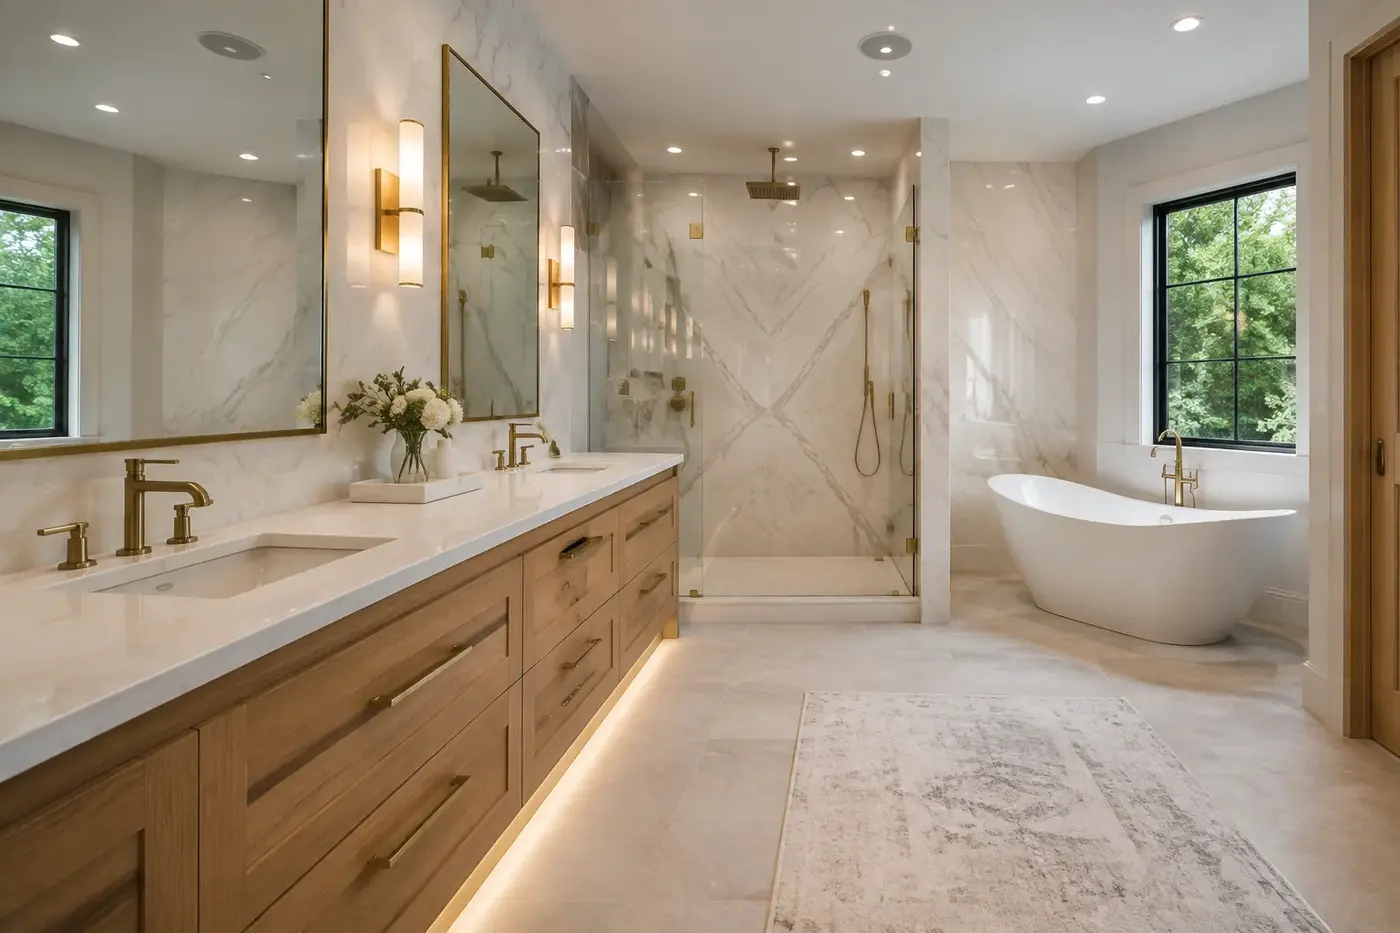
Compatibility is equally important. Confirm what sits behind the finish, how it attaches, how thick the installed assembly will be, and what happens at corners, openings, drains, cabinets, and adjacent floors. A thicker tile or slab can change a threshold, trim return, faucet reach, or cabinet dimension even when the face of the sample looks perfect.
Ask how the material will age and what routine care it expects. Natural variation, patina, visible water spots, soft edges, and refinishing needs are not automatically flaws. They should simply match the household’s tolerance and the room’s use. The best choice is the one that still makes sense after the styled sample is gone and daily life begins.
5. Review larger samples in the home’s actual light
Small samples hide variation. Whenever practical, compare larger pieces, full cabinet-door samples, grout joints, hardware mounted on the intended door style, and representative finish ranges. Stone, wood, plaster, tile, and metal can shift noticeably across a larger area, so one perfect corner should not stand in for the full installation.
Move samples into the rooms they will serve once the home can receive them safely. Check morning and afternoon daylight, warm evening lighting, nearby windows, and shadows from roof overhangs. A white paint beside warm stone may read differently than it did under showroom lamps. The point is not to chase a color that never changes; it is to understand how the complete palette behaves.
Use mockups where several decisions meet. A small tile panel can test layout, grout, trim, niche edges, and plumbing alignment. A cabinet corner can clarify door reveals, hardware, counter overhang, backsplash, and lighting. A useful mockup answers a construction question rather than merely creating another presentation image.
6. Draw the edges, transitions, and stopping points
Selections become architecture at their edges. Decide where one floor stops, how tile ends at a painted wall, whether stone returns into an opening, where cabinet panels meet trim, and how exterior materials turn a corner. These are small areas on a plan, yet they often determine whether the finished home feels quiet or unresolved.
Request enlarged drawings for repeated or highly visible junctions. Show the actual thicknesses, reveals, trim pieces, alignments, and finish extents. If two trades share the same edge, both should be able to understand who prepares the substrate and who completes the visible transition.
Review hardware and controls in the same way. Door levers, hinges, cabinet pulls, plumbing trim, switches, outlets, grilles, and thermostats occupy finished surfaces. They do not all need to disappear, but their location and finish should feel purposeful. A calm room usually comes from many small alignments being settled before installation.
7. Record each final approval and manage changes deliberately
A final selection record should name the manufacturer or source, product, color or finish, size, quantity basis, installation location, approved sample, and the drawing or detail it affects. Photographs help, but they should support the written information rather than replace it. Screenshots and informal messages can be useful during discussion, then become confusing when no one knows which version was final.
When a choice changes, trace the connections before approving the replacement. A different appliance may move utilities or cabinets. A new tile size may alter layout, niches, drains, and trim. A revised light fixture may need different support or hanging height. Ask what else moves with the change, then update the shared record and current drawings together.
Close with a room-by-room review before each finish phase begins. Confirm the approved products, the prepared conditions, representative layout, transition details, and any stored samples the team will use for comparison. Thoughtful selections planning does not remove every judgment from the field. It gives those judgments a clear design and construction context.
Planning selections for a Charlotte custom home
When should custom-home selections begin?
Begin while the design is developing, especially for products that affect room dimensions, structure, rough-ins, openings, backing, recesses, or installation assemblies. Decorative colors can follow later, but the project team should set a decision sequence before construction needs the information.
What belongs on a custom-home selections schedule?
List the location, exact product or material, finish, dimensions, quantity basis, decision status, responsible person, required date, related drawing, approved sample, and any dependent choices. Keep questions and preferences visibly separate from final approvals.
How can homeowners keep an open floor plan from looking mismatched?
Review connected rooms together. Repeat a restrained set of wood, stone, metal, paint, and trim relationships, then use deliberate changes to define important spaces. Compare texture, sheen, scale, and transitions—not only color chips.
Are showroom samples enough for final approval?
They are a starting point. Review larger or representative samples when practical, understand natural variation, and look at them beside adjacent materials and in the home’s actual daylight and planned artificial light before final approval.
What should happen when a selection changes during construction?
Identify every connected drawing, dimension, rough-in, substrate, product, and trade before approving the change. Then update the shared selection record and current project information so the team is not working from conflicting versions.
Build the right plan before construction begins
Tell us about your property, priorities, and the way you want to live. We'll help organize the next decisions around a clear, buildable path.