

How to Plan a Custom Home’s Service Side
By David K
8 min read
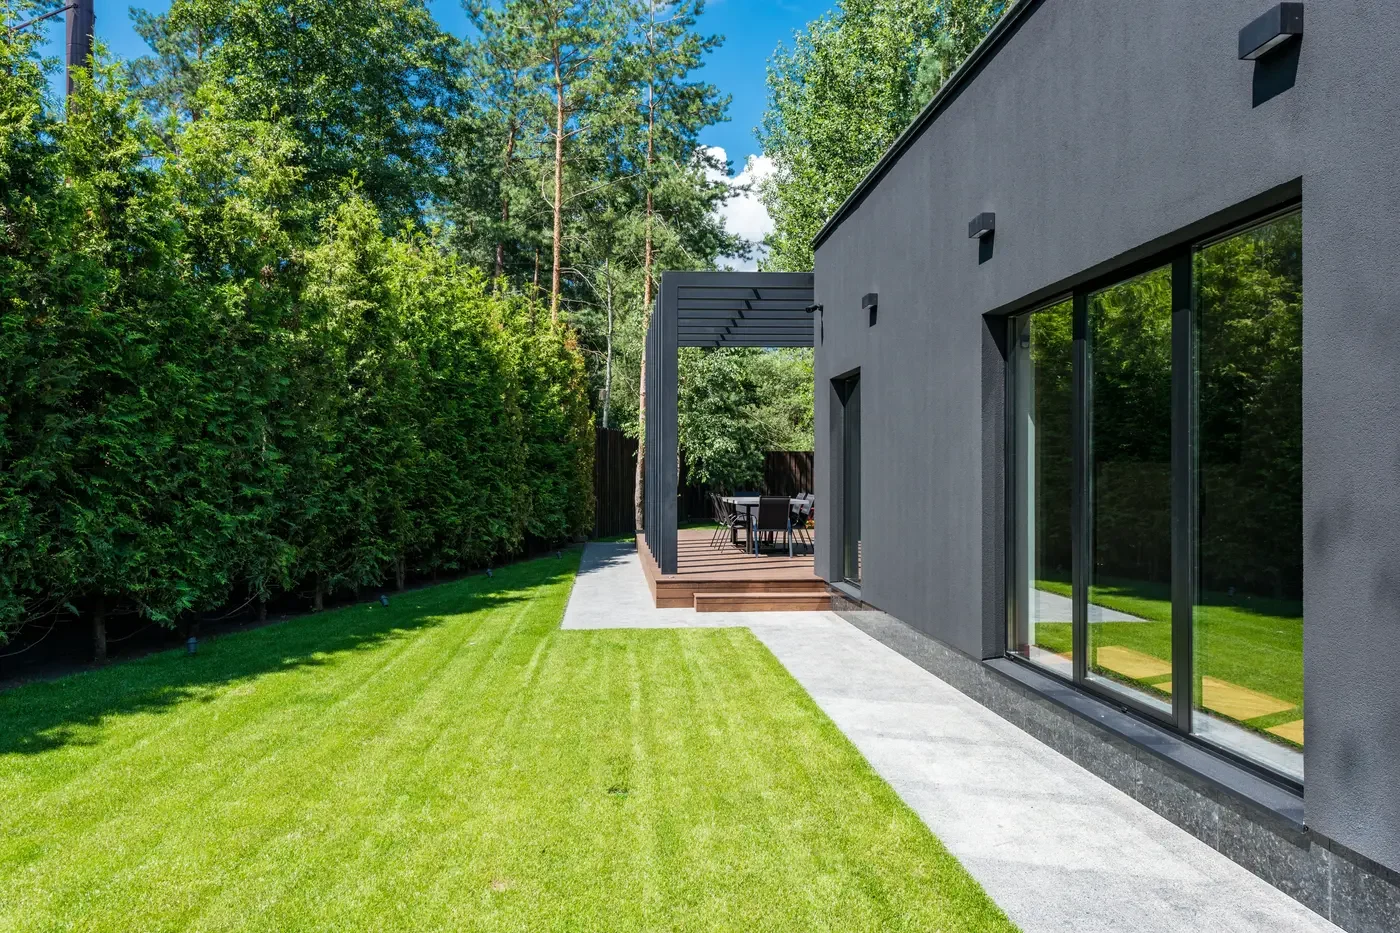
Plan the service side before the house placement, grading, landscape, and exterior elevations are fixed. Put every exterior system on one coordinated drawing: electric and water service, meters, communications, HVAC equipment, generator or battery equipment if selected, irrigation controls, hose connections, roof-water discharge, waste storage, gates, screening, and lighting. Then test the route from the property edge to each component for installation, inspection, maintenance, and eventual replacement. Keep manufacturer and utility clearances open, direct water away from the foundation and equipment pads, control noise at bedrooms and outdoor rooms, and use architecture and planting to screen equipment without blocking airflow or access.
Planning a new home? Explore Max Built's custom-home process, then view the craftsmanship in our project portfolio.
Draw one service plan instead of placing equipment one item at a time
Begin with a current survey and site concept, then mark every known service entry and exterior component on one plan. Include the electric route and meter, water and sewer or approved onsite systems, communications entry, outdoor HVAC units, condensate and relief discharges, generator or battery equipment if selected, irrigation and backflow components where applicable, hose connections, exterior shutoffs, downspouts, waste storage, and any pool or gate equipment. The exact list depends on the property and systems, but the drawing should reveal where they compete for the same wall or strip of ground.
Connect that plan to the floor plan. The quiet side of a primary suite may be a poor place for condensing units or a generator. A wall beside the kitchen may simplify one route but put equipment in a garden view. A utility entry that looks efficient outside may create an awkward panel, valve, or equipment location inside. Review both sides of the wall before calling the exterior location settled.
Use the plan to define a deliberate service zone, not necessarily one crowded enclosure. Some components may belong together, while others require separation, ventilation, direct utility access, or a location established by their approved instructions. The goal is coordinated placement with understandable routes and clear responsibilities—not hiding every system behind the same screen.
- Which utilities and systems must reach the house from the property edge?
- Which components need regular inspection, filter changes, testing, or meter access?
- Which equipment may create sound, heat, exhaust, or water discharge?
- Which item is largest or hardest to replace after landscape and gates are installed?
Protect working space, airflow, and a real replacement path
Measure the service condition with doors, panels, gates, and equipment in their working positions. A technician needs more than a narrow strip to stand in; removable panels, coil faces, disconnects, valves, filters, controls, and fasteners need to remain reachable. Use the selected manufacturer instructions and utility requirements to establish the actual working and airflow clearances rather than copying a generic dimension from another project.
Plan how the largest component will arrive and leave. A unit installed before a fence, wall, terrace, or mature planting may become trapped later. Trace a replacement route from a suitable delivery point to each major exterior component, including gate width, turns, steps, slopes, overhead obstructions, soft ground, and any surface that cannot carry the required load. Preserve that route in the final landscape plan.
Keep condensers and heat pumps open to the airflow their selected equipment requires. Dense hedges, tight slatted boxes, deep recesses, and low overhead covers may look neat but can obstruct intake, discharge, or service. Locate equipment on stable, properly drained supports and coordinate refrigerant lines, power, controls, and wall penetrations so they are protected, accessible, and visually ordered.
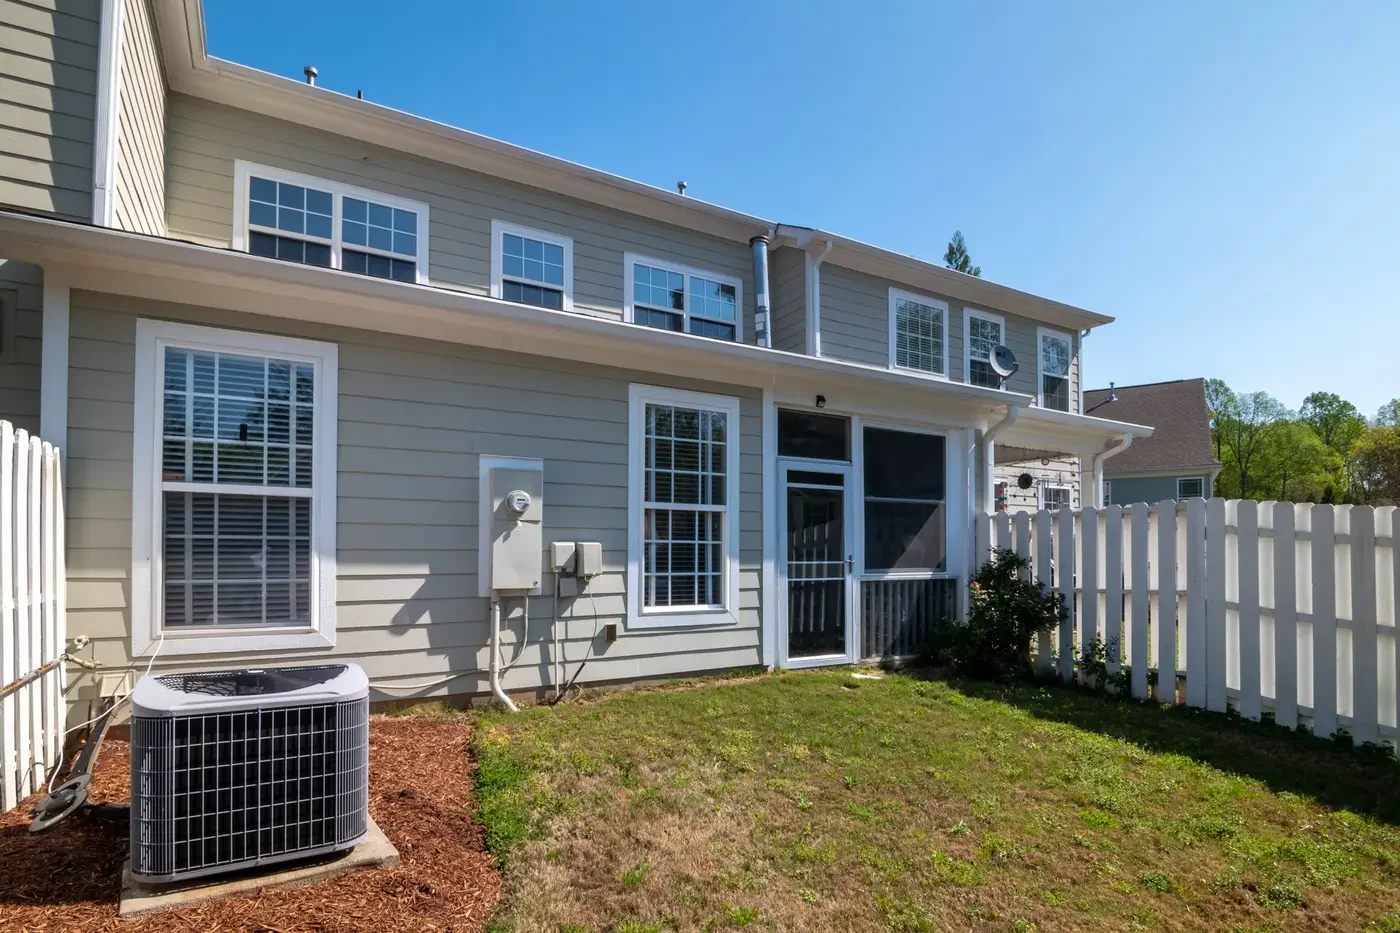
Use architecture and landscape to screen equipment without hiding problems
Design the service elevation with the same care as the visible façades, but give function priority. Recesses, short return walls, aligned materials, muted equipment finishes where permitted, and layered planting can reduce visual clutter. Keep screens independent of required openings and access, and make gates easy to operate with equipment and tools passing through. A permanent wall should not turn a simple inspection into demolition.
Place sound-producing equipment with bedrooms, study areas, terraces, courtyards, and neighboring homes in mind. Distance, wall orientation, equipment selection, resilient mounting where appropriate, and a well-planned enclosure can all matter. Do not assume a solid screen automatically solves noise; it may reflect sound, restrict airflow, or make service harder. Ask the responsible designer and equipment professional to evaluate the completed arrangement.
Coordinate planting by mature size, not nursery size. Roots should not undermine pads or block buried routes, branches should not crowd equipment, and leaf drop should not create constant debris at coils or drains. Preserve views from important windows while keeping meters, labels, disconnects, and shutoffs readable and reachable. The best screen makes the house look composed without making the systems mysterious.
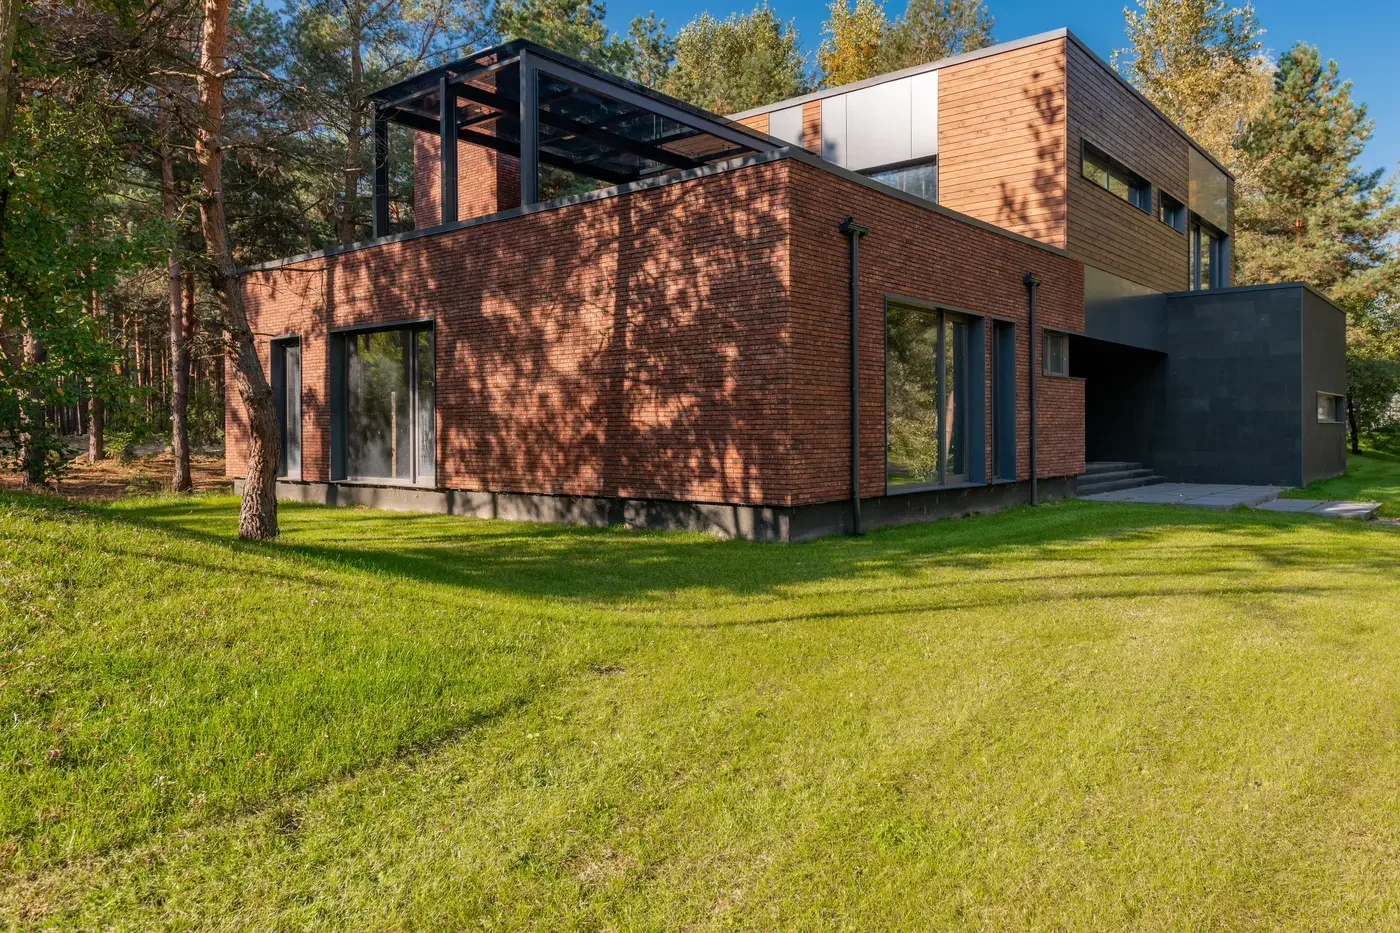
Make the route dry, stable, and usable after dark
Grade the service zone as part of the whole-property water plan. Keep runoff, downspout discharge, irrigation overspray, and low spots from collecting at foundations, equipment pads, meters, valves, or the maintenance path. Coordinate drains and discharge points with the civil, landscape, architectural, and trade drawings so one system does not send water into another system's working area.
Choose a stable walking surface that suits the grade and expected use. Loose mud, steep lawn, decorative stone that shifts underfoot, and narrow stepping stones may look acceptable on a plan but make wet-weather service difficult. Resolve steps, edges, gate thresholds, and transitions early. Where heavy replacement equipment may travel, confirm the route and surface can support the actual plan without damaging finished landscape.
Provide restrained task lighting for gates, shutoffs, panels, and the route without shining into bedrooms or neighboring property. Keep fixture locations clear of doors, panels, and equipment discharge. Label the relevant components in the owner record and show shutoffs and service points during handover so the route is understandable before an urgent visit is needed.
Review the service side at three project milestones
First, review it during site and schematic design, when house placement, utility approaches, room relationships, and landscape zones can move. Second, review it before permits and major equipment orders, using the selected systems and current utility direction. Third, walk it before exterior flatwork, fencing, screens, and planting are finished, when field locations can be compared with the coordinated drawings.
At each review, check the same questions: Is every component shown? Does it have the required access and operating space? Can water drain safely? Can the largest item be replaced? Are sound and important views addressed? Do utility, architectural, structural, mechanical, electrical, plumbing, landscape, and grading information agree? Record changes on the shared documents rather than relying on separate notes.
A well-planned service side is not a showcase feature, but it affects how quietly, safely, and maintainably the home works. Max Built can help coordinate these decisions as part of a ground-up Charlotte-area custom home while the site plan and architecture are still flexible. Review the custom-home process, then contact the team to discuss your new build.
Sources and editorial notes
Duke Energy builder guidance for applying for electric service
Duke Energy guidance on utility rights of way and access
Charlotte Water new residential service guidance
Mecklenburg County residential plan review services
Pexels representative side-elevation photography
Pexels representative exterior-equipment photography
Pexels representative residential architecture photography
Prepared with AI assistance and editorially reviewed by Sage. Architectural images are illustrative, not documented Max Built projects. This organizational guide does not replace project-specific professional advice.
Service-side planning questions for a new custom home
When should the service side of a custom home be planned?
Start during site and schematic design, then update the plan when utilities and equipment are selected. Recheck field locations before walls, paving, fencing, screens, and landscape make changes difficult.
Should all outdoor equipment go in one enclosure?
Not automatically. Some components can share a coordinated zone, while others need separation, open airflow, direct utility access, exhaust clearance, or a location established by approved instructions. Plan the systems together without forcing them into one crowded box.
How can outdoor equipment be screened without blocking it?
Use architecture, short return walls, gates, and planting outside the required airflow and working spaces. Size everything from the selected equipment instructions and mature landscape dimensions, and preserve a clear service and replacement route.
What belongs on a residential service-side plan?
Show utility entries and routes, meters, communications, outdoor HVAC, selected backup-energy equipment, irrigation and water components, shutoffs, roof-water discharge, waste storage, gates, lighting, screening, grading, drainage, maintenance paths, and replacement access that apply to the project.
Who confirms utility and equipment clearances?
The responsible utility, authority, licensed design professionals, qualified installers, and selected manufacturer instructions should establish the project-specific locations, clearances, protection, and inspection requirements.
Why plan a replacement route before the home is built?
Equipment may be installed before fences, walls, terraces, and mature planting. A route that works during construction can disappear later unless gate width, turns, slopes, overhead space, surface capacity, and access are preserved in the finished plan.
Build the right plan before construction begins
Tell us about your property, priorities, and the way you want to live. We'll help organize the next decisions around a clear, buildable path.