

When Should You Plan Window Treatments?
By David K
8 min read

Plan window treatments in two stages. During design, decide what each opening needs to control—privacy, glare, darkness, heat, view, or decoration—and reserve the required wall, ceiling, pocket, blocking, power, controls, and service access. Before ordering, verify the selected window, finished opening, trim, furniture, hardware, shade or drapery product, fabric, stack, and control system from field measurements. Recessed and motorized systems need the earliest coordination; simple surface-mounted treatments can be selected later, but their clearances and visual relationship to the room should still be checked before finishes are complete.
Planning a new home? Explore Max Built's custom-home process, then view the craftsmanship in our project portfolio.
Give every opening a specific window-treatment job
Begin with a room-by-room schedule rather than one treatment style for the entire house. Record each window or door, how the room is used, the direction of the strongest sun, the view worth preserving, the privacy exposure, and whether the room needs dimming or true nighttime darkness. A great room may need daytime glare control without losing the garden view; a street-facing bath needs privacy; a bedroom may need a separate blackout layer; a rarely used stair window may need no movable treatment at all.
Separate the functions before choosing products. Solar fabric, room-darkening fabric, blackout assemblies, lined drapery, blinds, shutters, and exterior shading do not solve the same problem. Even the word blackout can be misleading when light still passes around the sides or beneath a shade. Define the desired result at the opening, then ask the window-treatment designer and project team which complete assembly can deliver it.
The U.S. Department of Energy's window-attachment study treats glare, privacy, aesthetics, solar control, mounting, climate, and occupant operation as connected variables. Its modeled energy results vary by attachment, window, climate, and how the covering is used. That is a useful planning lesson: do not promise one fabric will automatically solve comfort or energy use throughout the house. Coordinate each exposure with the window, exterior shade, room use, and mechanical design.
- Privacy by day, by night, or both
- Glare control while preserving a useful view
- Room darkening or a more complete blackout assembly
- Decorative softness, acoustic effect, or architectural concealment
- Manual, battery, wired, or integrated operation
Draw the treatment with the window, ceiling, and furniture
Place the treatment on the same interior elevations and building sections as the window. Show the window frame, trim or drywall return, head condition, sill, nearby cabinets, doors, crown, beams, diffusers, sprinklers when applicable, lighting, and furniture. Then draw where the shade roll, fascia, drapery track, stacked fabric, side channel, bottom bar, and controls will sit. A treatment that fits the glass can still collide with a handle, transom, trim profile, cabinet door, built-in, or operable window.
Check what happens when the treatment is fully open. Drapery needs enough side space to park without covering the intended view or blocking a nearby switch. A roller shade needs room for its roll and brackets, and wide openings may require more than one shade. Corner glass, paired windows, tall openings, arched heads, and sliding doors need a deliberate joint and stack strategy rather than a last-minute attempt to make one standard product fit every condition.
Coordinate the room plan at the same time. A shade may descend behind a sofa without a problem, while full drapery can interfere with a nightstand or floor register. A bed centered between windows creates different treatment requirements from a bed placed below one broad opening. The goal is not to make window treatments visually dominant; it is to give them enough space to operate cleanly and disappear into the room when open.

Choose exposed, fascia, or recessed mounting before finishes
An exposed roller, a finished fascia, and a concealed ceiling pocket create different architectural details. Recessing a shade can produce a quiet result, but only when the selected system has enough depth and width, the roller remains serviceable, the ceiling edge is buildable, and structure or mechanical work does not occupy the same space. Do not size a pocket from a generic sketch and assume every fabric, tube, motor, bracket, or span will fit it.
Product documentation makes the variation visible. Current manufacturer CAD libraries include different pocket sections, installed profiles, brackets, power supplies, and battery-access conditions because the detail changes with the selected assembly. Use the exact product's current dimensions and instructions, then have the architect, interior designer, shade specialist, electrician, builder, and relevant trades coordinate that information into the project drawings.
Preserve access. A removable closure, fascia, access panel, or other approved service approach should let the team reach the roller, motor, battery, wiring connection, and brackets without cutting a finished ceiling. Confirm who supplies each pocket, trim piece, closure, blocking, and finish transition. These small boundaries are where an elegant concept often becomes an unresolved field condition.
Coordinate power and controls around the selected system
Decide which openings genuinely benefit from motorization. Tall shades, hard-to-reach windows, broad glazed walls, groups used every day, and rooms that need coordinated scenes are common candidates. A small, reachable shade may be simpler to operate manually or with a battery system. Make the decision from frequency of use, access, appearance, maintenance, and the household's preference—not from the assumption that every custom home needs every opening automated.
For wired shades, select the system early enough for the electrical and low-voltage drawings to show the correct power supply, panel or local connection, cable type, pathway, home-run or daisy-chain arrangement where applicable, control location, and accessible service point. Manufacturer wiring libraries show that topologies differ by system. The selected manufacturer and qualified installer must define the actual requirements; a generic note that says ‘prewire for shades’ is not a completed design.
Plan everyday control before adding integrations. Identify wall controls, grouped operation, individual adjustment, schedules, keypads, app access, and what still works if a network or automation controller is unavailable. Keep shade groups understandable to future owners and service technicians. At handover, provide product schedules, circuit and cable labels, programming records, warranty information, and instructions for normal operation and manual or emergency procedures supported by the chosen equipment.
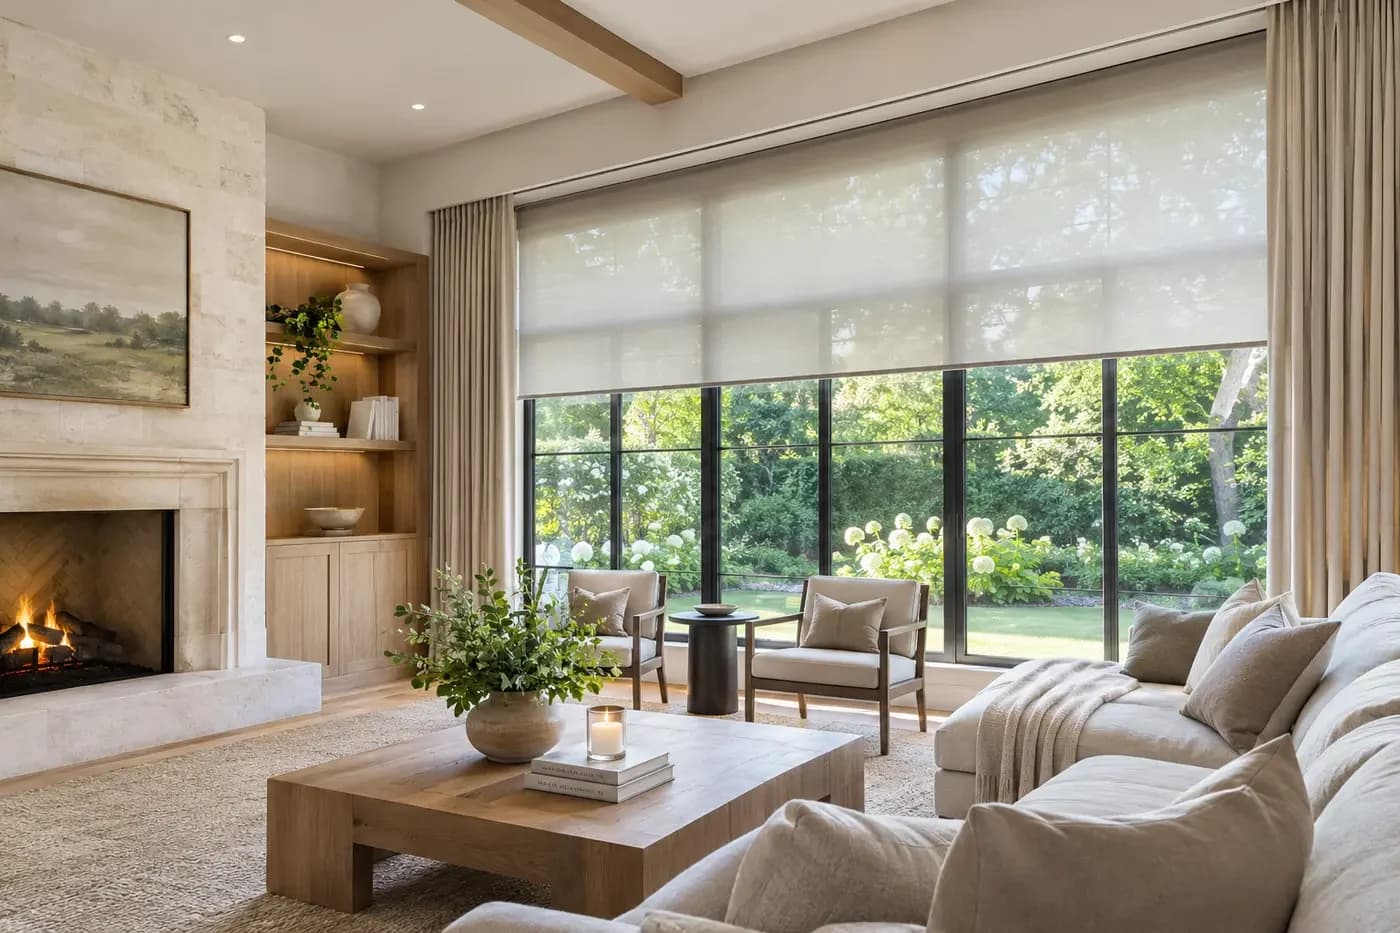
Choose fabric, privacy, and safety as one decision
Review samples at the actual windows whenever possible. Fabric color, openness, weave, lining, and the difference between reflected and transmitted light change from day to night. Stand inside during bright sun, then return after dark with interior lights on. A fabric that softens daytime glare may reveal more of the room at night than the homeowner expects. Large samples are more useful than small swatches for judging the view, color cast, and pattern scale.
For bedrooms, decide whether the requirement is reduced light or a more complete blackout condition. The shade fabric is only one part of the result; side gaps, sill gaps, head details, overlapping layers, and light from doors or adjacent rooms matter too. For great rooms and media spaces, compare screen fabrics at the actual orientation and viewing position so glare control does not erase the view the window was designed to frame.
Treat cord safety as a product-selection requirement. The U.S. Consumer Product Safety Commission identifies cordless window coverings as the safest option where young children are present. Specify a currently compliant product and follow its instructions rather than improvising cord paths, tie-downs, or controls. The project team should also consider safe operation and reach for older adults, guests, and anyone with limited mobility.
Field-measure, test, and document before handover
Do not release final fabrication from design dimensions alone. Wait until the opening, trim, pockets, ceilings, sills, floors, and adjacent finishes have reached the condition required by the selected installer, then field-measure every opening. Record finished width and height, diagonal or level concerns, mounting surface, available depth, obstructions, power location, control address, fabric, hem bar, roll direction, fascia, track, draw direction, and any split between units.
Approve a coordinated submittal before fabrication. It should identify each opening, exact product, dimensions, finish, fabric, operation, mounting detail, power and control requirement, and responsibility for remaining preparation. If the window, trim, ceiling, or furniture plan changed, update the treatment schedule rather than relying on a superseded room elevation.
Test each installed treatment through its full travel. Confirm alignment, stopping position, fabric tracking, drapery stack, noise, grouped operation, wall controls, schedules, blackout gaps, access panels, and interaction with operable windows, doors, furniture, diffusers, and sensors. Max Built can help Charlotte-area custom-home clients coordinate window-treatment requirements with the home before finishes close the options; final product selection, electrical design, installation, and safety compliance belong with the qualified professionals responsible for those scopes.
- Field dimensions match the final opening and mounting condition
- The exact product, fabric, finish, and control are scheduled
- Power, wiring, batteries, and service access are reachable
- Open and closed positions work with windows, doors, and furniture
- Controls, groups, labels, warranties, and instructions are handed over
Sources and editorial notes
U.S. Consumer Product Safety Commission guidance on cordless window coverings
Prepared with AI assistance and editorially reviewed by Sage. Architectural images are illustrative, not documented Max Built projects. This organizational guide does not replace project-specific professional advice.
Window-treatment planning questions
When should motorized shades be selected for a custom home?
Select the system during design, before electrical, low-voltage, ceiling, and pocket details are finalized. Final dimensions and fabrication should wait for the field-measurement stage required by the selected installer and product.
Do all window treatments need recessed pockets?
No. Surface-mounted shades, fascia systems, drapery tracks, blinds, shutters, and other treatments can be appropriate. A recessed pocket is an architectural choice that needs adequate space, a product-specific detail, and permanent service access.
Can a custom home be prewired for shades without choosing a brand?
A generic pathway may preserve options, but exact power, cable, topology, controls, and terminations vary. The safest approach is to select the intended system or obtain current written requirements from qualified shade and electrical professionals before rough-in.
What is the difference between room-darkening and blackout shades?
Room-darkening fabric reduces light, while a more complete blackout result also depends on side channels or overlap, head and sill details, adjacent glazing, and installation. Define the acceptable light level for the room and review the full assembly, not only the fabric label.
Should solar shades use the same fabric throughout the house?
Not automatically. Orientation, window size, room use, glare, daytime privacy, view, interior color, and desired light level can justify different fabrics or openness factors. Review large samples at representative windows before standardizing the selection.
When are final window-treatment measurements taken?
Follow the selected installer's requirements. In general, final measurements should reflect the completed opening, trim, pocket, ceiling, sill, floor, and nearby obstructions rather than relying only on design drawings or nominal window sizes.
Build the right plan before construction begins
Tell us about your property, priorities, and the way you want to live. We'll help organize the next decisions around a clear, buildable path.