

What to Review Before Drywall
By David K
8 min read
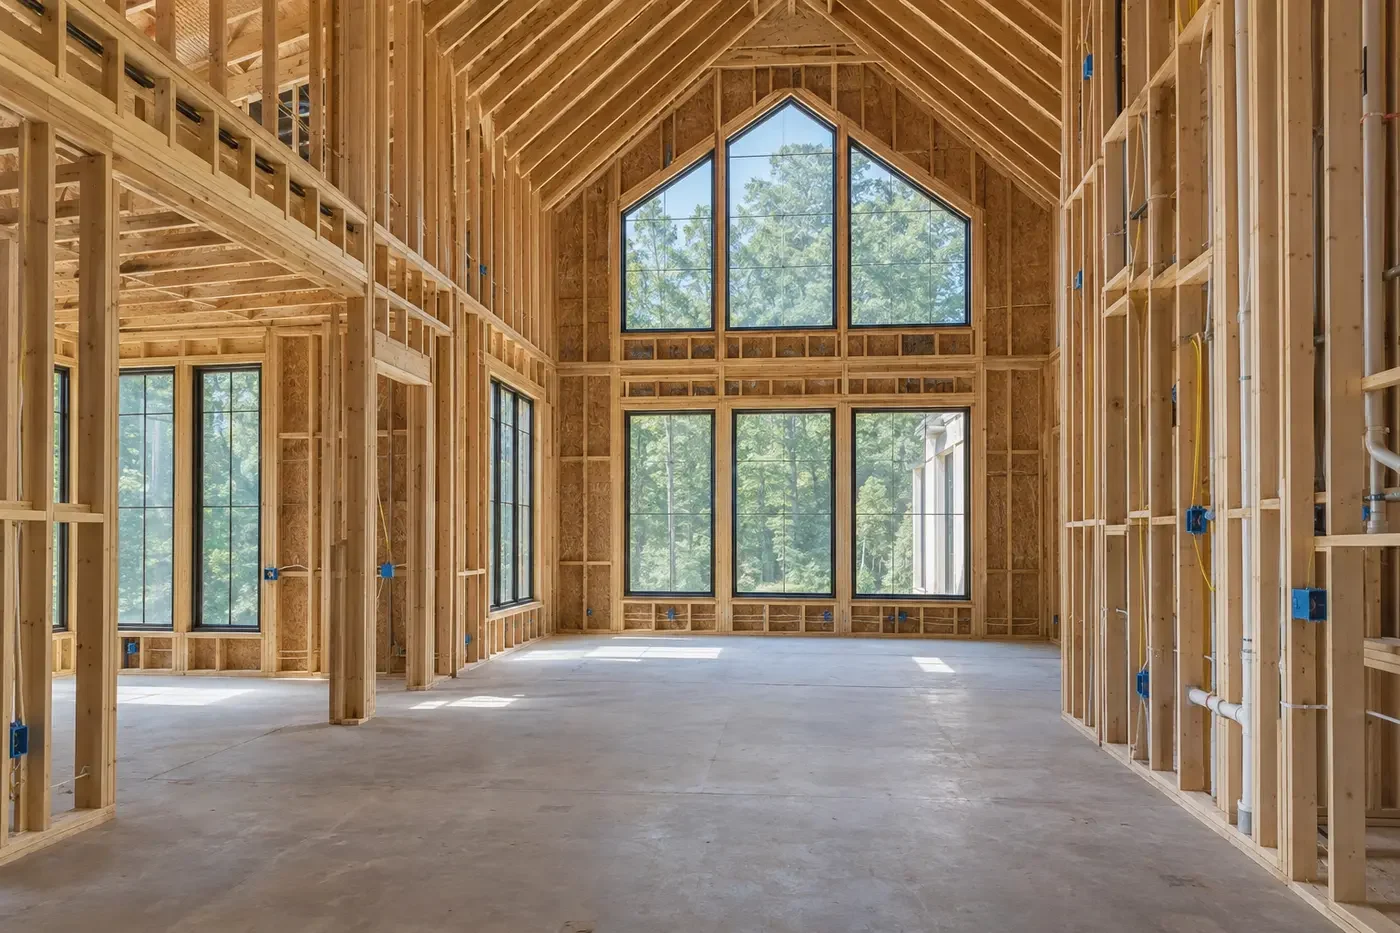
Before drywall begins, review the home while its framing, blocking, wiring, piping, ducts, penetrations, and insulation are still visible. Use the current approved plans and selection records, then walk room by room with the builder and the professionals responsible for the work. Confirm dimensions and openings, locations that depend on furniture or cabinetry, backing for mounted items, service access, air and water-control details, and unresolved changes. Record concealed conditions with labeled photographs and close open items in writing. This owner-and-team coordination review supplements required inspections; it does not replace code inspections, trade testing, engineering, or certification.
Planning a new home? Explore Max Built's custom-home process, then view the craftsmanship in our project portfolio.
Treat pre-drywall as a coordination checkpoint, not a substitute inspection
Drywall changes what the team can see. Before it is installed, the framing, structural connections, wall cavities, rough plumbing, electrical boxes, wiring routes, ducts, blocking, and much of the enclosure work can be reviewed together. After concealment, even a small question may require drawings, photographs, selective opening, or guesswork to answer.
That visibility does not make the homeowner responsible for judging code compliance. Mecklenburg County describes a sequence of required residential inspections and notes that its published schedule is not a complete list of everything checked or a certification that equipment and systems operate properly. The permit holder and project team should confirm which inspections, trade tests, third-party reviews, and approvals apply to the actual address and project.
Set the purpose of the owner review in advance: compare the visible work with the current project information, identify questions before concealment, and build a useful record. Ask who should attend, which areas are ready, which inspections or tests are complete or pending, and what cannot yet be verified. A calm, documented review is more useful than an improvised punch list built from assumptions.
- Which current drawings, schedules, and approved changes govern the walkthrough?
- Which required inspections and tests are complete, pending, or outside this review?
- Who is responsible for answering each structural, electrical, plumbing, HVAC, or enclosure question?
- Which walls or ceilings are not ready to be concealed?
Reconcile the current drawings, selections, and field conditions
Bring one current set of floor plans, reflected ceiling plans, interior elevations, cabinetry drawings, electrical and lighting plans, plumbing information, mechanical layouts, door and window schedules, and documented changes. Older printouts should be marked obsolete or removed. The goal is to compare the same decisions across documents, not to walk the house with several competing versions.
Start with the changes most likely to affect concealed work. A revised cabinet run may change receptacles, plumbing, lighting, blocking, or a vent route. A different wall-mounted fixture may need backing and power at a specific height. A changed appliance can affect the opening, service connections, ventilation, and adjacent storage. Trace each approved change through every connected drawing and trade rather than checking only the item named in the change.
Keep a short issue log during the walkthrough. Record the room, question, relevant drawing or selection, responsible person, required response, and whether the answer changes work already installed. Do not treat a spoken answer in the room as a revision to the construction documents. Close the loop through the project team's normal written process before concealment proceeds.
Walk the home room by room at full scale
Framing makes the floor plan physical. Stand at each doorway and follow the daily path through the room. Compare wall locations, openings, ceiling changes, stairs, niches, fireplaces, and built-ins with the current plans. Look at how doors will swing, where trim will land, and whether a planned cabinet, mirror, television, artwork, handrail, shade, or accessory has the wall area and support it needs.
Use the actual product information for dimension-sensitive locations. Confirm appliance openings, plumbing fixtures, shower controls, medicine cabinets, millwork, specialty lighting, motorized shades, speakers, access panels, and equipment clearances against approved submittals or schedules. Avoid choosing exact rough-in dimensions from memory during the walk; have the responsible trade or designer reconcile them with the selected product and current drawing.
Mark backing needs before the cavities close. Cabinetry, floating shelves, wall-mounted vanities, heavy mirrors, handrails, televisions, window treatments, future grab bars, and other supported elements may need planned blocking. Record the location and extent rather than relying on a wide photo with no scale. If a future item is only a possibility, label it that way so the team can decide whether preparation is useful and compatible with the wall assembly.
Review rough-ins as connected systems
Electrical, plumbing, mechanical, low-voltage, and architectural work share the same walls and ceilings. Review them together. Confirm the intended locations of receptacles, switches, lighting boxes, controls, data points, plumbing supplies and drains, registers, returns, exhaust routes, and equipment access. Check their relationship to cabinetry, furniture, doors, windows, trim, tile, mirrors, ceiling details, and structure.
Look for coordination questions rather than attempting a trade inspection. Does a wall box land where a cabinet panel or pocket door will be? Does a duct route reduce the planned ceiling? Is a plumbing line competing with structural framing or a recessed accessory? Can filters, valves, cleanouts, dampers, panels, and equipment be reached after finishes are installed? The licensed trades, designer, engineer, manufacturer information, and code officials should resolve the technical answer within their scopes.
Performance tests and required inspections should be documented separately. Mecklenburg County assigns residential building and trade inspections through the permit process, while program-specific standards may require additional verification. For example, the current ENERGY STAR field checklist includes pre-drywall verification of items that will be concealed and separate measurements for air and duct performance. Do not infer that a visual owner walkthrough provides those results.
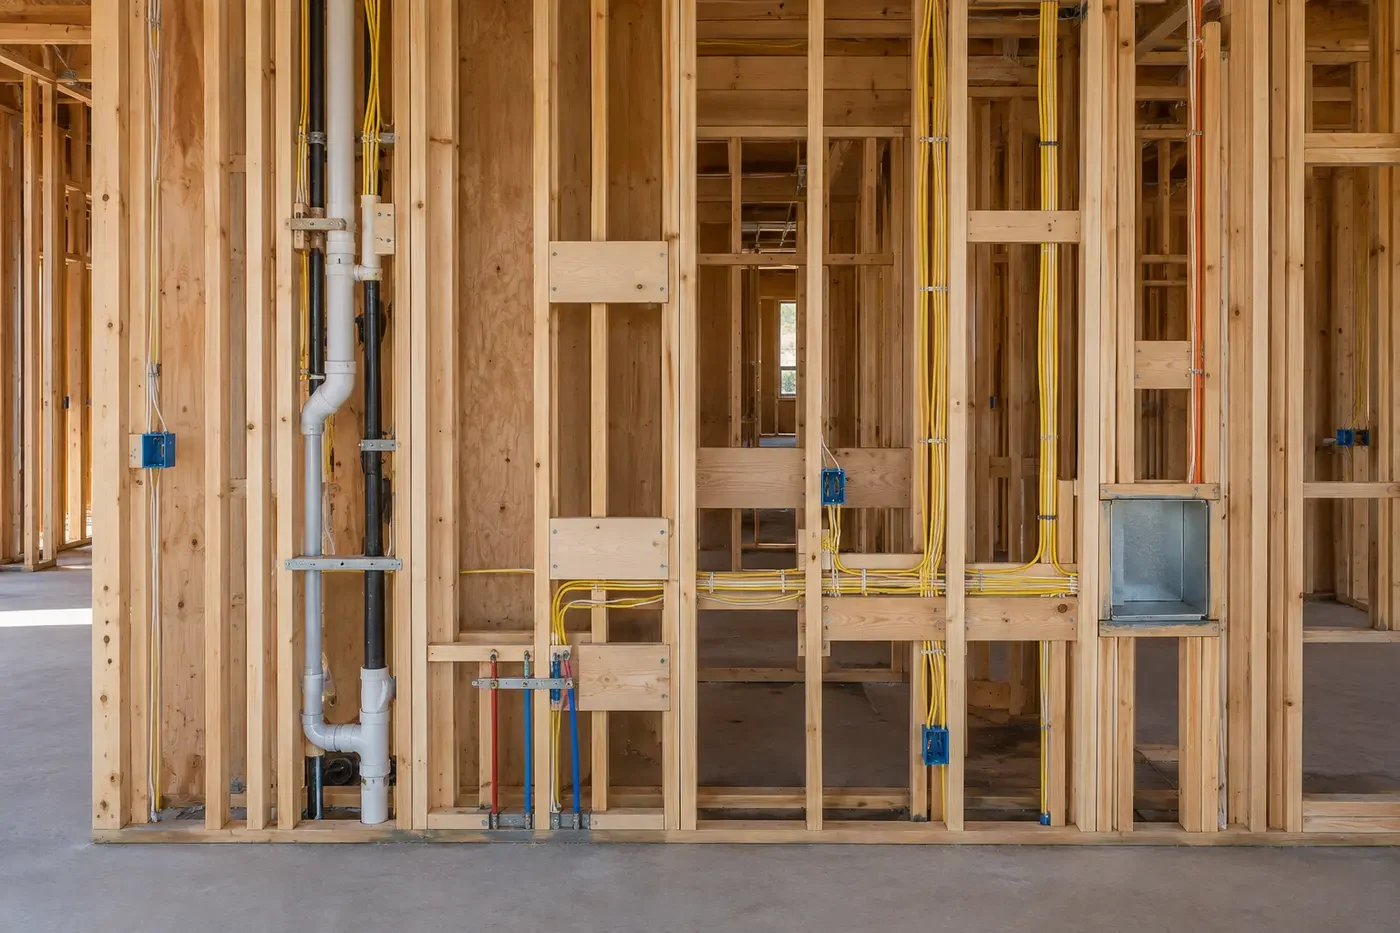
Review the enclosure before finishes hide the junctions
The pre-drywall stage can expose parts of the home's water, air, and thermal control layers that will soon be difficult to see. Ask the responsible team to identify the intended enclosure boundary and show how it continues at windows, exterior doors, roof-to-wall transitions, rim areas, garage separations, chases, soffits, and service penetrations. The important question is continuity across junctions, not whether one visible product looks neat in isolation.
Inspect insulation and air-sealing work only when the assembly is ready for its required review. The ENERGY STAR Single-Family New Homes field checklist illustrates why timing matters: it calls for aligned air barriers at several concealed locations, attention to penetrations and rough openings, and pre-drywall verification of items that drywall would cover. Those program requirements apply only when the home is pursuing that certification, but they provide a useful lesson for any custom home—hidden layers need a defined standard, qualified review, and documentation before they disappear.
Do not diagnose moisture, structural, energy, or fire-safety performance from photographs alone. If framing is wet or damaged, an assembly differs from the documents, insulation is compressed or incomplete, a penetration is unresolved, or a required detail cannot be seen, pause that area and route the question to the builder and appropriate professional. The correct response depends on the actual materials, design, weather exposure, jurisdiction, and approved details.
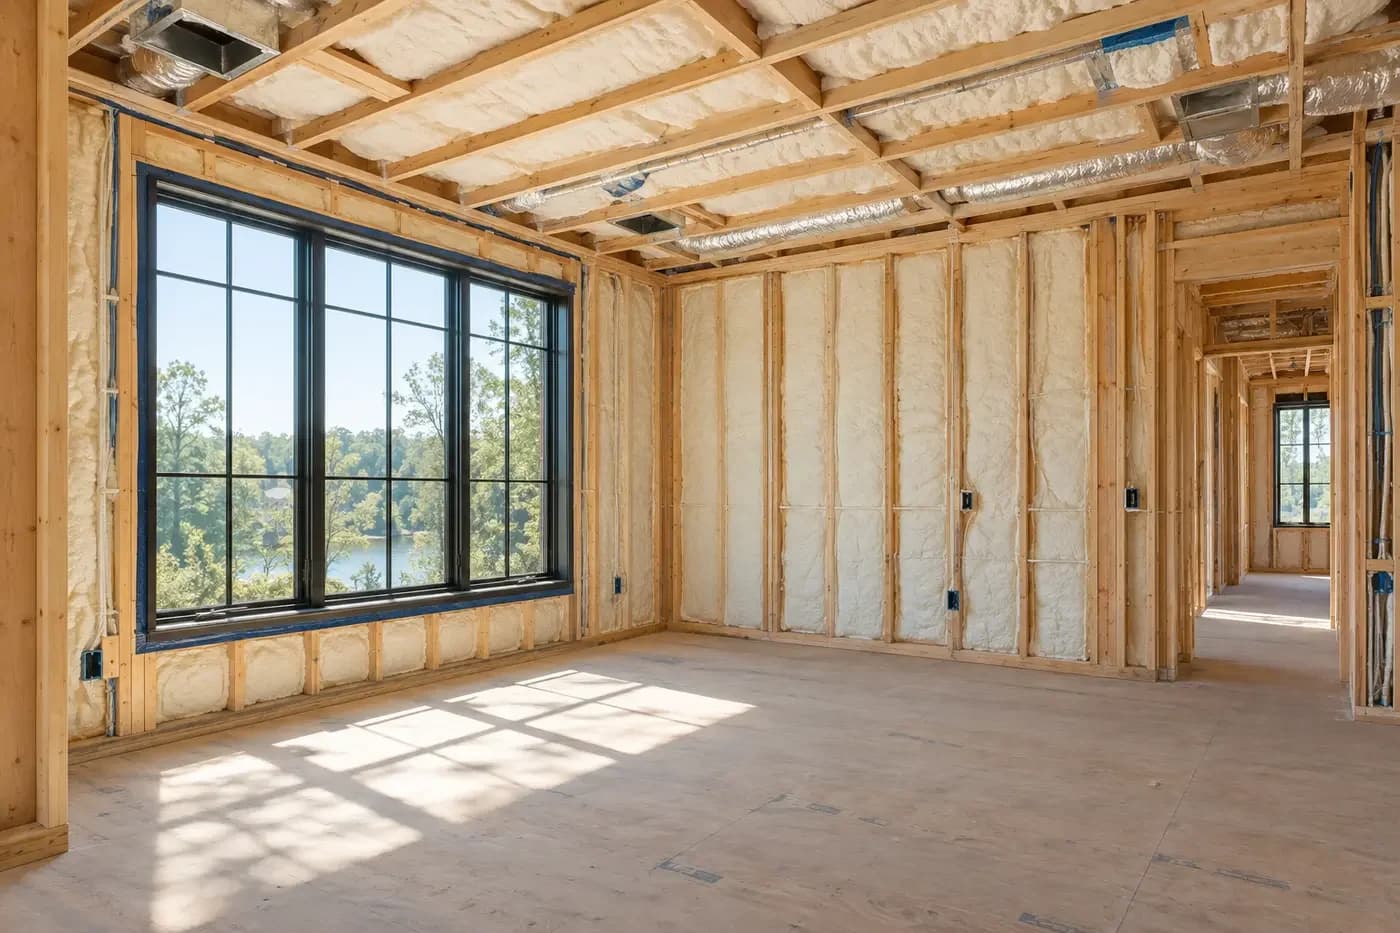
Create a concealed-conditions record that will still make sense later
Photograph every room systematically before drywall. Begin each sequence with a room label or a wide view that establishes orientation, then capture each wall and ceiling plane straight on. Include closer images of backing, valves, cleanouts, wiring routes, low-voltage locations, plumbing, ductwork, penetrations, and access provisions. Add a tape measure or fixed reference where dimensions matter, without obscuring the work.
Name and store the files so someone can find them years later. A useful structure includes the project, floor, room, direction or wall, subject, and date. Keep the photographs with the current plans, approved changes, product information, inspection records supplied to the owner, test reports, and the final handover documents. Images without room names or drawing context become surprisingly hard to interpret after the walls are finished.
Finish with a written closeout for the stage. Separate resolved items, approved revisions, work to correct, items awaiting professional response, and tasks intentionally scheduled for a later phase. Confirm who authorizes concealment and which areas must remain open. Max Built can help organize this custom-home checkpoint so design decisions, visible work, and project records remain connected before the next layer begins.
Sources and editorial notes
Mecklenburg County residential inspection schedule
Mecklenburg County residential inspections
ENERGY STAR Single-Family New Homes National Rater Field Checklist
Prepared with AI assistance and editorially reviewed by Sage. Architectural images are illustrative, not documented Max Built projects. This organizational guide does not replace project-specific professional advice.
Pre-drywall questions for Charlotte custom-home owners
Is a homeowner pre-drywall walkthrough the same as a required inspection?
No. It is a project-coordination and documentation review. Required building and trade inspections, testing, engineering observations, manufacturer procedures, and third-party certification reviews remain separate and must follow the actual permit and project requirements.
When should the pre-drywall review happen?
Schedule it after the work the team intends to review is visible and coordinated, but before drywall or another finish conceals it. The builder should confirm readiness and how the walkthrough fits around required inspections, tests, corrections, and material installation.
Who should attend a custom-home pre-drywall review?
The builder should identify the right participants for the open decisions. Depending on the project, that may include the owner, project manager, architect or designer, and the trade or consultant responsible for a specific question. Code inspectors and third-party verifiers perform their own defined work rather than serving as the owner's design walkthrough team.
What should be photographed before drywall?
Capture each room and wall in an organized sequence, plus clear details of blocking, pipes, wiring, low-voltage routes, ducts, valves, cleanouts, equipment access, penetrations, and other concealed conditions. Label the room, direction, date, and scale where useful, and store the images with the current project documents.
What if the walkthrough finds an unresolved conflict?
Record the location and question, identify the drawing or selection involved, assign the response to the appropriate project professional, and keep that area open until the team's written process resolves it. Do not direct an unverified field change or assume that a visual fix answers structural, trade, enclosure, or code requirements.
Build the right plan before construction begins
Tell us about your property, priorities, and the way you want to live. We'll help organize the next decisions around a clear, buildable path.